Advertisement
Quick Links
HARDWARE
(not to scale)
2– COTTER PINS
2– CLEVIS PINS
(2)
LOWER BRACKETS
pre-mounted
to cabinet sides
(2) WOOD BLOCKS
(8) BARREL NUTS
(8) MACHINE BOLTS
2-LOCKS
COMES
PRE-MOUNTED
1
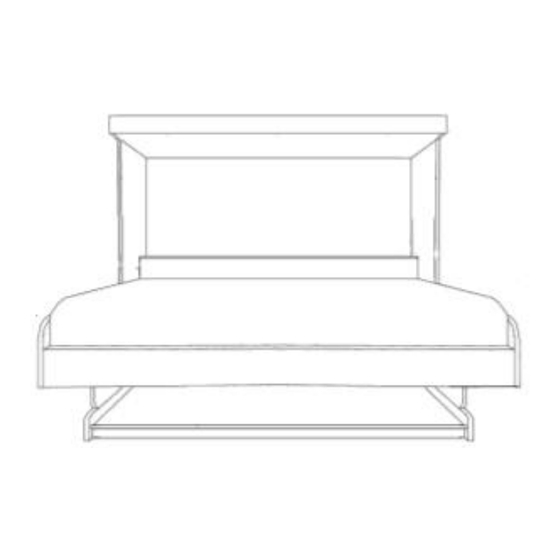
CABINET ASSEMBLY
The cabinet side comes with the lever
arm already attached.
Connect loose end of piston to
lower bracket at bottom with Clevis
pin and Cotter Pin provided.
Secure the cotter pin by bending
ends.
WARNING!
ALL PISTONS CONTAIN STORED ENERGY. FAILURE TO FOLLOW THESE INSTRUCTIONS COULD RESULT IN DAMAGE
TO THE PRODUCT, PERSONAL INJURY OR DEATH.. PLEASE CALL 916-607-7728 WITH ANY QUESTIONS.
www.wallbedscompany.com
4-LINK PIVOT
PLATES
(2) PISTONS
(2) ARMS– PRE-MOUNTED TO THE CABINET SIDE
6 -WOOD SCREWS -3 1/2"
4 SCREWS
A-
MACHINE BOLTS -2 3/4"
Model-DB50 EB50 IB50 PB50 RB50 VB50
PHILLIPS SCREWDRIVER CORDLESS DRILL
ITEMS NEEDED TO ASSEMBLE YOUR BED
(12) 6 1/2mm
Machine Screws
6 BARREL SLEEVES
B-
2" CONFIRMAT BOLTS
CLEVIS PIN
LOWER
BRACKET
COTTER PIN
(916) 607-7728
OFFICE BED INSTALLATION GUIDE
STUD FINDER
(2) TRUNION SLEEVES AND (2)
(2) DECORATIVE HANDLES
(2) PISTON ARM
CONNECTORS
4 MM AND
10MM ALLEN
WRENCH
sales@wallbedscompany.com
6' LADDER
2-TRI-BEARERS
2 WASHERS
6 SCREWS
2 MACHINE BOLTS
2 NYLON LOCK NUTS
WITH SCREWS
And WASHERS
1
Advertisement

Related Manuals for Wallbeds DB50


Summary of Contents for Wallbeds DB50
- Page 1 Model-DB50 EB50 IB50 PB50 RB50 VB50 OFFICE BED INSTALLATION GUIDE PHILLIPS SCREWDRIVER CORDLESS DRILL STUD FINDER 6’ LADDER ITEMS NEEDED TO ASSEMBLE YOUR BED HARDWARE (not to scale) (12) 6 1/2mm 2-TRI-BEARERS Machine Screws 2 WASHERS 2– COTTER PINS 6 SCREWS...
- Page 2 ATTACH THE TOP TO THE SIDES using the MACHINE bolts (A) ATTACH THE SHELF HEADBOARD TO THE SIDES using the CONFIRMAT bolts (B) ATTACH LOWER STRONGBACK Insert lower strongback between the cabinet sides and attach with confirmat bolts (B) keeping finished edges to front. STAND UP CABINET www.wallbedscompany.com (916) 607-7728...
- Page 3 ATTACH CABINET TO WALL Be sure that the cabinet is perfectly square on the wall. Use the (6) 3/12” wood screws to attach the cabinet into 3 wood studs in the wall through the back of the top. 6 -WOOD SCREWS -3 1/2” TRAY ASSEMBLY Mount tray ends to the mattress tray.
- Page 4 ATTACH DESK TO TRAY Place desk vertically on the mattress tray and attach with link pivot plates using barrel and 6 1/2mm machine screws to plate. Insert in holes, attach remaining screws, then tighten all. DESKTOP DESKTOP MATTRESS TRAY TRAY FOLD DOWN DESK Fold desk horizontally over the finished bottom of the mattress tray.
- Page 5 POSITION DESK TRAY- Roll the entire assembly over so the desk bottom is on the floor and the mattress bed tray is facing up. Desk should be resting on the floor. Finished edge facing into the room. ATTACHING DESK WITH TRAY INTO CABINET Slide the DESK/TRAY into the standing cabinet.
-
Page 6: Attach Handles
CONNECT THE PISTON TO THE ARM Raise and LOCK the bed in the UP or CLOSED position. . Insert the barrel piston arm connector into the hole at the piston end. Insert the piston into the second valley as shown here. CONNECT THE ARM TO THE DESK Raise and LOCK the bed in the UP or CLOSED position. - Page 7 ATTACH FINISHED TOP BOARD Through the top with 4 confirmat bolts (B). WARNING! ALL PISTONS CONTAIN STORED ENERGY. FAILURE TO FOLLOW THESE INSTRUCTIONS COULD RESULT IN DAMAGE TO THE PRODUCT, PERSONAL INJURY OR DEATH.. PLEASE CALL 916-607-7728 WITH ANY QUESTIONS. www.wallbedscompany.com (916) 607-7728 sales@wallbedscompany.com...
Need help?
Do you have a question about the DB50 and is the answer not in the manual?
Questions and answers