Advertisement
Quick Links
What's in the Box
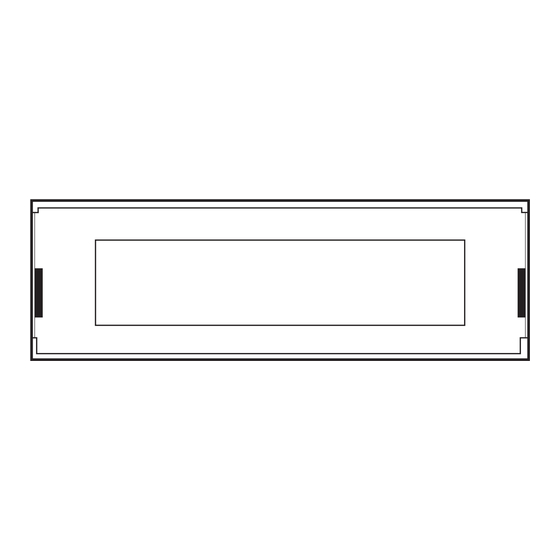
Redondo Face
A
Hardware
B
C
x(6)
x(4)
Additional Parts
NOTE: Push-Buttons and Lens are packaged separately.
E
Radio Face Quick Start Guide
D
F
Refer to the user manual included in your motor box or on our website for more comprehensive instructions.
Modern Sound For Your Classic
tech@retromanufacturing.com | help.retromanufacturing.com
Installation
Begin with the steps below to assemble the Radio Face, then continue
START:
to either the Thumb-roller or Control Shaft Quick Start Guide.
Peel off the backing of the
adhesive strips on the lens.
F
Line up the notches on the top and bottom of the display
face with the notches on the lens, and press firmly to apply.
E
Plug the attached wire from the Push-Buttons
into the smaller receptor on the Radio Face.
1
Attach the lens
to the radio face.
A
2
Connect the
push-buttons
Advertisement

Related Manuals for RetroSound Redondo Radio Face


Summary of Contents for RetroSound Redondo Radio Face
- Page 1 Radio Face Quick Start Guide What’s in the Box Installation Begin with the steps below to assemble the Radio Face, then continue START: Redondo Face to either the Thumb-roller or Control Shaft Quick Start Guide. Attach the lens Peel off the backing of the to the radio face.
- Page 2 Radio Face Quick Start Guide Installation (continued) Attach the front Attached Control Face Brackets assembly The Control Face Brackets(D) have an additional tab left for fitments that need the Plug the ribbon cable button assembly to protrude further than the Radio Face and should be removed for from the Radio Motor most installations.
Need help?
Do you have a question about the Redondo Radio Face and is the answer not in the manual?
Questions and answers