Table of Contents
Advertisement
Quick Links
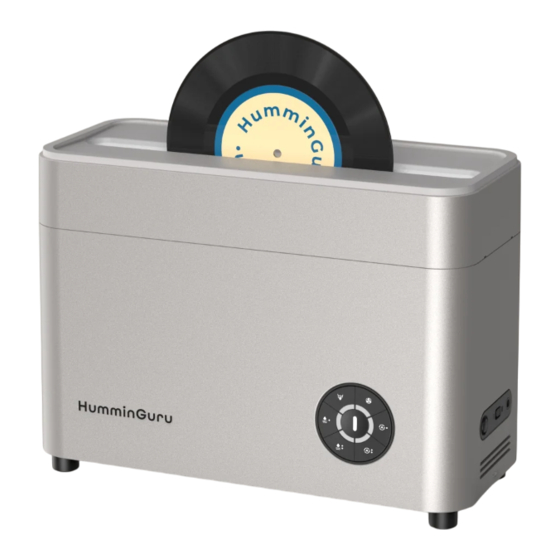
HumminGuru NOVA
Advanced Ultrasonic Vinyl Record Cleaner
Owner's Manual
Model No. : HG05
Thank you for purchasing
the HumminGuru NOVA -
Advanced Ultrasonic Vinyl
Record Cleaner. To use this
product safely and effectively,
please read the manual
thoroughly and ensure a
clear understanding before
operation. After reading,
please keep the manual
accessible for future reference.
Advertisement
Table of Contents


Need help?
Do you have a question about the NOVA and is the answer not in the manual?
Questions and answers