Table of Contents
Advertisement
Quick Links
Advertisement
Table of Contents

Related Manuals for Sonoma TUSCANY SGR30M


Summary of Contents for Sonoma TUSCANY SGR30M
- Page 1 This Owner's Manual is provided and hosted by Appliance Factory Parts. TUSCANY SGR30M Owner's Manual Shop genuine replacement parts for TUSCANY SGR30M Find Your TUSCANY Grill Parts - Select From 11 Models -------- Manual continues below --------...
- Page 2 USE AND CARE MANUAL For Model SGR30MLP STOP! Stop! Missing a part? DO NOT RETURN PRODUCT TO STORE Missing A Part? Do Not Return Product! The store where you made the purchase does not stock parts for this item. If you need parts, whether they are 1-800-229-5647 missing or damaged, please call Customer Service at Call us between 8:00 AM and 5:00 PM Eastern Time, Monday through Friday...
-
Page 3: General Safety Instructions
General Safety Instructions IMPORTANT SAFETY INFORMATION Read this manual carefully before using your grill to reduce the risk of fire, burn hazard or other injury. Extreme care should be used because of the high temperatures produced by this appliance. CHILDREN SHOULD NOT BE LEFT NATTENDED IN AN AREA WHERE THE GRILL IS BEING OPERATED. -
Page 4: For Outdoor Use Only
General Safety Instructions ▲ WARNING ▲ WARNING Note: Do Not operate the main burners and infrared Do not use the rotisserie in the rain. back burner at the same times. This can cause warping of the roll top grill hood. ▲... -
Page 5: Grill Features
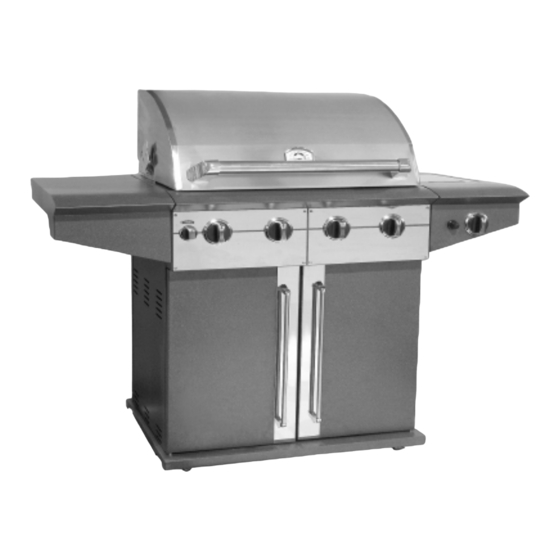
Grill Features 1. Roll top grill hood 9. Hood Handle 2. Rear Infrared Burner 10. Warming shelf 3. Rotisserie Motor 11. Rotisserie Spit and Forks 4. Grilling/Cooking surface 12. Side Burner 5. Side Shelf 13. Control knob: Side IR Burner 6. -
Page 6: Grill Assembly
Grill Assembly IMPORTANT: Remove all protective film from stainless steel parts to assembly/use. This film is installed at the factory to prevent damage that could occur during shipment and handling. LEFT SHELF ASSEMBLY Fig. 1 1. Attach the left shelf by inserting the four bolts on Holes the side of the grill head into the holes on the left shelf. - Page 7 Grill Assembly 4. Install one self tapping screw into the bottom front hole of the shelf to lock shelf in place. (See Fig. 7) 5. Remove the nut from the orifice end of the side burner assembly. (See Fig. 8) Self tapping screw Fig.
-
Page 8: Igniter Assembly
Grill Assembly IGNITER ASSEMBLY 1. The battery, igniter cap must be installed before using. 2. Slide the threaded part of the igniter through the mounting Fig. 13 bracket and then through the igniter hole in the front of the side burner shelf, then install the locknut. (See Fig. 14) 3. -
Page 9: Interior Parts Assembly
Grill Assembly INTERIOR PARTS ASSEMBLY 1. Insert the top row of flavor grids into the cutouts with triangle ridges facing up. (See Fig. 19) Fig. 19 2. Install cooking grates on the ledges provided on the grill to create your cooking surface. (See Fig. 20) 3. -
Page 10: Gas Requirements
L.P. GAS INSTALLATION Sonoma Gas Grills are set to operate with L.P. gas and come with a high capacity hose and regulator assembly. (Note: Only use the pressure regulator and hose assembly supplied with the grill or a replacement pressure regulator and hose assemblies specified by Sonoma). - Page 11 LP Gas Cylinder Installation ▲ WARNING A frosty cylinder valve indicates possible gas over fill. Close the LP valve and call your dealer immediately. ▲ WARNING 1. Never store any extra cylinder under or near your grill. 2. Never fill your cylinder over 80% full by weight. This may cause release of gas from the safety relief valve.
-
Page 12: Pre Operation Leak Testing
Pre Operation Leak Testing GENERAL INFORMATION Although all gas connections on the grill are leak tested prior to shipment, a complete gas tightness check must be performed at the installation site due to possible shifting during shipment, installation or excessive pressure unknowingly being applied to the unit. -
Page 13: Lighting The Grill
Lighting the Grill BEFORE LIGHTING Important! Before Lighting: • Check the gas supply line for cuts, wear or abrasion. Fig.27 • Always keep your face and body as far away from the grill as possible when lighting. GRILL BURNER LIGHTING Lighting the Grill with electronic igniter 1. - Page 14 Using the Grill and Side Burner GRILL LOCATION Do not use the grill in garages, breezeways, sheds or any enclosed area. Never operate the grill in enclosed areas as this could lead to a carbon monoxide buildup, which could result in injury or death.
-
Page 15: Using The Rotisserie Burner
Using the Rotisserie Burner The grill rotisserie system is designed to cook items from the back using infrared heat. The rotisserie burner is an infrared type which provides intense searing radiant heat. Preferred by chefs over other cooking methods, this intens e heat sears in the natural juices and nutrients found in quality cuts of meats. - Page 16 Rotisserie Lighting/ Care and Maintenance ROTISSERIE LIGHTING Open the lid. Push and turn the control knob for the rotisserie count- er clockwise to the “HIGH” position. Wait 5 seconds. Then press and hold the electronic igniter but- ton. You’ll hear a snapping sound. If the burner does not light in 4 seconds, turn the control knob to OFF and wait 5 minutes before Fig.
-
Page 17: Troubleshooting Your Grill
Troubleshooting Your Grill GENERAL TROUBLE SHOOTING You should inspect the burners at least once a year or immediately if any of the following conditions occur: • The smell of gas. • Flames appearing mostly yellow. (some yellow at the tips is OK) •... - Page 18 Troubleshooting Your Grill Problem Solution • Is your gas supply fully turned on? Grill will not light with a match or low heat with dial set to "High" position. • Is there gas in your L.P. tank? Check your gas level. •...
- Page 19 Notes...
-
Page 20: Limited Warranty
DO NOT RETURN THIS PRODUCT TO THE PLACE OF PURCHASE. If the Sonoma Platinum Edition Grill does not operate properly, first thoroughly carry out the instructions If the Sonoma Platinum Edition Grill does not operate properly, first thoroughly carry out the instructions...
Need help?
Do you have a question about the TUSCANY SGR30M and is the answer not in the manual?
Questions and answers