Advertisement
Installation Guide
MODEL NO.: 20248
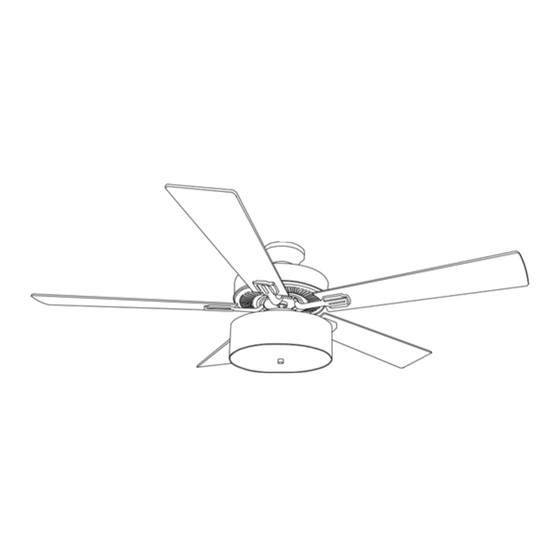
You may install your ceiling fan as a flush mount, or you may use the provided down rod(s). Measure your
room height before installing the fan and consider the different installation height options indicated in the
above diagram.
Table of Contents:
Safety tips Pg.2-3
Unpacking your fan Pg.4
Tools and material required Pg.5
Outlet Box Pg.6
Hanging Bracket Installation Pg.5-6
Fan Assembly (Flush Mount) Pg.8
Fan Assembly (w/Down Rod) Pg.8
Weight of Appliance: 7.0kg/15.4lb
Model No. 20248
Professional Installation Recommended
Note: Approximate Time of Assembly: 30 Minutes to 1 Hour
MODEL NO.: 20248
READ AND SAVE THESE
INSTRUCTIONS
Wiring Pg.9
Canopy Assembly Pg.10
Blade Assembly Pg.10
Light Kit and Shade Assembly Pg.11
Troubleshooting & Maintenance Pg.12
PRINTED IN CHINA
1
Advertisement
Table of Contents

Summary of Contents for River of Goods 20248
-
Page 1: Table Of Contents
MODEL NO.: 20248 Installation Guide READ AND SAVE THESE INSTRUCTIONS MODEL NO.: 20248 You may install your ceiling fan as a flush mount, or you may use the provided down rod(s). Measure your room height before installing the fan and consider the different installation height options indicated in the above diagram. -
Page 2: Safety Tips
MODEL NO.: 20248 SAFETY TIPS WARNING: To reduce the risk of electrical shock, turn off the electricity to the fan at the main fuse box or circuit panel before you begin the fan installation or before servicing the fan or installing accessories. - Page 3 MODEL NO.: 20248 This appliance is not intended for use by persons (including children) with reduced physical, sensory or mental capabilities, or lack of experience and knowledge, unless they have been given supervision or instruction concerning use of the appliance by a person responsible for their safety.
-
Page 4: Unpacking Your Fan
MODEL NO.: 20248 Unpacking Your Fan Carefully open the packaging. Remove items from styrofoam inserts. Remove motor housing and place on a soft, dry surface to avoid damage to finish. Do not discard fan carton or styrofoam inserts should this fan need to be returned. -
Page 5: Outlet Box
MODEL NO.: 20248 Tools Required • Step ladder • Pliers • Screwdriver (flat head and phillips) • Electrical tape • Circuit tester Installation Preparation To prevent personal injury and damage, ensure that the hanging location allows the blade a clearance of 7ft (2.13m) from the floor and 30 in (76cm) from any wall or obstruction. - Page 6 MODEL NO.: 20248 CAUTION: Be sure outlet box is grounded properly and that a ground wire (green or bare) is present. Partially loosen screws in slotted holes of canopy. Remove the other 2 screws (along with the star washers) -save for later use. Twist canopy to remove the hanging bracket.
- Page 7 MODEL NO.: 20248 *Required for Canadian Installation ONLY* To ensure consumer safety and satisfy Canadian regulatory requirements, a safety support cable is provided to help prevent the ceiling fan from falling. To install, please follow the instructions below. Parts 1. Using the provided screw, attach the safety cable hook to the ceiling joist near the mounting bracket. Ensure the cable hook is covered by the canopy.
- Page 8 MODEL NO.: 20248 Flush Mount Assembly NOTE: If assembling with down rod, proceed to Step 7 Remove round rubber ring from canopy Thread the electrical wires through the canopy Remove every other screw on the motor housing (3 screws total) WARNING –...
-
Page 9: Wiring
MODEL NO.: 20248 Ceiling Fan Wiring WARNING: Failure to disconnect power supply prior to the installation may result in serious injury and fire hazard Important: Be sure outlet box is properly grounded or that a ground wire (GREEN or bare) is present. -
Page 10: Canopy Assembly
MODEL NO.: 20248 Canopy Assembly 1. Loosen the four (4) screws/washers on the side of the hanging bracket 2. Lift canopy to the hanging bracket, and secure the canopy with the four (4) screws/washers. Securely tighten screws Blade Assembly Locate fifteen (15) screws/washers in the hardware pack 2. - Page 11 MODEL NO.: 20248 Light Kit Assembly 1. Remove the three (3) screws from the light kit and set aside 2. Plug the connector from the light kit into the connectors from the switch housing 3. Correct wiring White to White Black to Blue 4.
- Page 12 MODEL NO.: 20248 Ceiling Fan Troubleshooting Guide Welcome to the River of Goods family! We’re honored you’ve decided to include one of our ceiling fans in your home. Problem Solution • Fan/Lights do not start Check all fuses/circuit breakers •...


Need help?
Do you have a question about the 20248 and is the answer not in the manual?
Questions and answers