Advertisement
Quick Links
Installation Guide
MODEL NO.: 20064
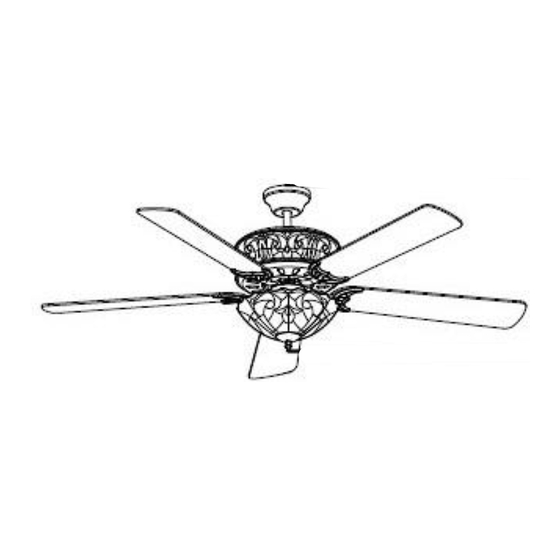
You may install your ceiling fan as a flush mount, or you may use the provided down rod(s). Measure your
room height before installing the fan and consider the different installation height options indicated in the
above diagram.
Table of Contents:
Safety tips Pg.2
Unpacking your fan Pg.3
Tools and material required Pg.4
Outlet Box Pg.4-5
Hanging Bracket Installation Pg.4 - 5
Fan Assembly (Flush Mount) Pg.6
Fan Assembly (w/Down Rod) Pg. 7
Professional Installation Recommended
Note: Approximate Time of Assembly: 30 Minutes to 1 Hour
MODEL NO.: 20064
READ AND SAVE THESE
INSTRUCTIONS
Wiring Pg.7-8
Canopy Assembly Pg.8
Blade Assembly Pg.8-9
Light Kit and Shade Assembly Pg.9-10
Troubleshooting & Maintenance Pg. 11
PRINTED IN CHINA
1
Advertisement

Summary of Contents for River of Goods 20064
-
Page 1: Table Of Contents
MODEL NO.: 20064 Installation Guide READ AND SAVE THESE INSTRUCTIONS MODEL NO.: 20064 You may install your ceiling fan as a flush mount, or you may use the provided down rod(s). Measure your room height before installing the fan and consider the different installation height options indicated in the above diagram. -
Page 2: Safety Tips
MODEL NO.: 20064 SAFETY TIPS WARNING: To reduce the risk of electrical shock, turn off the electricity to the fan at the main fuse box or circuit panel before you begin the fan installation or before servicing the fan or installing accessories. -
Page 3: Unpacking Your Fan
MODEL NO.: 20064 Unpacking Your Fan Carefully open the packaging. Remove items from styrofoam inserts. Remove motor housing and place on a soft, dry surface to avoid damage to finish. Do not discard fan carton or styrofoam inserts should this fan need to be returned. -
Page 4: Outlet Box
MODEL NO.: 20064 Tools Required • Step ladder • Pliers • Screwdriver (flat head and phillips) • Electrical tape • Circuit tester Installation Preparation To prevent personal injury and damage, ensure that the hanging location allows the blade a clearance of 7ft (2.13m) from the floor and 30 in (76cm) from any wall or obstruction. - Page 5 MODEL NO.: 20064 CAUTION: Be sure outlet box is grounded properly and that a ground wire (green or bare) is present. Partially loosen screws in slotted holes of canopy. Remove the other 2 screws (along with the star washers) -save for later use. Twist canopy to remove the hanging bracket.
- Page 6 MODEL NO.: 20064 Bulb Installation 1. Locate the four (4) access plates on the motor housing 2. On each access plate, remove the outer two (2) screws using a phillips screwdriver and set aside 3. Install the provided bulbs 4. Reattach the access plates(s) with the removed screws,...
-
Page 7: Wiring
MODEL NO.: 20064 Assembly with Down Rod Remove pin and clip from down rod. Slide the down rod through the canopy and the down rod cover as shown in figure Thread the electrical wires through the down rod and pull... -
Page 8: Canopy Assembly
MODEL NO.: 20064 to the ground wire located on the down rod end. The splices, after being carefully made, should be turned upward and pushed carefully up into the outlet box. Note: Wrap each wire nut separately with electrical tape as an extra safety measure. - Page 9 MODEL NO.: 20064 6. Remove motor shipping pads, discard pads and save the screws 7. Align the blade arm holes with the motor housing holes and attach the two (2) screws/washers. Fasten securely 8. Repeat Step 7 for the remaining blade arms Light Kit Assembly 1.
-
Page 10: Changing Bulbs (Flush Mount)
MODEL NO.: 20064 Tiered Shade Installation (if applicable) 1. Remove the three (3) screws from Shade A and set aside 2. Thread the pull chains through the designated holes in Shade B 3. Align the three (3) holes from Shade B with the holes in... - Page 11 MODEL NO.: 20064 Ceiling Fan Troubleshooting Guide Welcome to the River of Goods family! We’re honored you’ve decided to include one of our ceiling fans in your home. Problem Solution • Fan/Lights do not start Check all fuses/circuit breakers •...


Need help?
Do you have a question about the 20064 and is the answer not in the manual?
Questions and answers