Advertisement
Quick Links
T S 0 7 5 R 0 5
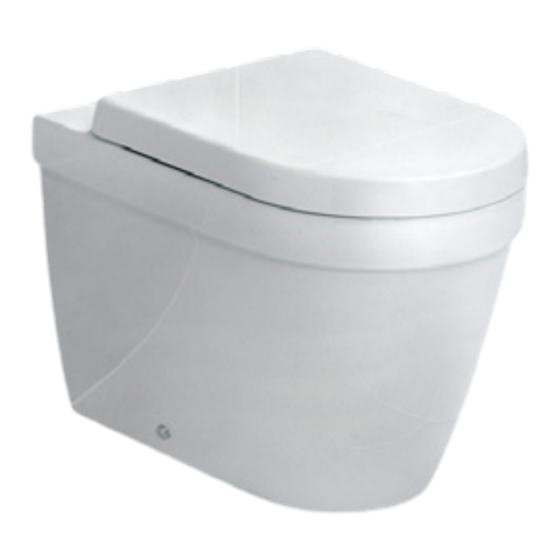
D-S H A P E D & S Q U A R E S H A P E D TO I L E T S E AT S
W L 601522H - W L 611022H - W L 604422H - W L 611322H
ALWAYS READ THROUGH AND FULLY UNDERSTAND THE INSTRUCTION LEAFLET BEFORE
STARTING THE INSTALLATION OF THIS PRODUCT.
ALWAYS CHECK THE PACKAGING AND ENSURE YOU HAVE ALL FIXINGS AND COMPONENT
PARTS DETAILED IN THIS INSTRUCTION LEAFLET BEFORE RECYCLING OR DISPOSING OF
THE PACKAGING.
ALWAYS ENSURE YOU HAVE ALL THE FIXINGS AND COMPONENT PARTS BEFORE
ATTEMPTING TO ASSEMBLE OR FIT THIS PRODUCT.
Thank you for purchasing this Croydex product. Follow
the fixing and care instructions in this manual to ensure
that your product is fitted safely and that it retains its
high quality finish.
RETAIN THIS MANUAL FOR FUTURE REFERENCE.
S A F E T Y & P R O D U C T C A R E
1. T
retain the best quality finish, clean product with a soft cloth and a mild soap solution applied directly to
o
the cloth.
2. DO NOT use abrasive or chemical cleaners as they may damage the surface of the toilet seat or hinges.
3. Take care when cleaning the toilet pan with chemical cleaners. Avoid contact of the chemical cleaners with
the toilet seat or hinges. Immediately rinse off any splashes to avoid damage or discolouration to the surface
of the toilet seat and hinge parts.
4. DO NOT force the seat down as this can cause damage to the product and its function.
1 - I N T R O D U C T I O N
F I X I N G PA C K
(Not to scale)
FIXING PACK - ENCLOSED WITH THE TOILET SEAT
ONLY REQUIRED FOR: BOTTOM FIX INSTALLATION
E
x2
F
x2
G
x2
SEE INSTALLATION STEP 1
ONLY REQUIRED FOR: TOP FIX INSTALLATION
Tel: +44 (0) 1264 365881
1
Fax: +44 (0) 1264 356437
|
I N S T R U C T I O N L E A F L E T
CONICAL
WASHER
WASHER
H
NUT KEY
NUT
x2 RUBBER
D
PLUG
K
Email: info@croydex.co.uk
Web: www.croydex.com
A D D R E S S (U K )
Croydex
Central Way
Andover, Hampshire
SP10 5AW, UK
FLEXI FIX HINGES - WRAPPED SEPARATELY IN THE
BOTTOM OF THE BOX
A
x2
CHROME CAP
I
HEX KEY
SPACER
Printed material, designs and packaging
are protected by copyright and design right.
A D D R E S S (E U )
MIL, Unit 8
Purcellsinch Ind Est
Dublin Road, Kilkenny
R95 HP71, Ireland
NOT REQUIRED
B
x2
FLEXI FIX BRACKET
SUPPORT COVER
J
C x2
x2 BOLT
Advertisement

Summary of Contents for Croydex WL601522H
- Page 1 A D D R E S S (U K ) A D D R E S S (E U ) Thank you for purchasing this Croydex product. Follow the fixing and care instructions in this manual to ensure that your product is fitted safely and that it retains its...
- Page 2 P R E-I N S TA L L AT I O N 1. Remove the old seat from the pan and clean the surface around the fixing holes. 2. Ensure the surfaces around the fixing holes are completely dry and free of any dust or debris before beginning the installation.
- Page 3 CHOOSE BETWEEN BOTTOM FIX INSTALLATION TOP FIX INSTALLATION This installation is designed to be used on ‘standard’ This installation is designed to be used on ‘back to toilets with access below the toilet pan. wall’ toilets with no access below the toilet pan. Examples of Bottom Fix toilet pans.
- Page 4 S T E P 5 When the desired position of the seat has been achieved, apply firm pressure on both Flexi Fix brackets (B) so the adhesive pad makes contact with the pan. NOTE: Hold down for 20 seconds. S T E P 6 Carefully remove the seat without disturbing the bracket positions and fully tighten the bolts (J) to firmly secure the hinge brackets.


Need help?
Do you have a question about the WL601522H and is the answer not in the manual?
Questions and answers