Advertisement
Quick Links
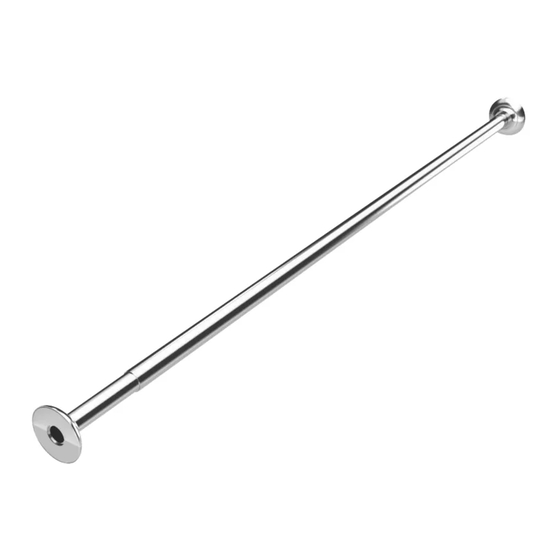
AD220100
1400MM - 2600MM
SHOWER ROD
CONTACT DETAILS
Croydex
Central Way
Andover
Hampshire
SP10 5AW
UK
ALL PRODUCT DIMENSIONS DETAILED IN THIS INSTALLATION
AND MAINTENANCE MANUAL ARE APPROXIMATE
ALL ILLUSTRATIONS OF THE PRODUCT ARE FOR REFERENCE
ONLY. COMPONENTS SUPPLIED WITH INDIVIDUAL PRODUCTS
Tel: +44 (0)1264 365881
Email: info@croydex.co.uk
www.croydex.com
MAY DIFFER
1
R&R 074 R02
Advertisement

Related Manuals for Croydex AD220100


Summary of Contents for Croydex AD220100
- Page 1 AD220100 1400MM - 2600MM SHOWER ROD CONTACT DETAILS Croydex Tel: +44 (0)1264 365881 Central Way Andover Email: info@croydex.co.uk Hampshire SP10 5AW www.croydex.com ALL PRODUCT DIMENSIONS DETAILED IN THIS INSTALLATION AND MAINTENANCE MANUAL ARE APPROXIMATE ALL ILLUSTRATIONS OF THE PRODUCT ARE FOR REFERENCE ONLY.
-
Page 2: Section 1 - Introduction
SECTION 1 - INTRODUCTION PLEASE RETAIN THIS MANUAL FOR FUTURE REFERENCE PRODUCT FITTING IMPORTANT! Before attempting to fit or use this product. Ensure that it can be properly installed in the location you wish it to be in. SAFETY & PRODUCT CARE ALWAYS take care when using power tools, particularly if there is any water in the working area. -
Page 3: Tools Required
TOOLS REQUIRED WALL FIXING PACK x6 wall screws x6 wall plugs SECTION 2 - INSTALLATION Fit the decorative covers and wall brackets onto the ends of the rod. (See Fig. 1) fig. 1 R&R 074 R02... - Page 4 Position the rod where required, then unlock, extend and (See Fig. 2) tension it. fig. 2 3. Tension 1. Unlock 2. Extend Ensure the rod is level, then mark 3 hole centres through each wall bracket. (See Fig. 3) fig. 3 Release the tension in the rod and remove it.
- Page 5 Drill into the marked hole centres and insert the wall plugs. Ensure that the wall plugs are flush with the surface. (See Fig. 5) fig. 5 Reinstall and re-tension the rod as before. Allign the bracket so that the holes line up with the wall plugs. Then using the included screws, screw into the wall plugs to secure the rod to the walls.
Need help?
Do you have a question about the AD220100 and is the answer not in the manual?
Questions and answers