Advertisement
Advertisement
Table of Contents

Related Manuals for Raptor Photonics OWL 320 HS VIS-SWIR


Summary of Contents for Raptor Photonics OWL 320 HS VIS-SWIR
- Page 1 OWL 320 HS VIS-SWIR Model: OW1.7-VS-CL-S USER MANUAL...
-
Page 2: Table Of Contents
CONTENT CONTENT ..............................2 INTRODUCTION ..........................3 SPECIFICATION ..........................4 GETTING STARTED ........................6 EPIX XCAP............................. 8 OW1.7-VS-CL-S/USER MANUAL/07-19/REV1.3... -
Page 3: Introduction
INTRODUCTION Scope This manual covers the Owl 320 High Speed digital camera and all applicable components. Raptor recommends that this manual be used to optimize camera operation. Camera Care Raptor cameras require no regular maintenance except occasional external cleaning of the sensor window (the glass window between the camera sensor and the microscope or lens). -
Page 4: Specification
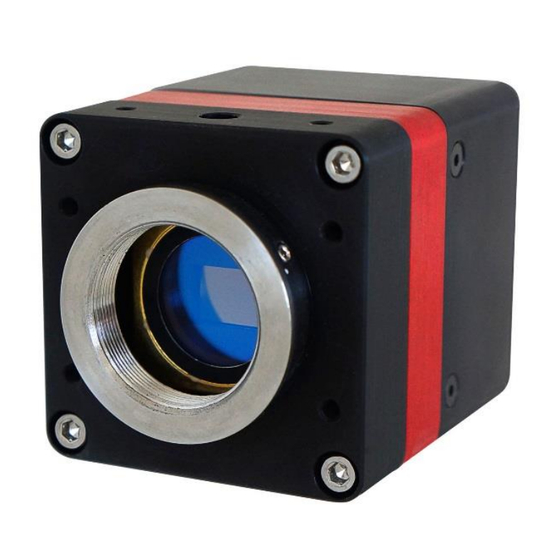
SPECIFICATION Camera Specification The Owl 320 High Speed digital camera is designed for high-resolution applications requiring visible to SWIR imaging (400-1700nm). The Owl 320 High Speed camera uses an InGaAS sensor with a resolution of 320 x 256 in a 14-bit digital output. High-speed low-noise electronics provide linear response and sensitivity for rapid image capture. - Page 5 Mechanical Outline 3D drawings (STEP) are available upon request. OW1.7-VS-CL-S/USER MANUAL/07-19/REV1.3...
-
Page 6: Getting Started
GETTING STARTED System Overview C-mount Power Trig out/SMA Trig in/SMA Camera Link Connector/MDR Mounting to Microscope The Owl 320 High Speed has a standard C-Mount that should easily screw onto any microscope port. Mounting to a tripod or optical table The camera has a ¼-20 BSW (Whitworth), threaded hole to mount to a tripod or an optical table. - Page 7 Ninox 1280 - Software tested by Raptor Photonics - Software tested by other companies Blank - The camera has not been tested or is not supported by this software In this guide, there is a quick overview of XCAP (http://www.epixinc.com/support/files.php) and Micro Manager (https://micro-manager.org).
-
Page 8: Epix Xcap
Figure 1: Open / Close 3. Select Close, and then Click on the Camera & Format button. 4. Using the dropdown menu scroll down and select Raptor Photonics OWL-CL High Speed from the list (Figure 2). Selecting OK when done. - Page 9 7. The control window on the right should reflect your chosen camera. For example for the Owl 320 High Speed, it should read - EPIX PIXCI ECB2: Raptor Photonics Owl-CL High Speed. If not, you need to select a different camera.
- Page 10 Figure 5: Image Capture 12. You should now see an image. On the bottom of the screen, you should see something similar to the following: Frame: 0 Size: 320 x 256 Resize 0.5x0.5 Video: 25.0fps Capture: 25.0 fps Display: 25.4fps. Figure 6: Live Image Capture Window Changing the settings on XCAP You have the ability to change several settings to control the camera through the tabs in the control...
- Page 11 Frame Rate and Exposure You can also adjust the exposure and frame rate in most tabs. XCAP will automatically lower the frame rate if you input an exposure too long. Likewise, if you input a frame rate too long for the exposure time the exposure time will be reduced.
- Page 12 4.10 Miscellaneous There are two features here, TEC and NUC. Figure 17: Camera Information OW1.7-VS-CL-S/USER MANUAL/07-19/REV1.3...
- Page 13 On this tab, you can select the parameters for the on-board Non Uniformity Correction (NUC); select the 3point NUC Offset, Gain & Dark shown in Figure 13. Figure 14 and Figure 15 show the effect of the NUC off and on. Figure 14: NUC Off Figure 15: NUC On Thermoelectric Cooling (TEC).
- Page 14 4.11 Adjusting the image display (With XCAP Std only) The Viewing Pallet is not automatically adjusted in the XCAP software. This needs manually Configured to give the best display of the RAW image data from the camera. 1. Go to the Modify/Contrast Modification menu, Figure 19. 2.
- Page 15 CORPORATE HEADQUARTERS Raptor Photonics LTD Willowbank Business Park Larne, Co Antrim BT40 2SF Northern Ireland PH: +44 2828 270141 www.raptorphotonics.com OW1.7-VS-CL-S/USER MANUAL/07-19/REV1.3...
Need help?
Do you have a question about the OWL 320 HS VIS-SWIR and is the answer not in the manual?
Questions and answers