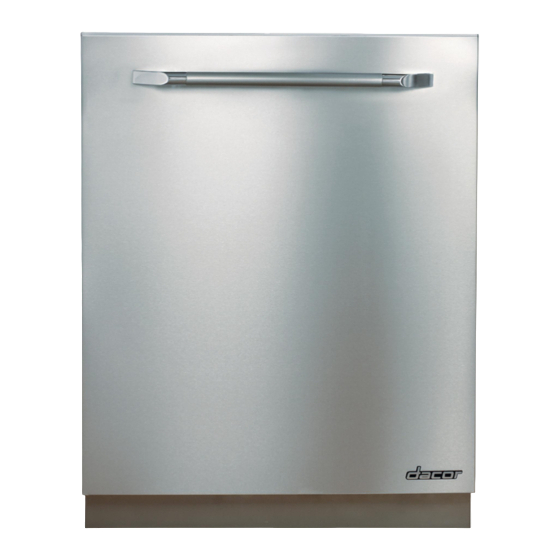
Summary of Contents for Dacor 24GN
-
Page 1: Installation Instructions
24 - INCH DISHWASHER Models: Part No. 101891 Rev. J Installation Instructions ED24, ID24, MDH24, MDV24, PD24AG, PD24BK PD24BU, PD, 24GN, PD24SG, PD24TS... - Page 2 All specifications are subject to change without notice. Dacor ® assumes no liability for changes to specifications. © 2007 Dacor, all rights reserved.
-
Page 3: Table Of Contents
Leave these installation instructions with the customer. Customer: Keep these installation instructions for future reference and the local electrical inspector’s use. All specifications are subject to change without notice. Dacor assumes no liability for changes to specifications. Important Safety Instructions Important Information About Safety Instructions •... -
Page 4: Important Safety Instructions
To reduce the risk of fire, electric shock, serious injury or death when using your appliance, follow basic safety precautions, including the following: WARNING Do not install or operate this dishwasher if it has been damaged, dropped, has damaged electrical conduit or wires or is not working properly. If the product is damaged when received, immediately contact the dealer or builder. -
Page 5: Design Specifications
Important Safety Instructions CAUtION Keep the factory installed high loop drain hose in place to ensure proper dishwasher operation. Do not cut, tie, strap or lower it. If it is necessary to lengthen it, install an aftermarket drain extension kit, available at most home improvement stores. -
Page 6: Important
Contact your local building department for further information. Preparing the Location Carefully check the location where the dishwasher is to be installed. Put it in a location with convenient access. Make certain that electrical power can be provided in the selected location. -
Page 7: Power Supply Preparation
• Install a water supply valve for the hot water supply line where it is easily accessible after the dishwasher is installed. The dishwasher is shipped with a 3/8 male compression fitting to facilitate installation. BACK OF DISHWASHER •... -
Page 8: Installation Specifications
• With the assistance of at least one person, remove the dishwasher from the shipping carton. Place the unit to the side of the cabinet opening. • Remove all of the packing materials from inside and outside of the unit. -
Page 9: Electrical Connection
Before connecting the wiring and the plumbing, push the dishwasher into position with the back of the unit about six (6) inches in front of the cut-out. Remove the two (2) screws that hold the toe kick assembly in place and remove it. - Page 10 With power turned off at the circuit breaker or fuse box, remove the house junction box cover. • Feed the dishwasher wiring into the junction box. Secure the wire with a UL/CSA approved strain relief. • Strip and connect the wires according to one of the wiring diagrams below.
-
Page 11: Plumbing Connections
Level the Dishwasher Level the dishwasher using the adjustable legs on the front and back before sliding the unit into the cut-out. Measure the height of the front and back of the cut-out with a tape measure. - Page 12 Cabinet Panel Installation (Model ID24 Only) Install the custom panel and/or custom toe kick according to the instructions on the included template (Dacor PN 101934). If the panel requires decorative door hardware, attach it before panel installation. ...
-
Page 13: Drain Line Installation
Installation Instructions Drain Line Installation Connect the flexible drain line to the air gap or connect it directly to the waste tee or disposal (see below). For installations without an air gap, put a loop in the drain line as shown. Tighten the holding clamp. -
Page 14: Verifying Proper Operation
• Repeat the above test. • If the appliance still does not work, contact the Dacor Customer Service Team at (800) 793-0093. Do not attempt to repair the appliance yourself. Dacor is not responsible for service required to correct a faulty... - Page 15 Notes...
- Page 16 Dacor ● 1440 Bridge Gate Drive, Diamond Bar, CA 91765 ● Tel: (800) 793-0093 ● FAX: (626) 403-3130 ● www.Dacor.com...


Need help?
Do you have a question about the 24GN and is the answer not in the manual?
Questions and answers