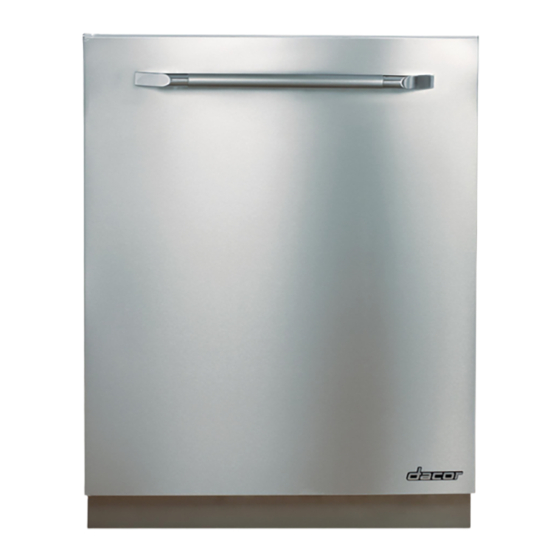
Dacor ED24 Installation Instructions Manual
24-inch dishwasher
Hide thumbs
Also See for ED24:
- Use and care manual (32 pages) ,
- Installation instructions manual (17 pages) ,
- Use and care manual (32 pages)
Subscribe to Our Youtube Channel
Summary of Contents for Dacor ED24
- Page 1 Installation Instructions 24-Inch Dishwasher For use with models: ED24, ID24, MDH24, MDV24 and PD24 PartNo. 101891 Rev. L...
-
Page 2: Table Of Contents
Dacor Customer Service Phone: (800) 793-0093 (U.S.A. and Canada) Monday -- Friday 6:00 A.M.to 5:00 P.M.Pacific Time Web site: www.Dacor.com All specifications are subject to change without notice. Dacor ®assumes no liability for changes to specifications. © 2007 Dacor, all rights reserved. -
Page 3: Important Safety Instructions
WARNING operating this or any other appliance. • Always contact the Dacor Customer Service Team about Hazards Or Unsafe practices that COULD result in severe problems and conditions that you don't understand. See personal injury or death. -
Page 4: General Safety Precautions
A qualified service technician should perform all Many surfaces Within the dishwasher achieve high other service. Contact the nearest Dacor authorized service representative for examination, repair or temperatures. Do not touch interior surfaces or items adjustment. -
Page 5: Design Specifications
Dimensions Tolerances: +1/16",-0, (+1.6 mm,-0) unless otherwise stated • 23 7/8" (60.6 cm) ED24: 33 3/4" 29 5/8" (75.2 cm) (85.7 cm) ID24: 26 7/8" (68.3 cm) 36 1/4" (92.1 cm) -
Page 6: Preparing For Installation
WARNING IMPORTANT: Follow all cabinet and countertop minimum dimensions shown below to insure safe operation. observe all governing codes and ordinances during Prepare the installation location as shown below. All planning and insta!lati0nl contact your 10calbuilding minimum product dimensions be must met or exceeded department for further information. -
Page 7: Power Supply Preparation
Power Supply Preparation Plumbing Preparation The water pressure must be between 20 and 120 psi WARNING (138-827 kPa). The household hot water heater must supply a minimum of 120 °F water to the dishwasher The e!ectdcal power Supply for the dishwasher :must be location for best results. -
Page 8: Installation Instructions
24-Inch Model ID24 only: Integrated template, screws and Integ rated door tensioning springs for heavy door panels. Custom A bottle of Dacor _ Stainless Steel Cleaner is also Panel Installation included with models having stainless steel doors. Tools required for installation:... -
Page 9: Electrical Connection
Electrical Connection Remove the dishwasher junction box cover screw and remove the cover. The junction box is mounted to the dishwasher chassis below the door. WARNING • Do not install the dishwasher unless the electrical service provided meets the dishwasher specifications (see page 5). - Page 10 Electrical Connection (Continued) 13. Feed the electric wire or cord into the utility hole in the side of the cut-out. Pull all of the slack out of the wire. If the unit is to be connected directly to the house wiring: •...
-
Page 11: Plumbing Connections
Installing the Unit in the Cabinet Connections Plumbing Connect one end of the 3/8" flexible braided hot water WARNING inlet hose to the hot water supply valve. Do not allow any material, including the hoses or Prepare to prime the hose by routing it through the electrical wiring to be directly behind the dishwasher back of the unit near the bottom and pull the end out of while pushing it into the cut-out opening. - Page 12 Installing the Unit in the Cabinet Attach the Anti-Tip Brackets: (continued) CAUTION NOTE: The leg nuts can be removed to make the • Make sure to anchor at least one anti-tip bracket on dishwasher lower. To do so: each side of the dishwasher. Turn the leg until it comes out of the chassis.
- Page 13 12 Ibs. (5.4 kg). • Install the custom panel and/or custom toe kick according to the instructions on the included template (Dacor PN 101934). If the panel requires decorative door hardware, attach it before panel installation. CAUTION •...
-
Page 14: Drain Line Installation
Drain Line Installation Connect the flexible drain line to the air gap or directly [_ CAUTION to the drain tee or disposal above the sink trap as shown below. • For proper dishwasher operation and drainage, the drain line must be routed through the bottom of the Tighten the holding clamp. -
Page 15: Verifying Proper Operation
See the inside cover for location. [] Program the dishwasher to run a short wash. See the Dacor is not responsible for the cost of correcting problems use and care manual for specific operating instructions. caused by a faulty installation. - Page 16 ® The Life of the Kitchen? Dacor • Phone: (800)793-0093 • FAX: (626)403-3130 • www.Dacor.com...


Need help?
Do you have a question about the ED24 and is the answer not in the manual?
Questions and answers