Table of Contents
Advertisement
Advertisement
Table of Contents

Subscribe to Our Youtube Channel
Related Manuals for Fagor FDO900X


Summary of Contents for Fagor FDO900X
- Page 1 USERS MANUAL oven...
-
Page 2: Table Of Contents
• Description • Accessories SAFETY RECOMMENDATIONS HOW TO INSTALL YOUR OVEN • Electrical connections • 1st connection or change of the power cable • Dimensions for installation use P.10 HOW TO USE YOUR UPPER OVEN • How to cook straightaway P.11... -
Page 3: Introduction
Dear Customer, You have just acquired a F F A A G G O O R R o o v v e e n n and we would like to thank you. Our research teams have created this new generation of appliances for you so that cooking is a pleasure every day. -
Page 4: Your Oven
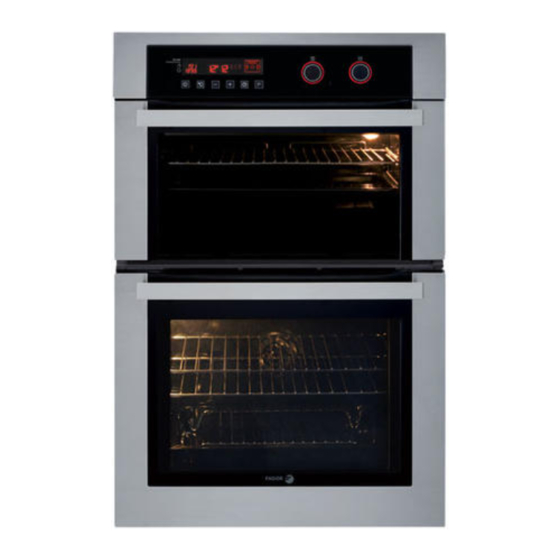
YOUR OVEN U U p p p p e e r r o o v v e e n n L L o o w w e e r r o o v v e e n n Feature selector... -
Page 5: Accessories
ACCESSORIES • • Anti-tip safety shelf Food can either be placed on the shelf in a dish or cake tin for cooking or browning. • • Sloped 45 mm dish equipped with a special grid for grilling It serves to collect juices and fat from cooking meat or fish placed directly on the grid during a grill or pulsed grill sequence. -
Page 6: Safety Recommendations
You may notice a particular odour, or a small release of smoke. All of this is nor- — Do not use your oven as a larder or to store mal. any items after use. -
Page 7: Caring For The Environment
This appliance complies with the following European directives: - Low Voltage Directive 2006/95/CE for affixing the CE mark. - Electromagnetic Compatibility Directive 89/336/CEE modified by directive 93/68/CEE for attaching the CE mark. - CE regulation 1935/2004 concerning materials and objects intended for contact with food substances. -
Page 8: How To Install Your Oven
We cannot be held responsible for any accident resulting from inexistent, defective or inco rrect earthing. If the electrical installation in your residence requires any changes in order to hook up your appliance, contact a professional electrician. If the oven malfunctions in any way, unplug the appliance or remove the fuse correspon- ding to the sector where the oven is hooked up. -
Page 9: 1St Connection Or Change Of The Power Cable
1 st CONNECTION OR CHANGE OF THE POWER CABLE • • — — The power cable (H05 RR-F, H05 RN-F or H05 VV-F) must be of sufficient length to be con- nected to the build-in oven while it sits on the floor in front of the cabinet. -
Page 10: Dimensions For Installation Use
(*) if the cabinet is open, its opening must be • Centre the oven in the cabinet so as to guar- 70 mm (maximum). antee a minimum distance of 5 mm between the appliance and the cabinet beside it. -
Page 11: How To Use Your Upper Oven
The walls of the upper oven are covered with normal enamel, the oven is best used: - With a thermostat setting of 50 to 250 for dishes which cause little or no spitting or soiling, such as small and large cakes, etc. -
Page 12: Upper Oven Cooking Modes
K K E E E E P P I I N N G G T T H H I I N N G G S S W W A A R R M M •This position allows you to keep your food warm by bursts of heat from the element... -
Page 13: How To Change A Bulb
The lamp is accessible: I I n n s s i i d d e e t t h h e e o o v v e e n n . . The bulb is located on the ceiling of your oven’s cavity. -
Page 14: How To Use Your Lower Oven
HOW TO USE YOUR LOWER OVEN CLOSE-UP OF YOUR PROGRAMMER • • Cooking modes display Control panel lock indicator (child safety device). Oven temperature display Setting the temperature Shelf support indicator and select- Start/Stop ed cooking mode indicator. Temperature rise indicator... -
Page 15: How To Set The Time
HOW TO USE YOUR LOWER OVEN HOW DO YOU SET THE CLOCK ON THE OVEN ? • • • How to set the time When plugged in The displays flashes 12:00 (fig.1). fig.1 Set the time by pressing the + or - buttons (holding your finger on the button allows you to scroll through the numbers rapidly) (fig.2). -
Page 16: How To Program For Immediate Cooking
Warning After a cooking cycle, the cooling fan continues to operate for a period of time in order to guarantee optimal oven reliability. Warning All types of cooking are done with the door closed. -
Page 17: How To Set A Cooking Programme
The display flashes 0:00 to indicate that you can now adjust the setting (fig. fig.1 - Press the + + or - - buttons to set the desired time. Example: 30 mins cooking time (fig. — Confirm using the OK button. - Page 18 P P r r o o c c e e e e d d a a s s w w i i t t h h p p r r o o g g r r a a m m m m e e d d c c o o o o k k i i n n g g .
-
Page 19: How To Use The Timer
- Press the button O O K K to confirm or wait a few seconds. fig.2 The display stops flashing after a few seconds and the timer starts working, counting down the time in seconds. Once the time has expired, the timer emits a series of beeps to notify you. -
Page 20: Child Safety
Warning Make sure the appliance is disconnected from the power before replacing the lamp in order to avoid the risk of electric shock. Change the lamp only when the appliance has cooled down. • The bulb is located on the ceiling of your oven's cavity. - Page 21 •Recommended for all r r o o a a s s t t s s , for sealing and thoroughly cooking l l e e g g , c c u u t t s s o o f f b b e e e e f f .
- Page 22 •After preheating, place the ball of dough on the pastry dish - 2nd shelf. •Don’t forget to place a ramekin of water on the base to obtain a golden crispy crust. * Programme(s) used to obtain the results indicated on the energy label in compliance with...
-
Page 23: How To Clean The Cavity Of Your Oven
(fig.4). At the end of pyrolysis, 0:00 starts flashing as well as the symbol - - When the oven is cool, use a damp cloth to remove the white ashes. The oven is clean and once again ready for fig.4... -
Page 24: Perform A Pyrolysis (Delayed)
The end of cooking symbol flashes to indicate that it is now possible to set it (fig.1). - Press the + or - button to set the desired end time (fig.2). Example: end of cooking at 18:00. Confirm by pressing the button OK. -
Page 25: Troublesooting
125°C. - Call After-Sales Service • If it does not stop after one hour. Department. • The door is not properly closed. - Verify that the door is locked. • The locking system is defective. - Page 26 CZ5700387-00 04/10...
Need help?
Do you have a question about the FDO900X and is the answer not in the manual?
Questions and answers