
Related Manuals for GIA HTW P22 Series


Summary of Contents for GIA HTW P22 Series
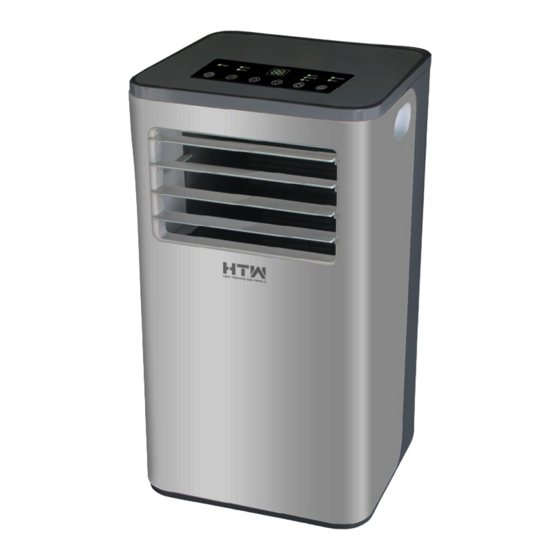
- Page 1 OWNER’S MANUAL PORTABLE P22 y P22WF HTW-PC-026P22 | HTW-PCS-026P22 HTW-PC-026P22WF | HTW-PB-026P22 HTW-PBS-026P22 Thanks for choossing our product. Please, read carefully this manual before using the product...
-
Page 2: Table Of Contents
P22 and P22WF SERIES Content I. Notes II. Features and Components III. Installation and Adjustment IV. Control Setting V. Drainage Instructions VI. Maintenance VII. Troubleshooting VIII. Appendix... -
Page 3: Notes
Thank you for choosing the luxurious and elegant mobile air conditioning. Please keep the manual for later review, and read the manual carefully before use. Notes Notes: *The air conditioning is only suitable for indoor use, and is not suitable for other applications. - Page 4 intact and firmly plugged into the power outlet, and place the power cord orderly to prevent someone from being tripped or pulling out the plug. *Do not put any object into the air inlet and outlet of the air conditioning. Keep the air inlet and outlet free from obstructions.
- Page 5 must disconnect the power supply, and clean it with a half-wet soft cloth. If the machine is really dirty, scrub with a mild detergent. * The appliance can be used by children aged from 8 years and above and persons with reduced physical, sensory or mental capabilities if they have been given supervision or instruction concerning use of the appliance in a safe way and understand the hazards involved.
-
Page 6: Features And Components
Features and Components 1. Features New look, compact structure, streamlined machine, aristocratic atmosphere. With cooling, dehumidification and fan function, Continuous Water Drainage Functions. LED displays the control panel. The machine is beautiful and elegant. High-quality remote control is equipped to facilitate operation. It adopts a user-friendly remote control design. - Page 7 Components:...
-
Page 8: Installation And Adjustment
Exhaust Pipe Assembly Window Sealing Plate Assembly Installation and Adjustment 1. Installation: Warning: before using the mobile air conditioning, keep it upright for at least two hours. The air conditioning can be easily moved in the room. In the moving process, ensure that the air conditioning is in the upright position and the air conditioning should be placed on a flat surface. - Page 9 1.2 Install the window sealing plate assembly 1) Half open the window, and mount the window sealing plate assembly to the window (as shown in Fig.2 and Fig.3); the assembly can be placed in horizontal and vertical direction. 2) Pull various components of the window sealing plate assembly open, adjust their opening distance to bring both ends of the assembly into contact with the window frame, and fix various components of the assembly.1.2 Install the window sealing plate assembly...
-
Page 10: Control Setting
Fig.5 Fig.6 Important Notice The length of the exhaust hose shall be 280~1,500mm, and this length is based on the specifications of the air conditioning. Do not use extension tubes or replace it with other different hoses, or this may cause a malfunction. Exhaust host must be not blocked;... - Page 11 1: When the machine is powered on for the first time, the buzzer will shout, and then the machine will get into standby status. 2: Power Key: press the key to turn on and turn off the machine. In the case of power on, press the key to turn off the machine;...
- Page 12 7: Sleep Mode: In the cooling Mode, Press the UP and Fan Key to turn on the sleep mode,then the unit will work on Energy-Saving and quiet type. Note: 1. Can not turn on the sleep mode in the dehumidifying or Fan mode! 2.
- Page 13 3. Down: press the key to reduce temperature and timing set value. 4. Mode: press the key to switch between cooling, dehumidifying, fan mode, heating mode (for models with heating) 5. Up: press the key to increase temperature and timing set value. 6.
-
Page 14: Drainage Instructions
heating mode. During the protection period, the compressor and the lower motor will stop operation and will automatically return to normal heating state after the temperature of the machine recovers. 3.5 Protection Function of the Compressor To increase the service life of the compressor, it has a 3-minute delay booting protection function after the compressor is turned off. - Page 15 Notes: 1. Restart the machine after the water plug and drainage cover are installed, otherwise condensate water of the machine will flow to the floor or the carpet. 2. Continuous drainage ( ) (only applicable to dehumidifying mode), as Optional shown in figure: 1) Unscrew the drainage cover, and unplug the water plug.
-
Page 16: Maintenance
Maintenance Cleaning: before cleaning and maintenance, turn off the machine and unplug the plug. 1. Clean the surface Clean with surface of machine with a wet soft cloth. Don't use chemicals, such as benzene, alcohol, gasoline, etc.; otherwise, the surface of the air conditioning will be damaged or even the whole machine will be damaged. -
Page 17: Troubleshooting
Unit Storage: 1: Unscrew the drainage cover, unplug the water plug, and discharge the water in the water pan into other water containers or directly tilt the body to discharge the water into other containers. 2: Turn on the machine, adjust it to low-wind ventilation mode, and maintain this state until the drainage pipe becomes dry, so as to keep the inside of the body in a dry state and prevent it from mildewing. - Page 18 The machine is placed in a room with an dehumidification mode, ambient temperature of greater than 17 ℃ (62 ambient temperature is low. ℉). There is direct sunlight. Pull the Curtain. Doors or windows are open; there are Close doors and windows, and add new air a lot of people;...
-
Page 19: Appendix
Appendix Schematic Diagram (for single cooling product) Capillary Condenser Compressor Evaporator Schematic Diagram for Cooling & Heting model All the technical and specific parameters,please refer to product nameplate. Due to continuous improvement,we reserve the right to change some design without any notice. - Page 20 C./ Industria, 13 l Polígono Industrial El Pedregar 08160 Montmeló Barcelona (Spain) Phone: (0034) 93 390 42 20 Fax: (0034) 93 390 42 05 info@htwspain.com www.htwspain.com...
Need help?
Do you have a question about the HTW P22 Series and is the answer not in the manual?
Questions and answers