
Related Manuals for Rail King 2-8-8-2 Triplex


Summary of Contents for Rail King 2-8-8-2 Triplex
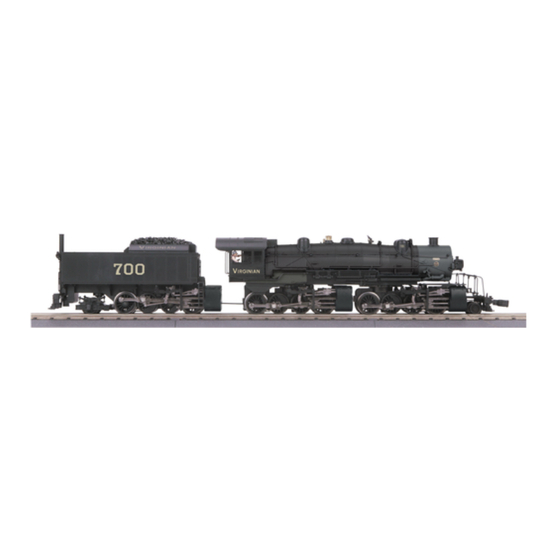
- Page 1 2-8-8-2 Triplex Instructions for Packing and Unpacking It is recommended that you review all these instructions before removing the engine or tender from the poly foam container. www.mthtrains.com...
-
Page 2: Table Of Contents
Table of Contents Opening the Packaging....................3 Removing Engine from the Polyfoam..............4 Unpacking the Engine....................4 Removing the Tender from the Polyfoam..............7 Unpacking the Tender....................8 Repacking the Engine....................9 Repacking the Tender....................12 Assemble the Packing Materials................14... -
Page 3: Opening The Packaging
CAUTION: This engine is heavy and contains many delicate parts. Do not drop the packaging when it contains the engine or tender. Pick a suitable working space with sufficient room to maneuver the engine and packaging. Be careful of the anchor studs protruding form the bottom of the shipping frames. -
Page 4: Removing Engine From The Polyfoam
Removing the Engine from the Polyfoam The engine should be removed before the tender. The tender will then act as ballast in the in the polyfoam making easier to remove the engine. 1. Remove the engine from the polyfoam container by grasping the metal shipping frame and lifting as shown in Fig. - Page 5 Pull the front end of the shipping frame forward and remove the gray from around the headlight. As shown in Fig. 5. Figure 5 With the engine still in the shipping frame lay the engine on its side as shown in Fig. 6 Remove Nuts and studs Figure 6 Using the 7mm and 8mm wrenches, remove the nuts from...
- Page 6 The engine can now be placed on the track. When lifting or carrying the engine, always grasp the engine under both sets of driving wheels. Do not lift the engine by grasping any of the body parts, such as the boiler, the cab or the pilot.
-
Page 7: Removing The Tender From The Polyfoam
Removing the Tender from the Polyfoam Remove the foam blocks shown in Fig. 12. Figure 12 Lift one end of the tender and shipping frame assembly using one of the ribbons to the point where you can grasp the underside of the shipping frame with your hand and lift it out of the polyfoam container. -
Page 8: Unpacking The Tender
Unpacking the Tender When unpacking the tender follow the steps below to avoid damaging your tender during the unpacking process. Remove the nuts from the anchor studs on the bottom of the shipping frame. As shown in Fig. 15. Figure 15 Remove the nuts Slide the brace off of the studs. -
Page 9: Repacking The Engine
Repacking the Engine When repacking the engine in the shipping frame and packaging. Follow the direction below to insure the engine is properly protected. If the top panel of the shipping frame is attached to the shipping frame, it must be removed before the engine can be placed in the shipping frame. Remove the pivot screw from the main chassis Insert a 5mm stud into the threaded hole where the pivot screw was removed. - Page 10 11. Set the engine and shipping frame upright as shown in Fig. 24. 12. Slide the white foam strips into the gap between the sides of the shipping frame in the areas of the drive wheels and the cylinders (Fig. 24.) Figure 24 White foam strip, other is on reverse side 13.
- Page 11 18. Insert the black foam block in front of the smokebox, around the headlight as shown in Fig. 30. Figure 30 19. Reattach the top panel of the shipping frame using the 4 screws supplied. Do not fully tighten any of the screws until all 4 have threaded into the holes.
-
Page 12: Repacking The Tender
Repacking the Tender When repacking the tender in the shipping frame and packaging. Follow the direction below to insure the tender is properly protected. Insert the front anchor stud into the tender chassis. Install the 2 U-shaped brackets onto the bottom of the tender chassis using the mounting holes in the floor. - Page 13 Insert one of the small rubber blocks between the U-shaped brackets and the shipping frame and insert the screw into the bracket, but do not completely tighten it yet. As shown in Fig. 36-39. Insert the other small rubber blocks between the U-shaped brackets and the shipping frame and insert the screw.
-
Page 14: Assemble The Packing Materials
Assemble the Packing Materials Follow the below instruction to be sure that the packaging materials are assembled properly. Place the polyfoam lid on the polyfoam base. Make sure that the lid fits tight to the base properly without any gaps and is not hung up on a part of the engine, the tender or one of the parts contained in the packaging.
Need help?
Do you have a question about the 2-8-8-2 Triplex and is the answer not in the manual?
Questions and answers