Advertisement
Advertisement
Table of Contents

Related Manuals for Sanyo MCD-XJ790 - PORTABLE CD RADIO CASSETTE RECORDER PLAYER CD-R/CD-RW/CD AM/FM STEREO


Summary of Contents for Sanyo MCD-XJ790 - PORTABLE CD RADIO CASSETTE RECORDER PLAYER CD-R/CD-RW/CD AM/FM STEREO
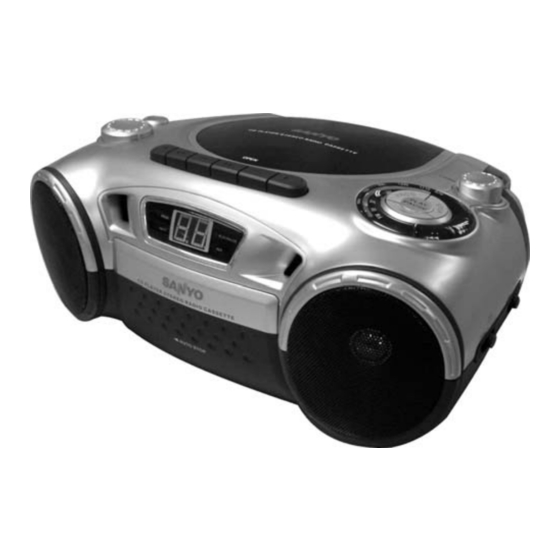
- Page 1 MCD-XJ790 INSTRUCTION MANUAL CD Radio Cassette Recorder...
-
Page 2: For Safe And Efficient Operation
FOR SAFE AND EFFICIENT OPERATION Do not damage the mains lead. When not in use, disconnect the mains lead from the outlet. Grasp the plug. Not the mains lead, when disconnecting the unit. If water should enter the unit, electrical shock or a malfunction may result. Use in an area where there is low humidity and little dust. -
Page 3: Power Supply
Open the battery compartment lid by or old batteries with fresh ones. pushing down on the tabs. 4. If the device is not to be used for a long period of time, remove the batteries to prevent damage or injury from possible battery leakage. - Page 4 2. CD Compartment Door 3. AUX Input Socket 4. BASSXPANDER Button 5. Phones Jack 6. FUNCTION Selector 7. VOLUME Control 8. INT MIC - Build-in Microphone STOP Button 10. TUNING Control /UP Button 12. BAND Selector /DOWN Button 14. RANDOM Button 15.
-
Page 5: General Operation
If a disc is loaded upside down. “--” will be this unit. displayed. NOTE: Place only one disc at a time in the CD If no disc is loaded, “--” will be displayed. compartment. Opening the CD compartment lid while a - Only discs bearing the logo as shown can be CD is playing could scratch the disc. -
Page 6: Compact Disc Operation
- Do not apply paper or write anything on the IMPORTANT NOTE: surface of the disc. If an abnormal display indication, audio - Do not use cleaners or antistatic sprays on noise or an operating problem occurs,... -
Page 7: Track Skip
To review programmed memory number.press PROGRAM one by one, LCD display shows programmed memory number in flashing and programmed music track number in sequence. Note: Once you open CD door, all programs you have made are cleared. REPEAT Press REPEAT once to activate Repeat, press again to activate Repeat All, and press again or press STOP to cancel REPEAT. -
Page 8: Radio Operation
Random mode cannot be activated during programmed play. RADIO OPERATION Tune in a station. Set Function selector to RADIO To control the sound Set Band selector to select a band (AM FM or FM STEREO). FM STEREO indicator will be light on when a station is received at FM STEREO mode. -
Page 9: Cassette Tape Operation
4. To control the sound. compartment. Unless the tape is taut, it may wind around the head mechanism and trouble may result. Use a pencil as shown to take up slack on one of the reels. - Page 10 Insert cassette. WARNING Recording copyright material without permission of the copyright owners is usually an infringement, if you wish to re- record copyright material, permission from the copyright owner is necessary. SANYO does not approve of, and cannot be held responsible for, any unlawful of this machine.
- Page 11 Set Function selector to CD. Open the CD door and place disc with label side facing Safeguards against accidental erasure To protect side A, break out tab (1). To protect side B, break out tab (2). NOTE: A cassette with the erase guard tabs removed cannot be erased or used for recording and the RECORD button cannot be depressed.
-
Page 12: Maintenance
Do not block the ventilation hole. Do not expose to rain or moisture. Cleaning the tape heads When dust or reddish-brown oxide builds up on TROUBLESHOOTING GUIDE Should this unit exhibit a problem, check the following before seeking service Symptom Possible cause Solution Radio... -
Page 13: Specifications
Will not record. Record protection tab removed. Cover hole with tape. Distorted sound on playback. Defective tape or dirty tape head. Replace tape or clean tape head. Compact Disc Player CD Player will not play. Function Selector is not at CD Set Function Selector to CD. - Page 14 SANYO Electric Co., Ltd. Made In China...
Need help?
Do you have a question about the MCD-XJ790 - PORTABLE CD RADIO CASSETTE RECORDER PLAYER CD-R/CD-RW/CD AM/FM STEREO and is the answer not in the manual?
Questions and answers