
Related Manuals for Baxton Studio RODEN NS


Summary of Contents for Baxton Studio RODEN NS
- Page 1 RODEN NS ASSEMBLY INSTRUCTION HARDWARES LIST ITEM DESCRIPTION DRAWING MINIFIX CAM LOCK 24 PCS MINIFIX CAM BOLT 24 PCS WOOD DOWEL (M8 x 25MM) 6 PCS WOOD DOWEL (M6 x 25MM) 4 PCS TRUSS M-SCREW (25MM) 1 PC HANDLE 1 PC...
- Page 2 RODEN NS ASSEMBLY INSTRUCTION PARTS LIST ITEM DESCRIPTION DRAWING TOP PANEL 1 PC LEFT PANEL 1 PC RIGHT PANEL 1 PC BOTTOM PANEL 1 PC BACK PANEL 1 PC WOODEN LEG (i) 1 PC WOODEN LEG (ii) 1 PC WOODEN LEG (iii)
- Page 3 RODEN NS ASSEMBLY INSTRUCTION PARTS LIST ITEM DESCRIPTION DRAWING DRAWER HEAD 1 PC DRAWER BOTTOM PANEL 1 PC DRAWER BACK PANEL DRAWER LEFT PANEL 1 PC DRAWER RIGHT PANEL 1 PC *Note: All parts needed are shown in above picture.
- Page 4 RODEN NS ASSEMBLY INSTRUCTION STEP 1 Begin secure Top Panel (N1) with 4 Minifix Cam Bolt (B) using screwdriver. STEP 2 Then inserting 6 Minifix Cam Lock (A) and 2 Wood Dowel (C) to the Left Panel (N2). NOTE : - Make sure arrows on each (A) point towards nearest edge with hole.
- Page 5 RODEN NS ASSEMBLY INSTRUCTION STEP 3 Inserting 6 Minifix Cam Lock (A) and 2 Wood Dowel (C) to the Right Panel (N3). NOTE : - Make sure arrows on each (A) point towards nearest edge with hole. STEP 4 Inserting 4 Minifix Cam Lock (A) to the Bottom Panel (N4).
- Page 6 RODEN NS ASSEMBLY INSTRUCTION STEP 5 Inserting 4 Minifix Cam Lock (A) and 2 Wood Dowel (C) to the Back Panel (N5). NOTE : - Make sure arrows on each (A) point towards nearest edge with hole. STEP 6 Inserting 3 Minifix Cam Bolt (B) by using screwdriver into the Wooden Leg (N6). Therefore, insert 5 Minifix Cam Bolt (B) by using screwdriver into another Wooden Leg (N7).
-
Page 7: Inside View
RODEN NS ASSEMBLY INSTRUCTION STEP 7 Now, please insert 3 Minifix Cam Bolt (B) into the Wooden Leg (N8) and 5 Minifix Cam Bolt (B) into another Wooden Leg (N9) by using screwdriver. STEP 8 Attach Wooden Legs (N6 & N7) to the Left Panel (N2) and turns the pre-inserting Minifix Cam Lock (A) using screwdriver until fully tighten. - Page 8 RODEN NS ASSEMBLY INSTRUCTION STEP 9 Attach Wooden Legs (N9 & N8) to the Right Panel (N3) and turns the pre-inserting Minifix Cam Lock (A) using screwdriver until fully tighten. INSIDE VIEW STEP 10 Attach Bottom Panel (N4) & Back Panel (N5) to the Left Panel (N2) and the Wooden Legs (N6 & N7) as per diagram below.
- Page 9 RODEN NS ASSEMBLY INSTRUCTION STEP 11 Attach Right Panel (N3) to the Bottom Panel (N4) & Back Panel (N5). Aligning holes and turns the pre-inserting Minifix Cam Lock (A) using screwdriver until fully tighten. INSIDE VIEW STEP 12 Attach Top Panel (N1) to the Left Panel (N2), Right Panel (N3) and Back Panel (N5) as below. Aligning holes and turns the pre-inserting Minifix Cam Lock (A) using screwdriver until fully tighten.
- Page 10 RODEN NS ASSEMBLY INSTRUCTION STEP 13 Then, please insert 2 Minifix Cam Bolt (B) to the Drawer Head (N10) using screwdriver. STEP 14 Inserting 2 Minifix Cam Lock (A) and 2 Wood Dowel (D) to the Drawer Back Panel (N12).
- Page 11 RODEN NS ASSEMBLY INSTRUCTION STEP 15 Inserting 1 Minifix Cam Lock (A), 1 Minifix Cam Bolt (B) and 1 Wood Dowel (D) to the Drawer Left Panel (19) by using screwdriver. NOTE : - Make sure arrows on each (A) point towards nearest edge with hole.
- Page 12 RODEN NS ASSEMBLY INSTRUCTION STEP 17 Attach Drawer Left Panel (19) & Drawer Right Panel (20) to the Drawer Back Panel (N12). Aligning holes and turns the pre-inserting Minifix Cam Lock (A) using screwdriver until fully tighten. INSIDE VIEW STEP 18 Put the Drawer Bottom Panel (N11) into the Drawer Left Panel (19) and Drawer Right Panel (20) as per below shown.
- Page 13 RODEN NS ASSEMBLY INSTRUCTION STEP 19 Attach the Drawer Head (N10) to the Drawer Left Panel (19) & Drawer Right Panel (20). Aligning holes and turns the pre-inserting Minifix Cam Lock (A) using screwdriver until fully tighten. INSIDE VIEW STEP 20 Attach Handle (F) to the Drawer Head (N10) with a Screw (E) by using a screwdriver.
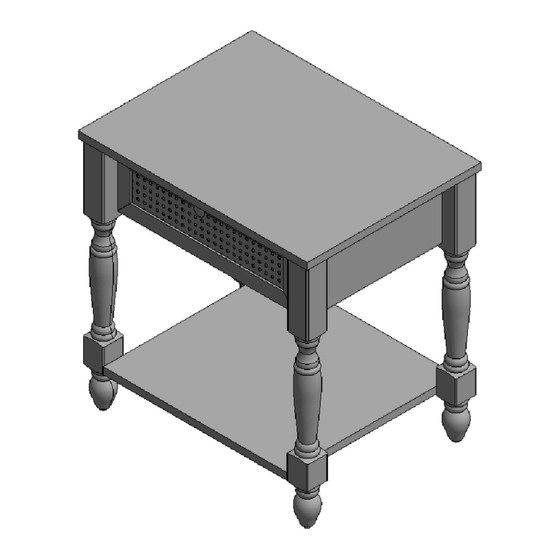
- Page 14 RODEN NS ASSEMBLY INSTRUCTION STEP 21 Push the complete drawer into the nightstand as per below shown. STEP 22 ASSEMBLY COMPLETED PAGE 14 OF 14...
Need help?
Do you have a question about the RODEN NS and is the answer not in the manual?
Questions and answers