Advertisement
Table of Contents
Read this instruction carefully. Remove all wrapping material, staples and straps from the carton. See hardware and furniture part list
For guidance. Be sure you have all wooden furniture parts on a clean and flat soft surface, such as a carpet or rug, to prevent from being
scratched.Follow the figure to start assembling.
CAUTION :
1. Do not FULLY - TIGHTEN the nut or screw until all is ready to assemble.
2. Do not OVER - TIGHTEN the nut or screw to avoid causing damage to the thread.
3. Keep all hardware part out of reach of children at all times.
A
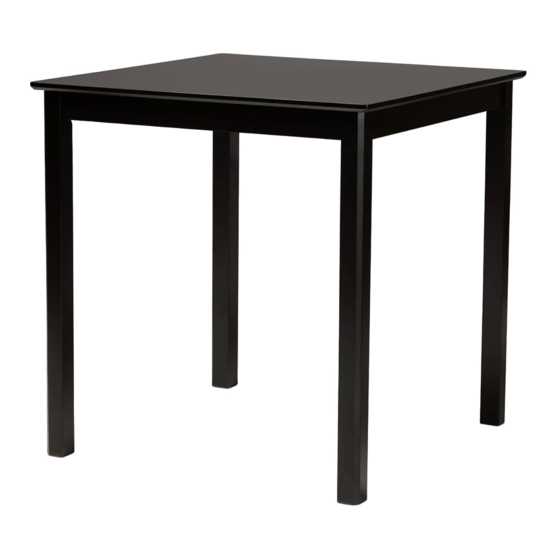
TABLE TOP
TABLE LEG
B
B
A
900 x 900MM
1 PC
4 PCS
B
B
B
HEX.COM SCREW 5 / 16" X 80MM
1
FLAT WASHER 5 / 16"
2
3
SPRING WASHER 5 / 16"
4
SPANNER 12.8
A
3
1
8 PCS
8 PCS
8 PCS
1 PC
B
2
4
Advertisement
Table of Contents

Related Manuals for Baxton Studio RH320P


Summary of Contents for Baxton Studio RH320P
- Page 1 900 x 900MM Read this instruction carefully. Remove all wrapping material, staples and straps from the carton. See hardware and furniture part list For guidance. Be sure you have all wooden furniture parts on a clean and flat soft surface, such as a carpet or rug, to prevent from being scratched.Follow the figure to start assembling.
- Page 2 ASSEMBLY INSTRUCTION PART LIST DESRIPTION Read this instruction carefully. Remove all wrapping material, staples and straps from the carton. See hardware and furniture part list BACK REST 1 PC JCBC SCREW M6 X 50MM 6 PCS For guidance. Be sure you have all wooden furniture parts on a clean and flat soft surface, such as a FRONT LEG 1 PC 4 PCS...
Need help?
Do you have a question about the RH320P and is the answer not in the manual?
Questions and answers