Table of Contents
Advertisement
SERVICE
REFRIGERATOR
REFRIGERATOR
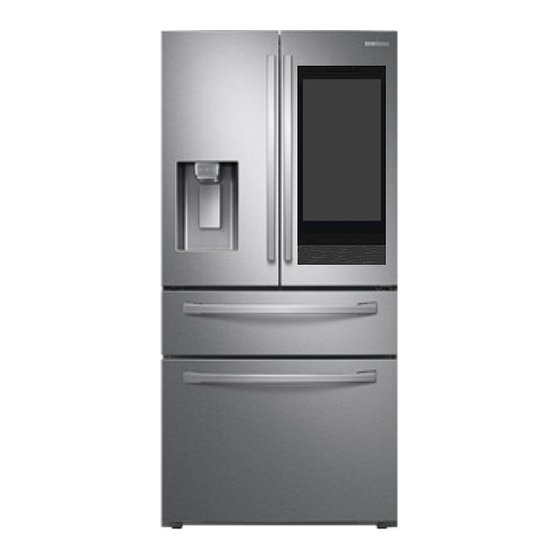
FRENCH DOOR REFRIGERATOR
MODEL NAME : RF28R75*/RF22R75*
MODEL CODE : RF28R7551** /RF22R7551**
Manual
1. Precautions (Safety Warnings) ............................... 6
2. Product Features and Specifications ...................10
3. Disassembly and Reassembly .............................. 37
4. Troubleshooting ..................................................... 74
5. PCB Diagram .........................................................143
6. Wiring Diagram .................................................... 149
7. Block Diagram .......................................................150
8. References ............................................................ 153
CONTENTS
Advertisement
Table of Contents


Need help?
Do you have a question about the RF28R75 Series and is the answer not in the manual?
Questions and answers