
Related Manuals for LUDOMIDE CFL-1162-01


Summary of Contents for LUDOMIDE CFL-1162-01
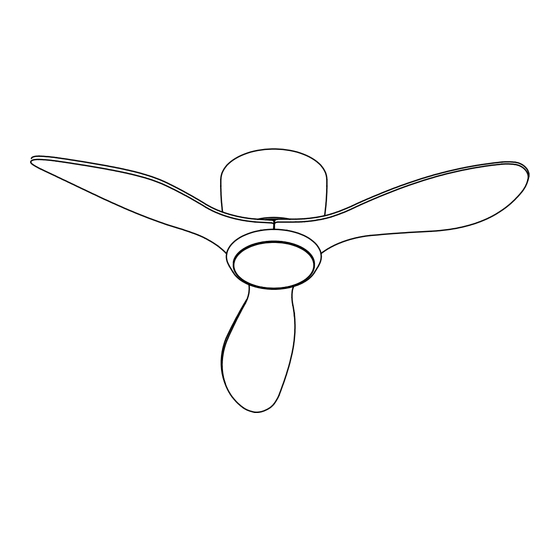
- Page 1 Ceiling Fan with Lights Model No.: CFL-1162-01 APP Control Applicable Scan for Installation Video...
-
Page 2: Contact Information
Contact Information Please contact us with following information: 1. Screen shot of your order page, including product picture, name and order ID number. 2. Problem details with pictures / short video if possbile. Email: lightingcustomercare@gmail.com... -
Page 3: Packing List
Packing List Quantity Description Quantity Description Part Part Iron basin Mounting Bracket LED light Driver Lamp shade DC Motor Remote Control Motor Cover Remote Holder Fan blade... -
Page 4: Installation Kit
Installation kit Description Quantity Part Fan blade Screw Wire nut Pair of Gloves Washer Wood Screw (optional) Machine Screw Note: Some extra hardware may be included. The quantity listed above is the number required for installation. -
Page 5: Safety Rules
Safety Rules 1. Be sure the power to the wires you are working on is disconnected, either the fuse is removed or the circuit breaker is turned off. Turning the power off using the light switch is not sufficient to prevent electrical shock. 2. -
Page 6: Installation Preparation
Installation Preparation Tools You Need Ladder Pliers Screwdrivers Drill Bit Wire Power Drill (optional) (optional) Strippers If mounting to a support structure, you will also need the optional tools. What to Expect with Your Installation You may need a friend to help you. 30 inches from blade tip to nearest wall or... -
Page 7: Installation Step
Installation Step 1 (Mount and Wire) 1. Installing the Bracket Step 1. Pass the power wires through the center hole in the mounting bracket. Step 2. Secure the mounting bracket to the ceiling outlet box or solid wood structure with the screws and washers provided. 2. - Page 8 Installation Step 2 (Assemble the Cover and Blades) 3. Fix the Motor Cover Step 1. Use the Motor Cover to cover the Bracket as indicated by the arrow. Step 2. Rotate the motor cover clockwise and lock it. Assemble the Blades Step 1.
- Page 9 Installation Step 3 (Fix the LED Panel) 5. Install and Wire the Light Step 1. Install the lamp panel and lamp shade in the order of disassembly. Step 2. Connect the wire terminal to the interface on the light panel. Step 3.
-
Page 10: Remote Control Instructions
Remote Control Instructions ①: Turn off power. ②: Natural wind, fan speed will change automatically with this function. ③⑤⑪⑫⑬⑭: Turn on the fan on 1/2/3/4/5/6 speed. ④: Turn off the fan. ⑩: Fan moves forwards or reversely. ⑥⑦: Adjust the brightness of the light. ⑮⑰: Adjust the light color temperature. - Page 11 APP Control Instructions Install the "FanLamp Pro" app from Google Play, Apple App Store, or other app stores by scanning the QR code or searching for the app name. Ensure that your phone is connected to the inter- net and Bluetooth enabled. Pairing: Click the Pair button within 5 seconds after turning on the fan from the wall switch.
-
Page 12: Troubleshooting
Trouble Shooting 1. Fan doesn't work • Make sure the fixture is connected to an ON/OFF wall switch, not dimmer switch. • Check the remote control battery (not included in this package). • Check the circuit breaker to ensure the power is on. •...
Need help?
Do you have a question about the CFL-1162-01 and is the answer not in the manual?
Questions and answers