Advertisement
Gateway 100 Appliance Quick Start Guide
This quick start guide includes the basic steps required to install and connect to your Haivision Media
Gateway/SRT Gateway 100 appliance.
For detailed configuration and operation information, please refer to the User's Guide (available at
https://doc.haivision.com). For the default credentials, refer to the Important Notice document (shipped
with the appliance or available on the Haivision Support Portal at http://support.haivision.com).
Safety Guidelines
Use the following guidelines when unsafe conditions exist or when potentially hazardous voltages are
present:
•
Always use caution and common sense.
•
To reduce the risk of electrical shock, do not operate equipment with the cover removed.
•
Repairs must be performed by qualified service personnel only.
Improper handling and/or installation practices of sensitive equipment may VOID the warranty.
Caution
When handling components, or when setting switch options, always use an antistatic wrist strap
connected to a grounded equipment frame or chassis. If a wrist strap is not available, periodically
touch an unpainted metal surface on the equipment. Never use a conductive tool, such as a
screwdriver or a paper clip, to set switches.
HMG and HSG 3.7
Gateway 100 Appliance Quick Start Guide
Haivision Gateway 100, Version 3.7
1
www.haivision.com
Generated on: 2024-01-25 04:24:59
HVS-ID-QSG-MGW-SFF-3.7
Advertisement
Table of Contents

Related Manuals for Haivision 100 Gen 1

Summary of Contents for Haivision 100 Gen 1
- Page 1 Gateway 100 Appliance Quick Start Guide Haivision Gateway 100, Version 3.7 This quick start guide includes the basic steps required to install and connect to your Haivision Media Gateway/SRT Gateway 100 appliance. For detailed configuration and operation information, please refer to the User's Guide (available at https://doc.haivision.com).
-
Page 2: Connecting The Device
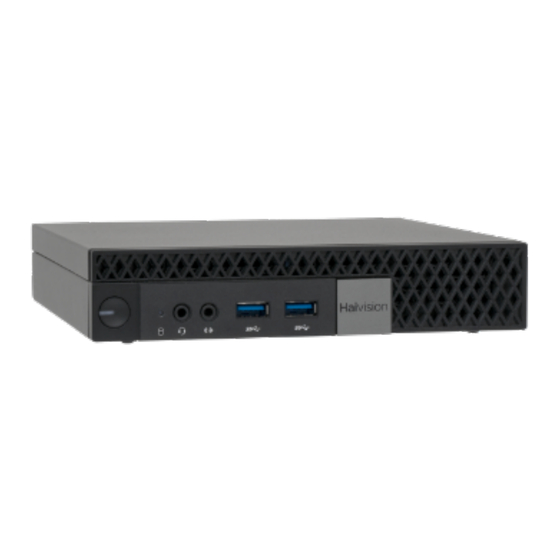
Connecting the Device Open the box, verify the contents, and visually inspect the items for any shipping damage. If necessary, contact Haivision for return instructions. Unpack the box and position the hardware on a stable work surface. Optionally, mount it on a wall, under a desk, or on the back of a monitor. -
Page 3: Changing The Network Settings
On the front of the device, press the Power button to power it on. The power LED lights. Gateway 100 Gen 1 Gateway 100 Gen 2 Gateway 100 Gen 2 Gateway 100 Gen 1 Changing the Network Settings ... - Page 4 Log in to the Console UI using the credentials provided in the Important Notice . In the navigation sidebar, use the ↑↓ (up and down arrow) keys to highlight Network Settings, and then press the Enter key. Using the ↓ (down arrow) to step through all the Network Settings, change the Hostname, IP Address, Gateway Address, Boot Protocol (DHCP or static), and any other settings as necessary.
-
Page 5: Accessing The Web Interface
After pressing Enter, it takes a few seconds for the settings to be saved. The system may seem unresponsive during this time. Select Log Out and then press the Enter key to exit the Console UI. For more details, refer to Using the Console UI with Haivision Hardware. Accessing the Web Interface ... - Page 6 Waste Electrical and Electronic Equipment (WEEE) Disposal In accordance with the European Union (EU) WEEE Directive, Haivision products that fall within the scope of the WEEE, are labeled with the above symbol, and customers are encouraged to responsibly recycle their equipment at the time of disposal. Haivision also offers its customers the option of returning Haivision equipment to facilitate its environmentally sound disposal.
-
Page 7: Obtaining Documentation
Obtaining Documentation This document was generated from the Haivision InfoCenter. To ensure you are reading the most up-to- date version of this content, access the documentation online at https://doc.haivision.com. You may generate a PDF at any time of the current content. See the footer of the page for the date it was generated.
Need help?
Do you have a question about the 100 Gen 1 and is the answer not in the manual?
Questions and answers