Advertisement
Available languages
Available languages
Quick Links
INSTALLATION
MANUAL
1-channel bi-directional emitter
1-kanaals bi-directionele afstandsbediening
1-Kanal bidirektionaler Fernbedienung
1 canal émetteur
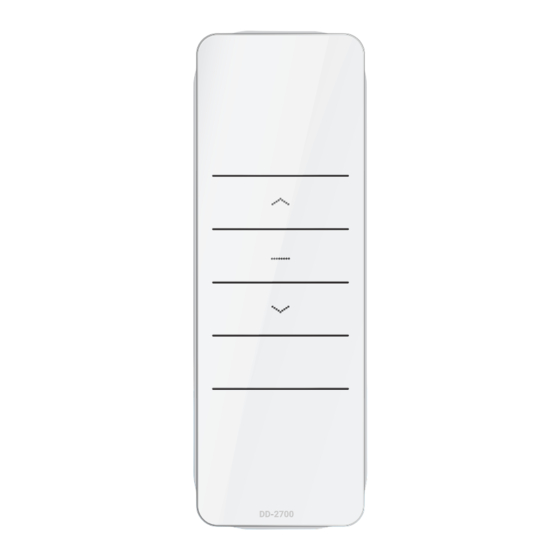
DD2700
Visit our website or scan the QR code for more
manuals and information
Bezoek onze website of scan de QR code voor
meer handleidingen en informatie.
Besuchen Sie unse Website oder scan die QR
code für mehr Handbucher und information.
Visitez notre site Web ou scannez le code QR
pour en savoir plus manuels et informations
www.brel-home.com
DD-2700
Scan the QR code here for the manual and to
download & view instructional videos
M O T O R S
EN NL DE FR
Advertisement

Related Manuals for brel-motors DD2700


Summary of Contents for brel-motors DD2700
- Page 1 MANUAL 1-channel bi-directional emitter 1-kanaals bi-directionele afstandsbediening 1-Kanal bidirektionaler Fernbedienung 1 canal émetteur DD2700 Visit our website or scan the QR code for more manuals and information Bezoek onze website of scan de QR code voor meer handleidingen en informatie.
- Page 2 BREL-Motors erklärt hiermit, dass moteur dans des dieser Motor nach den Richtlinien der environnements humides. CE-Norm 1999/5/EG hergestellt wurde BREL-Motors déclare que ce moteur The motor must be a été fabriqué selon les directives protected from direct de la norme CE 1999/5/CE moisture influences.
- Page 3 Programmeertoets P2 Programmiertaste P2 Bouton de programmation P2 Technical data of the Emitter DD2700 Battery type | Batterij type | Batterietyp | Type de batterie: 3V (CR2450) Battery life | Batterijduur | Batterielebensdauer | Vie de la batterie: 2 years Frequency | Frequentie | Frequenz | Fréquence:...
- Page 4 Page 4 Mono-directional / bi-directional mode switching NOTE The factory default mode is Bi-directional mode, repeat the same operation to switch the mode to mono-directional. Hold down one P2 button and put the battery in Mono-directional mode (LED flashes 1x) Transmitter without battery...
- Page 5 Page 5 Mono-directionele / bidirectionele modusomschakeling NOTE De fabrieksstandaardmodus is bidirectionele modus, herhaal dezelfde handeling om de modus mono-directioneel te schakelen. Druk een P2 toets in en plaats de batterij Mono-directionele modus (LED knippert 1x) Zender zonder batterij Bi-directionele modus (LED knippert 2x) Instellingen blokkeren / deblokkeren LED knippert 3s...
- Page 6 Page 6 Mono-direktional- / Bidirektional-Modusumschaltung NOTE Der werkseitige Standardmodus ist der bidirektionale Modus. Wiederholen Sie alle Vorgänge Modus mono-direktional. Halten Sie eine P2-Taste gedrückt und legen Sie den Akku ein Mono-direktional modus (LED blinkt 1x) Sender ohne Batterie Bidirektional modus (LED blinkt 2x) Einstellungen sperren / entsperren LED blinkt schnell...
- Page 7 Page 7 Commutation de mode mono-directionnelle / bidirectionnelle NOTE Le mode par défaut d'usine est le mode bidirectionnel, répétez la même opération pour changer le mode mono-directionnelle. Maintenez le bouton P2 enfoncé et insérez la batterie Mode mono-directionnel (La LED clignote 1x) Émetteur sans batterie...
- Page 8 Page 8 Pairing an extra remote control in the memory of the motor Koppelen van een extra afstandsbediening in het geheugen van de motor Koppeln von die extra Fernbedienung im Speicher des Motors Appairage d'une télécommande supplémentaire dans la mémoire du moteur Press 1x P2 of the existing channel.
-
Page 9: Installation Of The Motor
Page 9 Installation of the motor The installation of the motor is done in 4 steps. It is important that the steps first read through before starting the installation. Step 1: Pairing the Remote with the Motor There are two ways to pair the remote with the motor. This is depending on the type of motor in the product. -
Page 10: Tips And Tricks
Page 10 Tips and Tricks I can’t connect my motor to my remote control Option 1: Check if the remote control is in the correct mode. Remove the battery from the remote control. Press and hold the P2 key while re-inserting the battery and look on the front panel to see if: a 1 or a 2 appears in the display (15-channels) or if the LED light flashes 1 or 2 times (1 channel). - Page 11 Page 11 Installatie van de motor De installatie van de motor gebeurt in 4 stappen. Belangrijk is dat de stappen eerst doorgelezen worden voordat je met de installatie begint. Stap 1: Afstandsbediening koppelen aan de motor Er zijn twee manieren om de afstandsbediening te koppelen aan de motor. Dit is afhankelijk van het type motor dat in het product zit.
- Page 12 Page 12 Tips en Tricks Ik krijg mijn afstandsbediening niet gekoppeld aan de motor. Optie 1: Controleer of de afstandsbediening in de juiste modus staat. Verwijder de batterij van de afstandsbediening. Druk de P2 toets in, houd deze ingedrukt terwijl je de batterij weer terugplaatst en kijk op de voorkant of er: een 1 of een 2 in het beeldscherm komt (15-kanalen) of dat het LED lampje 1 of 2 keer knippert (1-kanaal).
Need help?
Do you have a question about the DD2700 and is the answer not in the manual?
Questions and answers
Hoe vervang ik de batterij