
Subscribe to Our Youtube Channel
Related Manuals for Voltex CFWL48


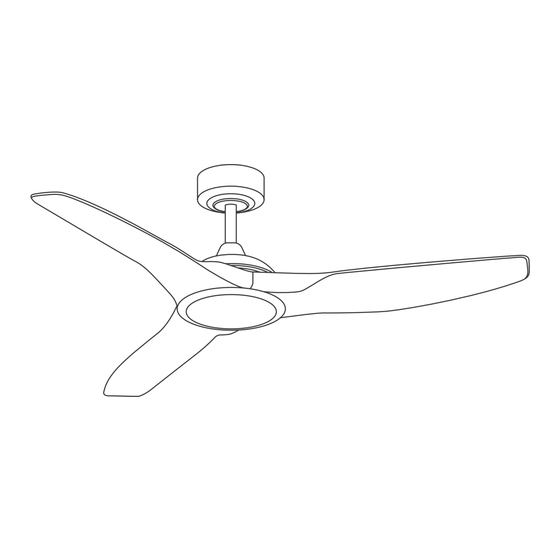
Summary of Contents for Voltex CFWL48
- Page 1 CEILING FAN INSTALLATION INSTRUCTIONS CFWL, CFBL, CFW, CFB CFWL48, CFBL48, CFW48, CFB48 BUSINESS NAME: CONTACT: INSTALLATION DATE:...
-
Page 3: Specifications
SPECIFICATIONS Colours Matte White, Matte Black Motor wattage Motor type Air delivery 239m3 /min on high - 74m3 /min on low Blades Diameter 52”and 48” Blade material Reverse mode Yes (button on remote) Speed High 220RPM – Low 71RPM Remote w/ LED 6 speed and w/o LED 5 speed remote included Warranty 7 years... - Page 4 CEILING FAN INSTALLATION INSTRUCTIONS IMPO RTA N T INSTA LL AT IO N, USER & WA RRA NTY I NSTRUC TIO NS ¬ Please read these instructions carefully before installing and using the appliance. Keep the instructions handy for future reference. ¬...
-
Page 5: General Safety Warnings
10. Make sure the fan is switched off from the supply mains before cleaning. SAFETY PRECAUTIONS FOR BATTERIES 1. Always use 2 x AAA battery type for CFWL, CFWL48, CFBL, CFBL48, and 1 x A23 12V battery type for CFW, CFB, CFW48, CFB48 with this ceiling fan remote controller. -
Page 6: Parts List
PARTS LIST ITEM QUANTITY Hanger Bracket Down rod Assembly Canopy Clevis Pin Hairclip Pin Canopy Screws Magnetic Cover Coupling Cover Top Housing Fan Motor Assembly Blade Screws Blades LED Light Kit Lampshade Remote Control Receiver Remote Holder... - Page 7 I N S TA L L AT I O N I N S T R U C T I O N S...
-
Page 8: Installation
INSTALLATION This fan is designed for indoor spaces. Though not waterproof, it can be installed in alfresco settings and coastal regions, as long as it is installed in an area safe from water, wind and dust, with at least one wall on the side. - Page 9 I N S TA L L AT I O N I N S T R U C T I O N S Attach fan blades to motor using blade screws provided. Carefully lift the fan and place the down rod with hanger ball assembly onto the hanger bracket.
- Page 10 Plug in all leads from the power input to the receiver. Take the canopy and twist onto the pre-loosened ceiling mount screws carefully. Once the canopy is attached, slide the magnetic ring up to cover the screws.
-
Page 11: Remote Control Settings
I N S TA L L AT I O N I N S T R U C T I O N S REMOTE CONTROL SETTINGS AND OPERATIONS CFWL, CFBL, CFWL48, CFBL48 Fan Off Speeds 1-6 Reverse – Summer/Winter Dim up. (Press, or press and hold dim up button for continuous dimming) Dim down. -
Page 12: Cleaning Safeguards
∂ The LED lamp in the fan is built-in and is non-replaceable. Voltex warrants all its ceiling fans against defective workmanship and faulty materials for 7 years from the original date of purchase. Please retain proof of purchase and electrical certificate of compliance.
Need help?
Do you have a question about the CFWL48 and is the answer not in the manual?
Questions and answers