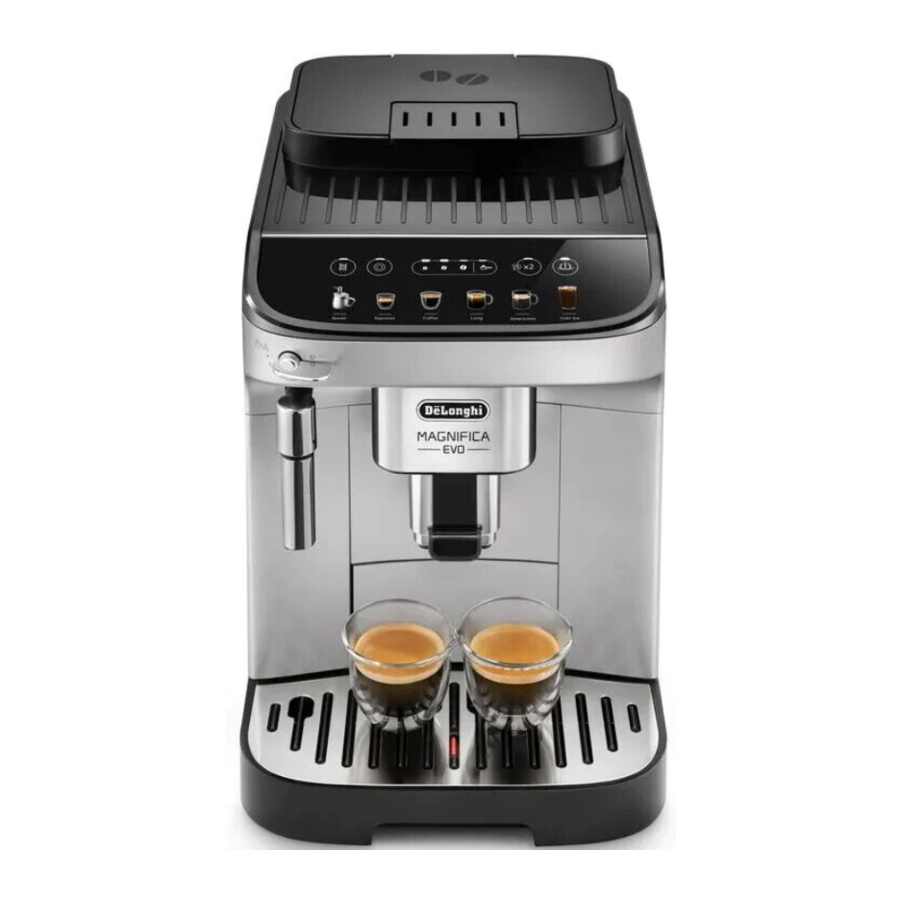
DeLonghi MAGNIFICA EVO (ECAM29063SB) - Coffee Maker Manual
- Instructions for use manual (76 pages) ,
- Quick start manual (24 pages) ,
- Service manual (18 pages)
Advertisement
- 1 EASILY REGISTER YOUR MACHINE & GET MORE OUT OF YOUR ESPRESSO EXPERIENCE
- 2 IN THE BOX
- 3 ACCESSORIES INCLUDED
- 4 CONTROL PANEL & DISPLAY
- 5 GET READY
- 6 BREW ESPRESSO
- 7 MILK RECIPIES
- 8 CUSTOMIZE RECIPES
- 9 EXTRACTION GUIDELINES
- 10 CLEANING
- 11 DESCALING
- 12 INSERT WATER FILTER
- 13 SET WATER HARDNESS
- 14 ACCESSORIES
- 15 Documents / Resources
EASILY REGISTER YOUR MACHINE & GET MORE OUT OF YOUR ESPRESSO EXPERIENCE
Register your Fully Automatic Espresso Machine and become De'Longhi Club Member. Join the De'Longhi Club to get more out of your coffee experience.

De'Longhi Club Member discount: Only members of the Club will receive special offers on coffee accessories.
- TAKE A PHOTO
- Snap a photo of the camera icon, including the points.
![]()
- Snap a photo of the camera icon, including the points.
- SEND PHOTO
- Send a photo via text, Facebook Messenger or upload online.
![]()
TEXT PHOTO TO 71403 ![]()
MESSENGER @PHOTOREGISTER ![]()
ONLINE: WWW.DELONGHI.PHOTO
- Send a photo via text, Facebook Messenger or upload online.


NEED HELP?
Visit photoregister.com/help or text HELP to 71403.
CONTACT US
- Call 1-800-945-0929
- Online: Delinghi.com
VISIT US AT DELONGHI.COM

IN THE BOX

A1. Beans container
A2. Pre-ground coffee funnel lid
A3. Beans container lid
A4. Grinding adjustment dial
A5. Pre-ground coffee funnel
A6. Steam/hot water nozzle
A7. Coffee spouts (adjustable height)
A8. Condensate tray
A9. Grounds container
A10. Cup tray
A11. Drip tray water level indicator
A12. Drip tray grille
A13. Drip tray
A14. Water tank lid
A15. Water tank
A16. Water filter housing
A17. Power cord
A18. Infuser door
A19. Infuser
- Control Panel
Get Started & Owner's Instructions Booklets

This short guide is not intended to explain all the functions of the appliance. Please read all the owner's instruction booklet before use.
ACCESSORIES INCLUDED

C1. "Total Hardness Test " indicator paper
C2. Pre-ground coffee measuring scoop
C3. Descaler
C4. Water softener filter (certain models only)
D1. Milk Spout
D2. Milk Container lid
D3. Milk container
D4. Milk intake tube
D5. Milk container connector
CONTROL PANEL & DISPLAY

B1. ON/Off Button
B2. X2 button / Rinsing function (when pressed and hold for 5 seconds )
B3. Direct recipes
B4. Setting menu button
B5. Milk Clean / Descaling button
B6. Strength selection and pre-ground function buttons
B7. Exhausted water filter indicator light
B8. Water indicator light
B9. General alarm indicator light
B10. Ground container light
B11. Descaling indicator light
GET READY
Remove all stickers and clean all accessories with warm water and mild detergent and dry them. Priming the machine is only rquired the first time out of the box.
- Connect the machine to the mains socket. The Water indicator Light will turn on.
![]()
- Fill the water tank with fresh water
![]()
- General alarm and Hot water lights start blinking. Connect the Hot Water Spout to the machine.
![]()
- Add a large water container under both the water/steam spout and coffee spouts. Press the Setting button, which is now blinking.
![]()
- Hot water will be delivered by the water spout. The machine is now primed and ready for use.
![]()


BREW ESPRESSO
The first time using the machine, brew and dump the first 3-4 espressos. If you haven't been using the machine for 3-4 days, perform a rinsing cycle (press and hold X2 Button for about 5 seconds).

- To brew the perfect espresso set your grinder following the "Extraction Guidelines".
![]()
![]()
![]()


- Select one of the recipes on the touch screen. Preparation will start with default strength and quantity, which can be changed by customizing your recipes.
![]()
- To Brew doppio, first press the X2 button and then select your espresso recipe.
![]()


MILK RECIPIES
To make a Milk recipe, use the provided milk container. Use cold cow milk or your preferred milk alternative. Whole milk or oat milk will give the best results.
- Open the Milk container lid by twisting clockwise, in the direction of
![]() and make sure the intake tube is correctly insert.
and make sure the intake tube is correctly insert.
![]()
- Fill the container with cold cow milk or your preferred plant based milk alternative. The graduated scale on the side of the container will give you indications on how much milk to use based on the different recipes.
![]()
- Lock the milk container lid by twisting counterclockwise, in the direction of
![]() .
.
![]()
- Remove the water spout and insert the milk container.
![]()
- Place a cup under the milk and coffee spouts and press the desired milk recipe.
![]()
- To clean the milk system, place a empty container under the milk spout and press the Milk Clean button.
![]()


CUSTOMIZE RECIPES
- Strength Personalization: Personalize the stength
![]() of recipes by selecting the desired option.
of recipes by selecting the desired option.

- Quantity Personalization: You can change the default quantity by pressing and holding the button of the recipe you want to modify until it blinks. Delivery begins. Press again to stop at the desired level. The new parameter is now saved.

- Preground: To use pre-ground coffee, press the icon
![]() and add one measuring scoop of pre-ground coffee in the dedicated funnel, then select the desired recipe.
and add one measuring scoop of pre-ground coffee in the dedicated funnel, then select the desired recipe.


EXTRACTION GUIDELINES
Depending on your choice of beans, you might need to adjust the grinder setting to a finer or more coarse choice.

- Flow like warm honey
- Nut-brown Crema
- Well balanced and lingering taste

- Flowing fast like water
- Light and pale Crema
To make it perfect:

- Adjust grinding setting to a finer setting
- Select a higher strength

- Flowing in drips or not at all
- Crema very dark and not uniform
To make it perfect:

- Adjust grinding setting to a coarser setting
- Select a lower strength
CLEANING
Keeping your machine clean will improve quality of the beverage and life span of the machine.
- Empty drip tray daily and empty coffee ground container when lights come up.
![]()
- Once a month, clean the inside of the machine. Follow User Manual detailed instructions.
![]()
- Remove intake tube by simply pulling. Remove the Milk Spout by positioning it vertically and then pulling it out. Clean these parts by hand or dishwasher.


DESCALING
- Press the button to extract the Milk lid connector and clean it by hand or dishwasher.

- Promptly descale when indication light comes on. The frequency of the need to descale of the machine depends on the water hardness setting. See User Manual for more information and detailed instructions.

INSERT WATER FILTER
To ensure better quality of the water install the provided water filter. Under normal use, filters last about 2 months. If coffee maker is left unused, the filter will last a maximum of 3 weeks*. You can purchase extra filters on www.delonghi.com
*The type of filter may vary.
- Turn the date indicator disk until the next two months are displayed.
![]()
- Fill the filter with water submerge it inside the filled water tank, until all air bubbles have escaped.
![]()
- Place the filter in the filter housing on the tank and cover with the lid. Put the water tank back in the machine.
![]()
- Insert the Hot Water Spout.
![]()
- Now you have to tell the machine you installed a new filter. Proceed by pressing the button sequence shown in the picture.

- Water will be delivered and will stop automatically. The filter is now successfully installed.


Note the machine will let you know when it's time to substitute the filter when the light will turn on.
SET WATER HARDNESS
Analyze the hardness of your water to set your machine accordingly.
- Dip the provided Total Hardness Indicator in a glass of water for one second and shake it.
![]()
- Wait a couple of minutes. Read the Indicator paper colors and compare with this table.
![]()
- Set Water Hardness on your machine by accessing the setting menu pressing
![]() for 5 seconds and then pressing
for 5 seconds and then pressing ![]() .
.
![]()
- Use the Strength selector to chose the water level, based on the water hardness test results.
![]()
- Confirm Selection by pressing Coffee
![]() . Exit the setting menu by pressing
. Exit the setting menu by pressing ![]() .
.
![]()


ACCESSORIES
Enjoy our full line of drinkware: an exclusive line of Espresso, Cappuccino and Latte glasses.

Coffee Care & Maintenance
Experience the De'Longhi Care Kit Line to improve the performance of your fully automatic machine.

... to learn more about the De'Longhi accessories visit: delonghi.com
Need help?
SCAN HERE

Documents / Resources
References
![www.delonghi.photo]() Welcome | DeLonghi
Welcome | DeLonghiDe'Longhi | Espresso Machines, Kitchen & Home Appliances
![photoregister.com]() Photoregister | Help
Photoregister | Help![delinghi.com]() delinghi.com
delinghi.comDe'Longhi | Espresso Machines, Kitchen & Home Appliances

Download manual
Here you can download full pdf version of manual, it may contain additional safety instructions, warranty information, FCC rules, etc.
Download DeLonghi MAGNIFICA EVO (ECAM29063SB) - Coffee Maker Manual
Advertisement


Need help?
Do you have a question about the MAGNIFICA EVO and is the answer not in the manual?
Questions and answers