
Related Manuals for innovita Primo Eco 11 ic D


Summary of Contents for innovita Primo Eco 11 ic D
- Page 1 Primo Eco Primo Eco 11 ic D Primo Eco 14 ic D INSTALLATION, OPERATION AND MAINTENANCE MANUAL Made in Italy...
-
Page 2: Product Data Sheet
The device is well built in accordance with the current legislation. The CE sign positioned on the product indicates that it conforms to the following European Directives and Regulation: • Regulation Gas Appliance (UE) 2016/426 • European Standard: gas-fired instantaneous water heaters for the production of domestic hot water EN 26:2015 •... - Page 3 WARNING Before connecting the water heater, make This booklet contains information relevant to the sure the display cables are connected user as well as the installer. The user must read the following chapters: Gene- ral safety, Flue gas device and Operation. In parts of the manual the following symbols are used: WARNING = for actions that require caution...
-
Page 4: General Safety Warnings
GENERAL SAFETY WARNINGS The Operation Manual is an integral part of the product and so must When using the device the following safety rules must be applied: be carefully preserved in order to accompany the product; if it is Do not use the machine for purposes other than those inten- lost or damaged another copy can be requested from the Technical ded by the manufacturer. -
Page 5: Description Of The Appliance
To reduce NOx emissions it is necessary to cool the flame. of thermal efficiency, generating an optimal combustion with low emissions. Primo Eco 11 ic D Primo Eco 14 ic D ø 1 1 0 i n t ø 1 3 0 i n t . -
Page 6: Installation
2. INSTALLATION Indirect ventilation from adjacent areas are permitted with the fol- lowing limitations: 2.a Regulations - The adjacent area is equipped with direct ventilation The use of gas devices is controlled by precise regulations. - The devices within the area to ventilate are connected to a waste It is essential to observe all the regulations in force. -
Page 7: Water Connection
the device is installed and must be made of materials resistant to - check that the device receives the type of gas it is manufactured mechanical strain, heat and the effects of combustion by-products to process; and their condensation. The flue gas temperature must always be - check that the gas supply pressure does not go beyond the ma- above condensation temperature in all points of the smoke channel ximum pressure values displayed on the information plate;... -
Page 8: Gas Transformation
2.h Gas transformation After regulating seal the lid with paint, lacquer or other Transforming the product so it may receive a different type of gas such materials. can be easily performed even while it is mounted. The instructions for transforming and regulating the product to receive various types Check that all the disassembled parts are perfectly sea- of gas are below. -
Page 9: Operation
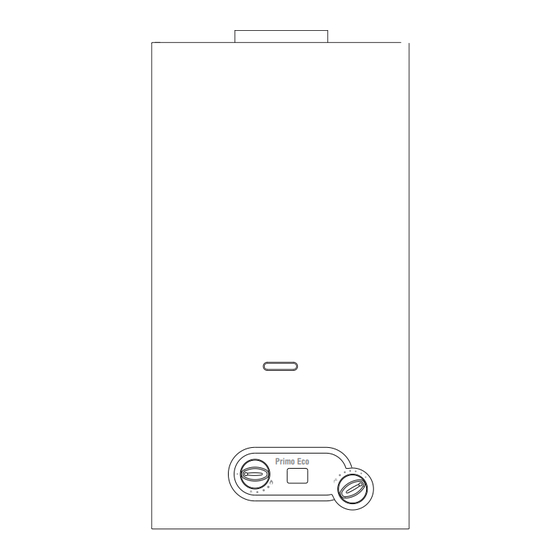
3. OPERATION A = Gas economizer on/off • off position minimum gas level Primo Eco maximum gas level B = Water temperature selector C = Display, viewer water temperature Fig. 16 3.a Function The water heater is used for the production of instant hot water. If within 60 seconds the device does not function it is blocked. -
Page 10: Troubleshooting Problems And Solutions
4.a Removing the casing To remove the outer casing follow the steps below: - Remove the selector Knobs (A and B) - Remove the screws (C) - Shift the casing upwards to free it from the upper and lateral ho- - Shift the casing forwards - To reinsert the casing, follow the above steps in reverse order Fig. -
Page 11: Serial Number Plate
5. SERIAL NUMBER PLATE Category Appliance type Nominal feed pressure Pn = Nominal power usage Qn = Nominal thermal range Pm = Minimal power usage Qm = Minimal thermal range Pw max = Maximum water pressure Voltage...
Need help?
Do you have a question about the Primo Eco 11 ic D and is the answer not in the manual?
Questions and answers
Can I install a horizontal flue to this boiler