Table of Contents
Advertisement
Quick Links
Advertisement
Table of Contents

Subscribe to Our Youtube Channel
Related Manuals for EPH Controls eTRV-HW


Summary of Contents for EPH Controls eTRV-HW
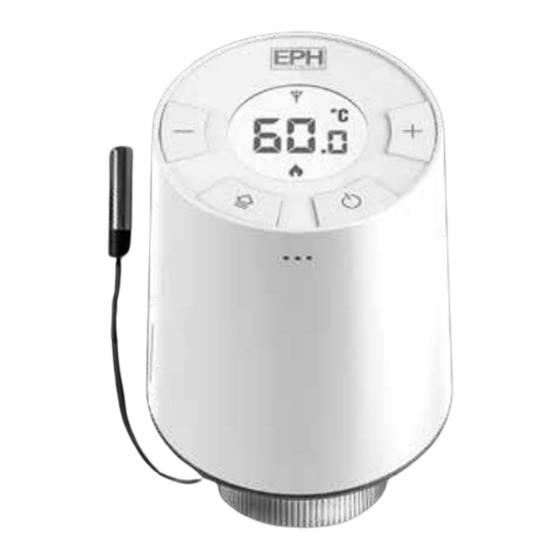
- Page 1 eTRV HW Smart Hot Water Thermostat Installation & Operation Guide...
-
Page 2: Table Of Contents
Mounting of Temperature Sensor Operating Instructions LCD Symbol Description Button Description Replacing the Batteries Error Codes Boost Function Locking and unlocking the eTRV-HW Changing the Mode Adjusting the Target Temperature Connecting an eTRV-HW to the RF16 Controller Disconnecting an eTRV-HW from the RF16... - Page 3 Operating Instructions Continued Menu P1 CAL - Calibrate P2 Hi & Lo - Setting high & low limits P3 rSt - Resetting the eTRV-HW P4 bL - Backlight P5 HOn - Hysteresis...
-
Page 4: Installation Instructions
Smart Hot Water Thermostat Installation Instructions... -
Page 5: Factory Default Settings
˚C Ambient temperature: 0…45˚C Ambient admissible humidity: 5-95% RH Backlight: White IP rating: IP20 Hysteresis : Adjustable from 0 to 10°C (Switching di erential) * Based on average estimated usage. Li-FeS2 (Lithium Iron) batteries available from www.ephcontrols.com EPH Controls Ltd. -
Page 6: Important Notes
The batteries should be changed immediately. Normally the eTRV-HW will stop operating soon after this noti cation. When the eTRV-HW shows a fault E4 – the motor is not operating correctly, this is normally due to a battery issue –... -
Page 7: How Your Etrv-Hw Works
How your eTRV-HW works The eTRV-HW is designed to control and operate a hot water valve wirelessly. When the eTRV-HW is calling for heat, it will communicate wirelessly to the RF16 controller which will activate your heating system to heat the hot water. When the eTRV-HW reaches its de ned setpoint temperature it will close the hot water valve and stop calling for heat. -
Page 8: Mounting & Installation
Mounting & Installation Caution! If the eTRV-HW is used in a way not speci ed by the ƒ manufacturer, its safety may be impaired. Prior to setting the eTRV-HW, it is necessary to complete all ƒ required settings described in the mounting & installation section. - Page 9 RF16 and it will retract the spindle. 4) Position the eTRV-HW on the valve so the screen is orientated correctly. Note: The eTRV-HW is designed for use with SEMTRVB22C Valve.
-
Page 10: Mounting Of Temperature Sensor
IN THERMAL POCKET: To ensure accurate control, the temperature sensor should be inserted into the thermal pocket. It is essential that the sensing element is inserted as far as possible. The temperature sensor can be xed using the provided foil tape. eTRV-HW... -
Page 11: Operating Instructions
Smart Hot Water Thermostat Operating Instructions... -
Page 12: Lcd Symbol Description
LCD Symbol Description Wireless symbol Battery low Limit active Room Temperature Boost Time Lock Heating ON symbol eTRV-HW... -
Page 13: Button Description
Button Description Minus Button Plus Button Boost Button On / O Button Shortcuts Hold for 10 seconds for keypad lock. Hold for 5 seconds to access the menu. Hold for 5 seconds for RF connection. EPH Controls Ltd. -
Page 14: Replacing The Batteries
Slide the cover back on to the eTRV-HW and it will return to it’s normal operation. To install the two battery please press the Put in 2 x AA batteries. -
Page 15: Error Codes
Error Codes The eTRV-HW will display error codes if there is a problem. 1) E4 Motor Issue – Check Batteries If E4 still shows after premium batteries are used, the eTRV-HW needs to be replaced. 2) Battery Low Indication When the batteries are low on the eTRV-HW, the screen will show a low battery icon , this will also show on the zone in the EMBER App. -
Page 16: Boost Function
Boost Function The eTRV-HW can be boosted to a speci c temperature for 30 minutes, 1, 2 or 3 hours. Press once for 30 minutes, twice for 1 hour, three times for 2 hours or four times for 3 hours. -
Page 17: Changing The Mode
The target temperature is now saved. This will change the manual and auto temperature permanently. It is recommended that the boost level and target temperature are set as advised by the installer. See page 30 of the RF16 controller installation guide. EPH Controls Ltd. -
Page 18: Connecting An Etrv-Hw To The Rf16 Controller
Connecting an eTRV-HW to the RF16 Controller On the RF16: Press MENU ‘P01 & rF Cn’ will appear on the screen. Press to con rm. ‘01’ will appear on the screen. Rotate to the required zone. Press to select that zone. - Page 19 On the eTRV-HW: Press and hold for 5 seconds. ‘nOE’ will appear on the screen followed by ‘ - - ’ The eTRV-HW will display ‘r ‘ followed by the zone number. Press to exit from screen. On the RF16: ‘CONNECTED’...
-
Page 20: Disconnecting An Etrv-Hw From The Rf16
Disconnecting an eTRV-HW from the RF16 Controller To Disconnect all zones: On the RF16: Press on the RF16. MENU ‘P01 Cn’ will appear on the screen. clockwise until ‘P06 rF dn’ appears on the Rotate screen. Press to con rm. - Page 21 Press to select the hot water zone to be unpaired. ‘nO’ will appear on the screen. Rotate clockwise. ‘YES’ will appear on the screen. Press to con rm disconnection. Press to exit to the home screen. MENU EPH Controls Ltd.
-
Page 22: Menu
Menu P1 CAL - Calibrate This function allows the user to calibrate the temperature reading of the eTRV-HW. Press and hold for 5 seconds. ‘CAL’ will appear on screen. Press to select. The current actual temperature will appear on the screen. -
Page 23: P2 Hi & Lo - Setting High & Low Limits
‘Lo’ will appear on the screen. The temperature will ash. to select the low limit. Press to con rm and you will return to the menu. Press to exit at any point. ‘LIM’ will appear on the screen of the eTRV-HW. EPH Controls Ltd. -
Page 24: P3 Rst - Resetting The Etrv-Hw
‘nO’ will ash on the screen. to adjust. ‘YES’ will ash on the screen. Press to con rm. The eTRV-HW will now reset and will go to the OFF mode. Press to change between Manual, Auto and OFF. eTRV-HW... -
Page 25: P4 Bl - Backlight
‘bL’ appears on the screen. Press Press to select. ‘AUt’ will display on the screen. to adjust between Auto and OFF. Press to con rm and you will return to the menu. Press to exit at any point. EPH Controls Ltd. -
Page 26: P5 Hon - Hysteresis
‘On’ temperature will begin to ash. to adjust the HOn setting. Press to con rm. ‘OF’ temperature will begin to ash. to adjust the HOF setting. Press to con rm and you will return to the menu. Press to exit at any point. eTRV-HW... - Page 27 Notes...
- Page 28 EPH Controls IE technical@ephcontrols.com www.ephcontrols.com/contact-us +353 21 471 8440 Cork, T12 W665 EPH Controls UK technical@ephcontrols.co.uk www.ephcontrols.co.uk/contact-us +44 1933 322 072 Harrow, HA1 1BD...
Need help?
Do you have a question about the eTRV-HW and is the answer not in the manual?
Questions and answers