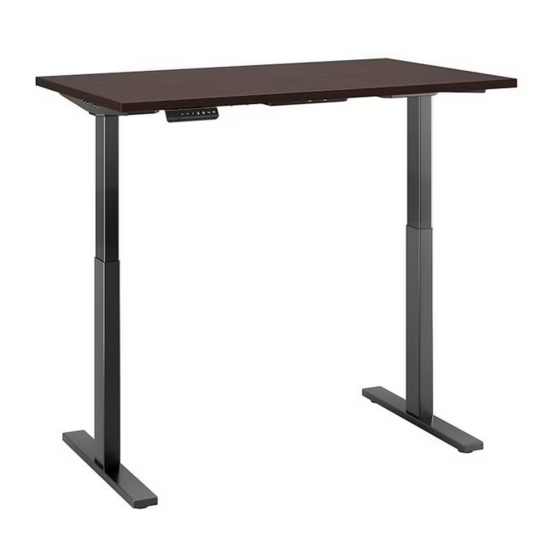
Summary of Contents for bbf Move 60 Series
- Page 2 1,2,3 1,2,3 IT’S AS EASY AS IT’S AS EASY AS Assembly tips: Assembly tips: 1. Read the instructions and become familiar with the parts. 1. Read the instructions and become familiar with the parts. 2. Ensure this carton contains all parts, fasteners and 2.
-
Page 30: Instrucciones De Funcionamiento
Function Instruction-1 Handset lock: Press and hold the "M" button (about 8 seconds) until the LED display switches to "S -" and then to "LOC." Release the button. Fonction-1 Bloqueo de la caja de control Mantenga pulsado el botón "M" (unos 8 segundos) hasta que el indicador LED cambie a "S-" y, a continuación, a "LOC". -
Page 31: Function Instruction
Function Instruction-3 Changing the one-touch & constant-touch Memory key way Press the DOWN button on the Handset until the base reaches its lowest position. Press and hold the DOWN button again until the LED display reads "RST". Press and hold the 1 button (about 5 seconds) while the LED flashes "RST"... - Page 32 Function Instruction-4 Changing LED No. between inches & centimeters Press the DOWN button on the Handset until the base reaches its lowest position. Press and hold the DOWN button again until the LED display reads "RST". Press and hold the 2 button (about 5 seconds) while the LED flashes "RST" and then switches to either: 10.3 = cm 10.4 = inches Release the 2 button.
- Page 33 Function Instruction-5 Setting the Upper-Limit position Use the UP/DOWN buttons to move the base to the desired maximum-height position. Press the “M” button for one time and release, then press the “UP“ button for one time and release. The LED display will show ”S- ”.
- Page 34 Function Instruction-6 Setting the Lower-Limit position Use the UP/DOWN buttons to move the base to the desired minimum-height position. Press the “M” button for one time and release, then press the “DOWN“ button for one time and release. The LED display will show ”S- ”.
- Page 35 Function Instruction-7 Removing the Upper/Lower Limit Positions Press and hold the "M" button until the LED display flashes "S -" and then release it. Within 5 seconds, press the "M" button again and hold for 2 seconds. The LED display will change to "555" and then automatically return to the height display.
- Page 36 ...
- Page 37 ...
- Page 40 Issue Display Error Code Possible Cause Solution Desk Base does not move No Power Verify base is plugged in Loose or defective power Check for loose or damaged power cables cables, replace if necessary Controller Failure Replace is necessary Check for loose or damaged cables or leg or control box, replace if neces- sary;...
- Page 41 Problema Pantalla Código Causa posible Solución Escritorio Base no se mueve Apagado Ninguna energía Verifique base esté enchufada. Apagado Los cables sueltos o Compruebe si hay cables sueltos o defectuosos dañados. Reemplácelos si es necesario. Apagado Falla del controlador Reemplácelos si es necesario Compruebe si hay cables /pata/caja de control sueltos o dañados.
- Page 42 Code d'erreur Problema Ecran Cause possible Solution Bureau de base ne bouge pas Pas d'alimentation Vérifiez la base est branché. Vérifiez que les câbles lâches ou Câbles desserrés ou endommagés. Remplacez-les si défectueux nécessaire Défaillance du contrôleur Remplacez-les si nécessaire Vérifiez que les Câbles/pied/boîtier de commande lâches ou endommagés.


Need help?
Do you have a question about the Move 60 Series and is the answer not in the manual?
Questions and answers