Advertisement
Quick Links
TB330 (Rev9) – CNC12, Hickory, Delta ASD-B3A-E and B3-E Setup & Tuning
Overview: Setup guide for Delta ASDA-B3-E and the ASDA-B3A-E EtherCat drives with the HICKORY CNC
Controller.
Path:
Technical bulletins\TB330\TB330-Centroid_Hickory_Delta_ASDA-B3_setup_rev9.odt
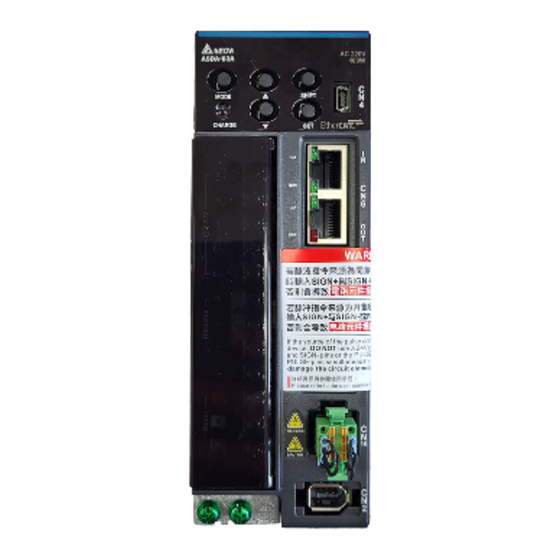
Examples of commonly used 220V Delta ASD-B3A-xxxx-E parts:
Frame
Power
Size
Rating (W)
(mm)
60
400
80
750
80
80
1000
100
130
* any ASD-B3-xxxx-E parts can be used but do not support the Delta STO feature (Safe Torque Off)
XX in cable part number is length in meters and is one of: 03, 05, 10, 20
There are more working combination not listed. Refer to Delta ASDA-B3 series catalog for more details:
https://downloadcenter.deltaww.com/downloadCenterCounter.aspx?DID=19246&DocPath=1&hl=en-US
Z:\tech\Technical bulletins\TB330\TB330-Centroid_Hickory_Delta_ASD-B3_setup_rev9.odt
Motor With
Motor
Brake
ECM-B3M-
ECM-B3M-
CA0604RS1
CA0604SS1
ECM-B3M-
ECM-B3M-
CA0804RS1
CA0804SS1
ECM-B3M-
ECM-B3M-
CA0807RS1
CA0807SS1
ECM-B3M-
ECM-B3M-
CA0810RS1
CA0810SS1
ECM-B3M-
ECM-B3M-
CA1010RS1
CA1010SS1
ECM-B3M-
ECM-B3M-
EA1310RS1
EA1310SS1
Matching
Encoder
Drive*
Cable
ASD-B3A-
0421-E
ASD-B3A-
ACS3-
0721-E
CAEA01xx
ASD-B3A-
1021-E
ACS3-
CREAA1xx
Battery
Power
Box
Cable
ACS3-
CAPW11xx
ASD-
MDBT0100
ACS3-
CRPWA2xx
Page 1
Power
Cable
(Brake)
ACS3-
CAPW21xx
ACS3-
CRBRA1xx
Advertisement


Need help?
Do you have a question about the CNC12 and is the answer not in the manual?
Questions and answers