Sign In
Upload
Download
Add to my manuals
Delete from my manuals
Share
URL of this page:
HTML Link:
Bookmark this page
Add
Manual will be automatically added to "My Manuals"
Print this page
×
Bookmark added
×
Added to my manuals
Manuals
Brands
Vivotek Manuals
Security Camera
SD8311E
Installation manual
Vivotek SD8311E Installation Manual
Speed dome and mounting accessories
Hide thumbs
Also See for SD8311E
:
Quick installation manual
(10 pages)
1
2
3
4
5
6
7
8
9
10
page
of
10
Go
/
10
Bookmarks
Advertisement
Quick Links
Download this manual
VIVOTEK SD8311E, 8312E, 8313E, 8321E, 8322E, 8323E
8362E Speed Dome
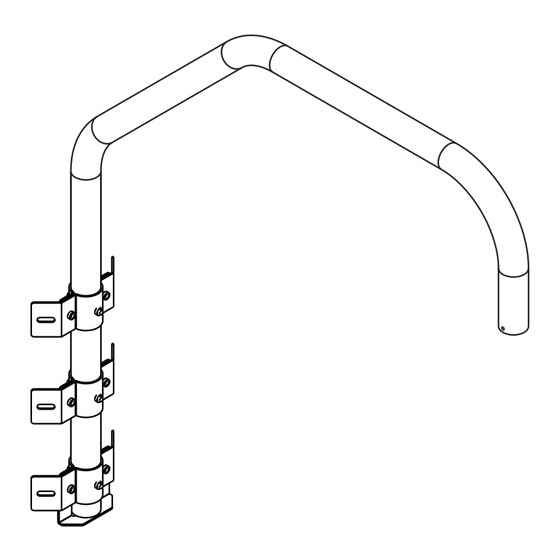
Mounting Accessories
AM5102 Dome Cap
&
AM-231 Parapet Mount
Installation Guide
Rev. 1.0
IP Sur veillance
Previous
Page
Next
Page
1
2
3
4
5
Advertisement
Need help?
Do you have a question about the SD8311E and is the answer not in the manual?
Ask a question
Questions and answers
Related Manuals for Vivotek SD8311E
Security Camera Vivotek SD8311E Quick Installation Manual
Exceptional 60fps wdr pro poe plus (10 pages)
Security Camera Vivotek SD8362E User Manual
Network camera (192 pages)
Network camera Vivotek SD8362E Quick Installation Manual
20x zoom?2mp?full hd (9 pages)
Security Camera Vivotek SD8362E Specification
Speed dome network camera (2 pages)
Security Camera Vivotek IP8162 Specification
(6 pages)
Security Camera Vivotek SD83x4E Quick Installation Manual
Speed dome network camera nema 4x ip66 extreme weatherproof (12 pages)
Security Camera Vivotek SD83x4E User Manual
Speed dome network camera; d1 18x or 36x zoom nema 4x ip66 extreme weatherproof (222 pages)
Security Camera Vivotek SD8333-E User Manual
Speed dome network camera (227 pages)
Security Camera Vivotek Supreme SD8333-M Quick Installation Manual
Speed dome network camera (12 pages)
Security Camera Vivotek SD8333E-M Quick Installation Manual
(11 pages)
Security Camera Vivotek Supreme SD8363E User Manual
Speed dome network camera 1080p 20x zoom nema 4x ip66 extreme weatherproof (14 pages)
Security Camera Vivotek SD8363E Quick Installation Manual
Speed dome network camera (11 pages)
Security Camera Vivotek SD8363E Quick Installation Manual
Speed dome network camera (11 pages)
Security Camera Vivotek SD8363E Quick Installation Manual
Speed dome network camera (222 pages)
Security Camera Vivotek SD83X4E Quick Installation Guid
Speed dome network camera (15 pages)
Security Camera Vivotek Supreme SD83x4E Quick Installation Manual
Speed dome network camera (15 pages)
This manual is also suitable for:
Sd8312e
Sd8313e
Sd8321e
Sd8322e
Sd8323e
Sd8362e
...
Show all
Am5102
Am-231 p
Print
Rename the bookmark
Delete bookmark?
Delete from my manuals?
Login
Sign In
OR
Sign in with Facebook
Sign in with Google
Upload manual
Upload from disk
Upload from URL


Need help?
Do you have a question about the SD8311E and is the answer not in the manual?
Questions and answers