Table of Contents
Advertisement
Quick Links
Advertisement
Table of Contents

Related Manuals for Vivotek Supreme SD8333-M


Summary of Contents for Vivotek Supreme SD8333-M
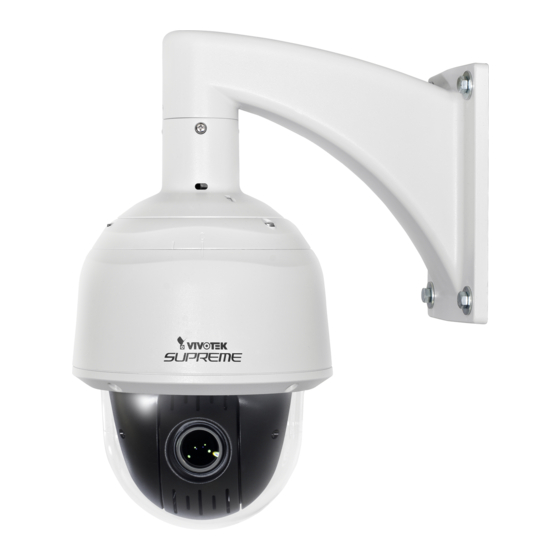
- Page 1 SD8333E/-M Speed Dome Network Camera Quick Installation Guide Русский Česky Svenska 繁中 簡中 日本語 Nederlands Türkçe English Français Español Deutsch Português Italiano Polski Indonesia Dansk 720P • 30x Zoom • NEMA 4x • IP66 • Extreme Weatherproof...
-
Page 2: Package Contents
Warning Before Installation Power off the Network Camera as soon as Refer to your user’s manual for the smoke or unusual odors are detected. operating temperature. Do not touch the Network Camera during Do not disassemble the Network Camera. a lightning storm. Do not drop the Network Camera. -
Page 3: Outer View
Physical Description Outer View This drawing shows a camera with its dome cover removed. Reset Button Network LED Status LED Lens The SD card slot is accessed by removing the top section using the T25 stardriver. Inner View Camera Body Board-to-board Connector SD/SDHC/SDXC Card Slot... -
Page 4: Hardware Installation
Hardware Installation IMPORTANT: If your camera comes without the dehumidifier, you should examine whether the color of the silica gel inside the chassis has turned red. If so, you should replace the desiccant bag. To replace the desiccant bags: 1. Remove the dome cover by loosening 4 T25 anti-tamper screws. -
Page 5: Install The Wall-Mount Bracket
3-1. Install the Wall-mount Bracket 1. The camera weighs 3.66kg. Select a rigid mounting location to prevent vibration to the camera. Attach the alignment sticker to the wall. 2. Drill 4 pilot holes (10mm in diameter and 4cm deep) into the wall, and then hammer in threaded anchors. - Page 6 3-2. Cabling Connections & Attach the Top Section 1. Hold your top section with one hand and pass all cables through the wallmount bracket. 2. Secure the top section to the wall mount bracket. Note that you should turn and orient the top section so that the C mark is facing a direction 15 degrees off the center line.
-
Page 7: Mounting The Camera
3. Connect cables and use sealants and putties to make sure cable joints and the cabling hole are waterproof. 4. Secure the included ground wire to the dome cap, pass it through the mount brack- et, and connect the other end to a grounded conduit later. 5. - Page 8 Network Deployment General Connection 1. Connect the Network Camera's Ethernet cable (CAT5e, CAT6) to a PoE Plus switch. A 30W PoE output port alone can not drive the onboard heater, and hence if using the PoE switch alone, the application does not apply in low-temperature condition. The 30W PoE plus can only drive the camera when it is working at a temperature higher than -5ºC.
-
Page 9: Assigning Ip Address
2. The program will conduct an analysis of your network environment. After your network is analyzed, please click on the "Next" button to continue the program. 3. The program will search for VIVOTEK Video Receivers, Video Servers, and Network Cameras on the same LAN. - Page 11 2050 Ringwood Avenue, San Jose, CA 95131 |T: +886-2-82455282| F: +886-2-82455532| E: sales@vivotek.com |T: 408-773-8686| F: 408-773-8298| E: salesusa@vivotek.com VIVOTEK Netherlands B.V. Busplein 36, 1315KV, Almere, The Netherlands |T: +31 (0)36 5389 149| F: +31 (0)36 5389 111| E: saleseurope@vivotek.com...
Need help?
Do you have a question about the Supreme SD8333-M and is the answer not in the manual?
Questions and answers