Table of Contents
Advertisement
Quick Links
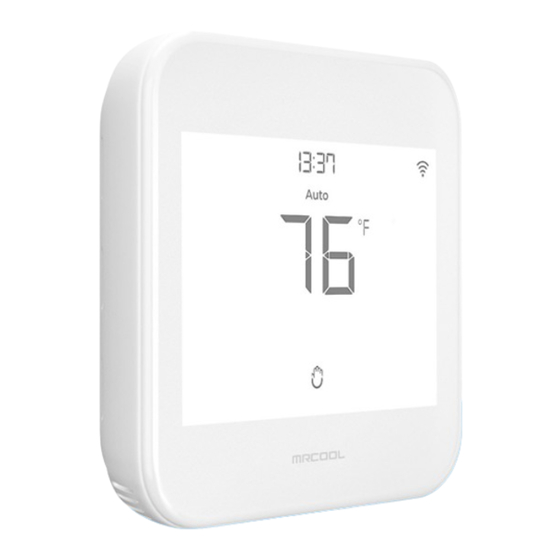
Smart Thermostat
Installation &
Owner's Manual
MODEL:
MST04
Read this manual carefully before installation and keep it where the operator can easily find it for future
reference.
Due to updates and constantly improving performance, the information and instructions within this
manual are subject to change without notice.
Version Date: 12/29/23
Please visit www.mrcool.com/documentation to ensure you have the latest version of this manual.
Advertisement
Table of Contents

Related Manuals for MrCool MST04


Summary of Contents for MrCool MST04
- Page 1 Read this manual carefully before installation and keep it where the operator can easily find it for future reference. Due to updates and constantly improving performance, the information and instructions within this manual are subject to change without notice. Version Date: 12/29/23 Please visit www.mrcool.com/documentation to ensure you have the latest version of this manual.
-
Page 2: Table Of Contents
No long queues, no bots, no delays. We answer 98% of all calls in less than 2 minutes and guarantee that you will talk to a REAL person. For any queries, please visit our website: mrcool.com/contact Call us at: (425) 529-5775 Monday-Friday 9:00am-9:00pm ET... -
Page 3: Packing List & Needed Tools
Thermostat User Manual & Wire Labels Thermostat Backplate Thermostat Wall Plate Mounting Screws Drywall Anchors Tools Needed: • Drill with 3/16" Drill Bit (for mounting anchors) • Phillips Screwdriver • Wire Stripper (Optional) • Hammer (Optional) • Pencil (Optional) mrcool.com... -
Page 4: Installation
Installation 2.1 Installation Preparations Step 1: Power off the system using the: 1. Master Switch 2. Circuit Breaker mrcool.com... - Page 5 Installation Step 2: Ensure system is completely switched off. Double-check that: 1. No air is coming out of the air vents. 2. Main flame is extinguished in the case of a boiler. mrcool.com...
- Page 6 Installation Step 3: Remove currently installed thermostat. mrcool.com...
- Page 7 (See page 1 for contact details.) If none of these indicators are present, continue to the next installation step. WARNINGS FOR PRODUCT INSTALLATION The MRCOOL Smart Thermostat only works with 24V AC. It does not work with line (high) voltage or millivolt systems. mrcool.com...
- Page 8 Installation Step 5: Using a smartphone, take a photo of the old thermostat wiring. mrcool.com...
-
Page 9: Unit Installation & Wiring
Installation 2.2 Unit Installation & Wiring Step 6: 1. Disconnect the old thermostat wires one by one and mark them using the included wire labels. 2. Remove the mounting plate of the old thermostat. mrcool.com... - Page 10 Installation Step 7: Optional-You may use the provided wall plate to hide any marks or holes on the wall left by the old thermostat installation. mrcool.com...
- Page 11 Installation Step 8: 1. Take out the labeled wires through the hole in the middle of the MRCOOL Smart Thermostat backplate. 2. Screw in the backplate using the provided pair of drywall anchors and screws. mrcool.com...
- Page 12 Step 9: Do you have more than one R-Wire? (That includes R, R , and R Yes: Insert your single R, R , or R Insert your wires: wire R or R into the R terminal. H → → mrcool.com...
- Page 13 Installation Step 10: Insert the remaining wires into their corresponding terminals from the side. (Press terminal block buttons for ease of insertion.) mrcool.com...
- Page 14 Installation Step 11: Gently push the excess wires back into the wall hole to ensure that no drafts are coming from it. Take a photo of the backplate. You may need it at the time of registration. mrcool.com...
- Page 15 Installation Step 12: Align the MRCOOL Smart Thermostat with the backplate and press gently to attach it properly. mrcool.com...
-
Page 16: App Installation & Registration
First, check that the thermostat set points are 00. If not, press and hold the Temperature Up and Presets buttons simultaneously until all the buttons vanish. The Bluetooth icon will start blinking, and you can begin the registration process. mrcool.com... - Page 17 Make sure there is no proxy server or authentication server configured on your internet connection. • Make sure there is no captive portal on your Wi-Fi router. Important: Make sure IP isolation or client isolation is turned off on your Wi-Fi router. mrcool.com...
- Page 18 Installing & Registering the App: iOS / Android Install the "MRCOOL Smart HVAC" app from the Apple App Store or Google Play Store. Search for the Smart HVAC app or scan the QR code provided below. Log in to the app if you already have an account. If not, create one using the sign-up option.
- Page 19 For Android OS 8.1 and above, location permission is required to complete the registration process. You may disable it later. Device Registration: iOS / Android Open the MRCOOL Smart HVAC app, tap "Add Device" on the home screen, and select "Smart Thermostat" from the list of devices. mrcool.com...
- Page 20 App Installation & Registration Tap "Continue" to start the registration process. mrcool.com...
- Page 21 App Installation & Registration Give necessary permissions and tap "Continue". Your thermostat will appear on the screen. Follow the on-screen instructions to link your Smart Thermostat with the Smart HVAC app. mrcool.com...
- Page 22 App Installation & Registration After the registration process is complete, tap "Done", and your Smart Thermostat will appear on the Home Screen. mrcool.com...
-
Page 23: Unit Overview
Unit Overview 4.1 App Functionalities Smart HVAC App Controls: mrcool.com... -
Page 24: Device Display
10. Presets Button 17. Wi-Fi Indicator 4. Hold Status 11. Fan Running Indicator 18. Bluetooth Indicator 5. Following Schedule Indicator 12. Auxiliary Heat Indicator 19. Screen Lock/Unlock Indicator 6. Modes 13. Indoor Humidity 7. Active Preset Indicator 14. Indoor Temperature mrcool.com... -
Page 25: Device Controls
Case 2: Wi-Fi Icon with small triangle - Device is connected to the router but has no internet access. Ensure you have a working internet connection and restart the device. Bluetooth Icon: Blinking Bluetooth icon - Device is in broadcast (AP) mode. Please complete the registration process. mrcool.com... -
Page 26: Warranty & License Agreement
6. WARRANTY CONDITIONS; HOW TO GET SERVICE IF YOU WANT TO CLAIM UNDER THIS LIMITED WARRANTY Before being able to claim under this Limited Warranty, the owner of the Product must (a) notify MRCOOL. of the intention to claim by visiting our website during the Warranty Period and providing a description of the alleged failure, and (b) comply with MRCOOL's return shipping instructions. -
Page 27: Troubleshooting
Unit Overview 5-Troubleshooting If your MRCOOL Smart Thermostat doesn't turn on, try these steps: 1. Check the backplate wire connections and ensure they are inserted properly into the terminals. 2. In the case of one R-Wire, make sure it is inserted into the RC terminal. - Page 28 Smart Thermostat The design and specifications of this product and/or manual are subject to change without prior notice. Consult with the sales agency or manufacturer for details. mrcool.com...
Need help?
Do you have a question about the MST04 and is the answer not in the manual?
Questions and answers
How do you wire a new MST04 thermostat with a new Mr cool versapro hvac