Advertisement
MRCOOL
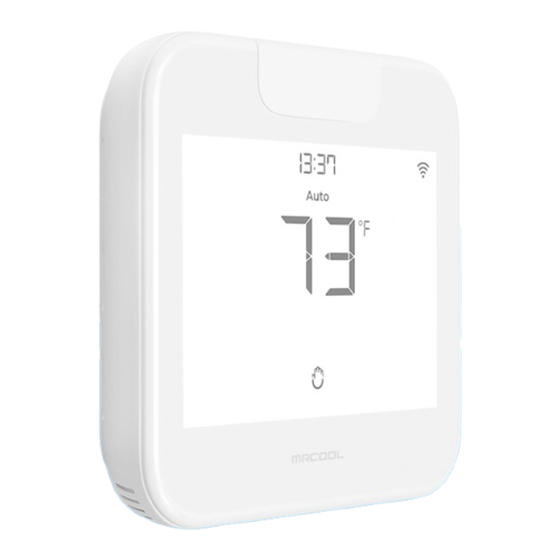
Smart Wi-Fi Mini-Stat
Installation & Owner's Manual
MODEL: MST05
Due to updates and constantly improving performance, the information and
instructions within this manual are subject to change without notice.
Version Date: 03/13/24
Please visit www.mrcool.com/documentation to ensure you have the latest
version of this manual.
Advertisement
Table of Contents

Related Manuals for MrCool MST05


Summary of Contents for MrCool MST05
- Page 1 Installation & Owner’s Manual MODEL: MST05 Due to updates and constantly improving performance, the information and instructions within this manual are subject to change without notice. Version Date: 03/13/24 Please visit www.mrcool.com/documentation to ensure you have the latest version of this manual.
-
Page 2: Getting Started
Getting Started MRCOOL Smart Wi-Fi Mini-Stat can be mounted on a wall using the backplate, or placed on a table using the table stand (both included in the box). Before finalizing the placement, it is recommended to first power up, register and test the device to ensure signals can easily reach the AC. - Page 3 Powering Up Options MRCOOL Smart Wi-Fi Mini-Stat can be powered up using a 5V adapter (always use the provided power adapter and USB cable for optimal results). Through wired connection options of 24V or 12V. Please DO NOT use any other voltage level to power up Smart Wi-Fi Mini-Stat.
- Page 4 Step 2: Find a point where 24V or 12V is available (In case of non-availability of 24V/12V point, you can either DIY or consult a professional installer). Ensure that chosen point is also in the line of sight of your MRCOOL Ductless Mini-Split. Please...
- Page 5 C from the side (press the terminal block buttons for ease of insertion). Step 5: Align your Smart Wi-Fi Mini-Stat with the backplate and press gently to fix it properly. Your installation is complete. Please switch on power from the circuit breaker. mrcool.com...
-
Page 6: Getting Help
No long queues, no bots, no delays. We answer 98% calls in less than 2 minutes and guarantee that you will talk to a REAL person. For any queries, visit our mrcool.com/contact website: Call us at : (+1) 425-529-5775 9:00AM - 9:00PM ET, Mon-Fri... - Page 7 Make sure there is no proxy server or ○ authentication server configured on your internet connection. Make sure there is no captive portal on ○ your Wi-Fi router. Important: Make sure IP isolation or client isolation is turned OFF on your Wi-Fi router. mrcool.com...
- Page 8 App Installation & Registration iOS / Android Install the ‘MRCOOL SmartHVAC’ app from the App Store/Play Store. Search for the SmartHVAC app or scan the QR code provided below. Log in to the app if you already have an account; otherwise, create one using the sign-up option.
-
Page 9: Device Registration
Open the MRCOOL SmartHVAC app, tap ‘Add Device’ on the home screen, and select Smart Wi-Fi Mini-Stat from the list of devices. If you are already using a MRCOOL device, tap ‘+’ on the home screen to add this one. mrcool.com... - Page 10 Follow the steps to successfully pair your Smart Wi-Fi Mini-Stat with your phone. Step 1: Make sure your Smart Wi-Fi Mini-Stat is powered on. Step 2: Make sure your phone’s Bluetooth is turned on. Tap ‘Next’. mrcool.com...
- Page 11 Permanent Hold Hold Circ Circ Temporary Temporary Hold Hold Auto Auto Cancel Cancel Hold Hold Quiet Quiet Sensor Sensor Linked Linked Heating to Heating to Cooling to Cooling to Aux Heat On Aux Heat On Fan On Fan On mrcool.com...
- Page 12 Your device is now successfully paired with Bluetooth. Name your device and connect it to a Wi-Fi network. Step 5: After Wi-Fi configuration, your device will appear on the home screen. The registration process is complete. Enjoy your smart air conditioning! mrcool.com...
-
Page 13: Your Home Screen
Your Home Screen Your home screen shows the real-time status of all your MRCOOL devices. A registered MRCOOL device can show either of the 2 statuses outlined in circles: Green - Device is online. You’re good to go! - Device is offline. - Page 14 Right Remote Control for Your MRCOOL Ductless Mini-Split MRCOOL Smart Wi-Fi Mini-Stat automatically selects the relevant remote control for your MRCOOL Ductless Mini-Split during the registration process. You can also configure your AC remote manually. In case, you need any further assistance, please contact Support for help at (+1) 425-529-5775 or if you have any queries, visit our website: mrcool.com/contact...
- Page 15 Screen A Screen B Screen C mrcool.com...
- Page 16 Enjoy Unlimited Functionalities Settings Fan Speed Presets Mode Swing Position Temperature Control SetPoint Room Room Humidity Temperature Power Navigation Bar Tap the settings icon for more options mrcool.com...
- Page 17 You can set mode, swing position & fan speed in one go. Touch the menu button once and select the mode of your choice. Touch the menu button again and adjust the fan speed. Touch the menu button again and select the swing position. mrcool.com...
- Page 18 Wi-Fi icon with small triangle - Device is connected to the router but has no internet access. Please ensure you have a working internet connection and restart the device. Bluetooth Icon: Blinking Bluetooth icon - Device is in broadcast (AP) mode. Please complete the registration process. mrcool.com...
- Page 19 6. WARRANTY CONDITIONS; HOW TO GET SERVICE IF YOU WANT TO CLAIM UNDER THIS LIMITED WARRANTY Before being able to claim under this Limited Warranty, the owner of the Product must (a) notify MRCOOL of the intention to claim by visiting our website during the Warranty Period and providing a description of the alleged failure, and (b) comply with MRCOOL's return shipping instructions.
- Page 20 Smart Wi-Fi Mini-Stat The design and specifications of this product and/or manual are subject to change without prior notice. Consult with the sales agency or manufacturer for details.
Need help?
Do you have a question about the MST05 and is the answer not in the manual?
Questions and answers