Advertisement
Advertisement
Table of Contents

Related Manuals for Makita HM002GT201


Summary of Contents for Makita HM002GT201
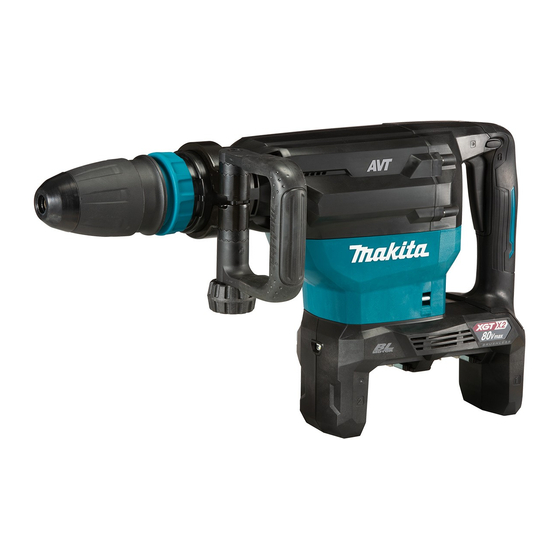
- Page 1 INSTRUCTION MANUAL Cordless Demolition Hammer HM002G Read before use.
-
Page 2: Specifications
SPECIFICATIONS Model: HM002G Blows per minute 950 - 1,900 min Rated voltage D.C. 72 V - 80 V max Overall length 574 mm Net weight 12.0 - 13.3 kg • Due to our continuing program of research and development, the specifications herein are subject to change without notice. • Specifications may differ from country to country. • The weight may differ depending on the attachment(s), including the battery cartridge. The lightest and heavi- est combination, according to EPTA-Procedure 01/2014, are shown in the table. Applicable battery cartridge and charger Battery cartridge BL4020 / BL4025 / BL4040* / BL4050F*... - Page 3 Avoid body contact with earthed or grounded Always wear protective goggles to protect surfaces, such as pipes, radiators, ranges and your eyes from injury when using power tools. refrigerators. There is an increased risk of elec- The goggles must comply with ANSI Z87.1 in the USA, EN 166 in Europe, or AS/NZS 1336 tric shock if your body is earthed or grounded.
- Page 4 When using the tool, do not wear cloth work Wear a hard hat (safety helmet), safety glasses gloves which may be entangled. The entangle- and/or face shield. Ordinary eye or sun glasses are NOT safety glasses. It is also highly recom- ment of cloth work gloves in the moving parts may mended that you wear a dust mask and thickly result in personal injury.
- Page 5 Do not short the battery cartridge: CAUTION: Only use genuine Makita batteries. (1) Do not touch the terminals with any con- Use of non-genuine Makita batteries, or batteries that ductive material. have been altered, may result in the battery bursting causing fires, personal injury and damage. It will (2) Avoid storing battery cartridge in a con-...
-
Page 6: Functional Description
25. When storing the wireless unit, keep it in the ► 1 . Red indicator 2. Button 3. Battery cartridge supplied case or a static-free container. 26. Do not insert any devices other than Makita To remove the battery cartridge, slide it from the tool wireless unit into the slot on the tool. - Page 7 Overheat protection Indicating the remaining battery capacity When the tool or battery is overheated, the tool stops Press the check button on the battery cartridge to indi- automatically. In this case, let the tool and battery cool cate the remaining battery capacity. The indicator lamps before turning the tool on again. light up for a few seconds. NOTE: When the tool is overheated, the lamp blinks. Overdischarge protection When the battery capacity is not enough, the tool stops automatically. In this case, remove the battery from the tool and charge the battery. Switch action WARNING: Before installing the battery car- tridge into the tool, always check to see that the switch trigger actuates properly and returns to...
- Page 8 Speed change Lighting up the front lamp ► 1 . Speed adjusting dial ► 1 . Lamp The blows per minute can be adjusted by turning the CAUTION: Do not look in the light or see the adjusting dial. source of light directly. The dial is marked 1 (lowest speed) to 5 (full speed). Refer to the table for the relationship between the num- Pull the switch trigger to light up the lamp.
- Page 9 The side handle can be swung in a vertical direction Insert the bit into the tool. Turn the bit and push it in until it engages. and secured at any desired position. It can also be If the bit cannot be pushed in, remove the bit. Pull the adjusted at eight steps back and forth in a horizontal release cover down a couple of times.
- Page 10 Connect the hose to the hose of the vacuum cleaner with the hose joint. NOTE: If the hose is not included, attach the dust cover to the cleaner's joint or attach it to Makita's hose ø28. Adjust the distance between the dust cover and the tip of the chisel or bull point. The recommended ► 1 . Hex bolt 2. Hose holder (A) 3. Clamp nut distance is 30 mm to 100 mm.
-
Page 11: Operation
OPERATION WIRELESS ACTIVATION FUNCTION CAUTION: Always use the side grip (auxiliary handle) and firmly hold the tool by both side grip Optional accessory and switch handle during operations. What you can do with the wireless CAUTION: Always make sure that the work- activation function piece is secured before operation. - Page 12 Tool registration for the vacuum cleaner NOTE: A Makita vacuum cleaner supporting the wireless activation function is required for the tool registration. NOTE: Finish installing the wireless unit to the tool before starting the tool registration.
- Page 13 Set the stand-by switch on the vacuum cleaner to NOTE: The wireless activation lamps finish blinking "AUTO". in green after 20 seconds elapsed. Press the wireless activation button on the tool while the wireless acti- vation lamp on the cleaner is blinking. If the wireless activation lamp does not blink in green, push the wire- less activation button briefly and hold it down again.
- Page 14 Push the wireless activation button on the tool Pull the switch trigger of the tool. Check if the vac- briefly. The wireless activation lamp will blink in blue. uum cleaner runs while the switch trigger is being pulled. To stop the wireless activation of the vacuum cleaner, push the wireless activation button on the tool. NOTE: The wireless activation lamp on the tool will stop blinking in blue when there is no operation for 2 hours. In this case, set the stand-by switch on the...
- Page 15 If the cancellation is performed successfully, the wire- Cancelling tool registration for the less activation lamps will light up in red for 2 seconds vacuum cleaner and start blinking in blue. NOTE: The wireless activation lamps finish blinking in Perform the following procedure when cancelling the red after 20 seconds elapsed. Press the wireless acti- tool registration for the vacuum cleaner.
- Page 16 Troubleshooting for wireless activation function Before asking for repairs, conduct your own inspection first. If you find a problem that is not explained in the manual, do not attempt to dismantle the tool. Instead, ask Makita Authorized Service Centers, always using Makita replace- ment parts for repairs. State of abnormality Probable cause (malfunction) Remedy The wireless activation lamp does The wireless unit is not installed into the tool. Install the wireless unit correctly. not light/blink. The wireless unit is improperly installed into the tool. The terminal of the wireless unit and/or Gently wipe off dust and dirt on the terminal of the the slot is dirty.
-
Page 17: Maintenance
To maintain product SAFETY and RELIABILITY, repairs, any other maintenance or adjustment should be performed by Makita Authorized or Factory Service Centers, always using Makita replacement parts. OPTIONAL ACCESSORIES CAUTION: These accessories or attachments are recommended for use with your Makita tool specified in this manual. The use of any other accessories or attachments might present a risk of injury to persons. Only use accessory or attachment for its stated purpose. If you need any assistance for more details regard- ing these accessories, ask your local Makita Service Center. - Page 20 Makita Corporation 3-11-8, Sumiyoshi-cho, Anjo, Aichi 446-8502 Japan 885853-929 www.makita.com 20201111...
Need help?
Do you have a question about the HM002GT201 and is the answer not in the manual?
Questions and answers