Advertisement
Quick Links
Advertisement

Related Manuals for Axis M11 MK II


Summary of Contents for Axis M11 MK II
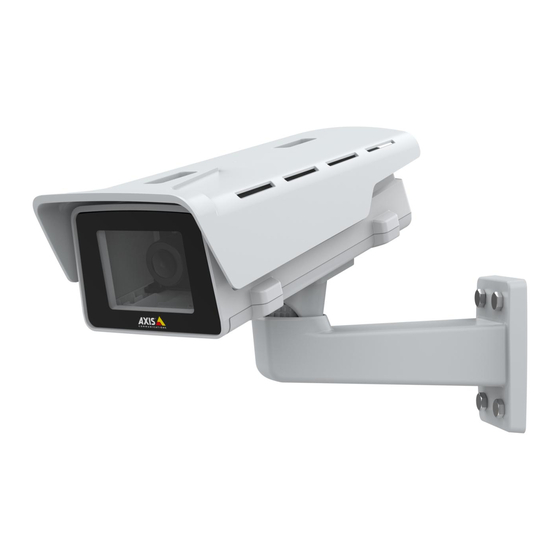
- Page 1 AXIS M11 MK II Box Cameras AXIS M1135–E MK II AXIS M1137–E MK II Repainting instructions...
- Page 2 Risks with repainting There are several risks when disassembling or assembling an Axis product. Training of operators and the use of correct tools mediates some of the problems but they can never be fully avoided. Some of the risks include: ESD Damage - Always handle the product in an ESD safe environment.
- Page 3 AXIS M11 MK II Box Cameras Repaint the product Repaint the product Disassembly Disassemble the housing 1. Loosen the two screws to separate the weathershield from the top cover. 2. Remove the four screws holding the top cover to the bottom chassis.
- Page 4 AXIS M11 MK II Box Cameras Repaint the product Disassemble the wall mount bracket 1. Remove the T30 screw connecting the ball joint to the arm. 2. Remove the ball joint. 3. Remove the 4 screws from the ball joint plate.
- Page 5 • other metal • plastic The AXIS M11–E MK II weathershield is made of plastic (ASA). The top cover and bottom chassis are made of plastic (PBT+PC). AXIS TQ1003 is made of powder-coated chromate aluminum. Masking Masking AXIS M11-E Mask the following items on the housing: 1.
- Page 6 AXIS M11 MK II Box Cameras Repaint the product Front window Threaded screw holes (4x) Top cover interior Cable glands Inside of bottom chassis Product labels Masking the wall mount bracket Mask the following parts on the wall mount bracket: 1.
- Page 7 AXIS M11 MK II Box Cameras Repaint the product Screw hole (4x) Socket teeth Screw hole (4x) Ball joint Repainting Repaint the parts 1. Apply a thin and even layer of spray paint according to the instructions of the paint manufacturer.
- Page 8 AXIS M11 MK II Box Cameras Repaint the product...
- Page 9 AXIS M11 MK II Box Cameras Repaint the product Reassembly Reassemble the product. For more information, see the Installation Guide available at axis.com...
- Page 10 Repainting instructions Ver. M1.5 AXIS M11 MK II Box Cameras Date: April 2024 © Axis Communications AB, 2024 Part no. T10207200...
Need help?
Do you have a question about the M11 MK II and is the answer not in the manual?
Questions and answers