Table of Contents
Advertisement
Quick Links
https://wiki.teltonika-networks.com/view/QSG_RUT300
QSG RUT300
Main Page
>
RUT Routers
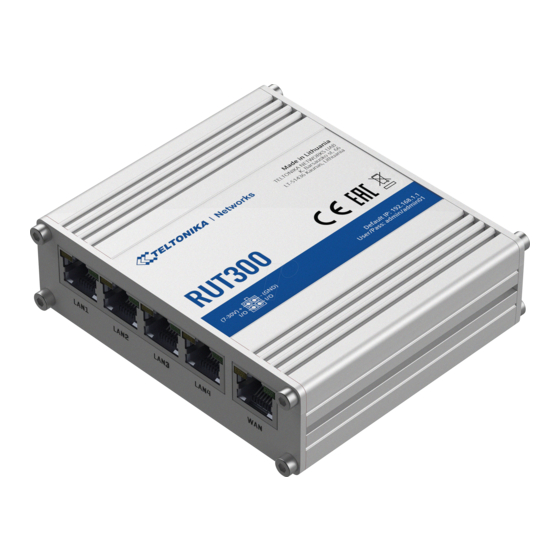
This Wiki page contains the online version of the Quick Start Guide (QSG) for the RUT300 LTE
Router. Here you will find an overview of the various components on the front and back of a
RUT300 device, hardware installation instructions, first login information, device specifications, and
general safety information. It is highly recommended to acquaint yourself with the Quick Start Guide
before using the device. You can also locate a printed version of the Quick Start Guide in the
packaging box of your device.
Contents
•
1 Safety information
-
1.1 General
-
-
-
-
•
•
•
•
•
•
•
Safety information
Before starting operating the device, please review recommendations and precautions to minimize
the possibility of accidents. Safety precautions presented are supplementary and subject to the local
safety regulations. When various operations are executed on the device, the user must fully follow
the safety instructions and recommendations provided with the device.
General
Input voltage range
Max power consumption 4.6 W
Power adapter
* Order code dependant.
RUT300 ethernet router must be used in compliance with any and all applicable national and
international laws and with any special restrictions regulating the utilization of the communication
>
RUT300
> QSG RUT300
Technical specifications
9-30 VDC
Bundled accessories specifications*
Input: Input: 0.45A@100-240 VAC, Output: 9 VDC, 1A, 4 pin plug
Advertisement
Table of Contents

Related Manuals for Teltonika RUT300


Summary of Contents for Teltonika RUT300
-
Page 1: Table Of Contents
RUT300 > QSG RUT300 This Wiki page contains the online version of the Quick Start Guide (QSG) for the RUT300 LTE Router. Here you will find an overview of the various components on the front and back of a RUT300 device, hardware installation instructions, first login information, device specifications, and general safety information. - Page 2 [BG] Bulgarian съответствие със съществените изисквания и другитеприложими разпоредби на Директива 2014/53/EU Ovim TELTONIKA NETWORKS izjavljuje da je ovaj RUT300 u skladu s bitnim [HR] Croatian zahtjevima i ostalim relevantnim odredbama Direktive 2014/53/EU TELTONIKA NETWORKS tímto prohlašuje, že RUT300 splňuje základní...
- Page 3 [SK] Slovak súlade so základnými požiadavkami a ďalšími príslušnými ustanoveniami smernice 2014/53/EU TELTONIKA NETWORKS izjavlja, da je ta RUT300 v skladu z bistvenimi [SI] Slovenian zahtevami in drugimi relevantnimi določili direktive 2014/53/EU Por la presente, TELTONIKA NETWORKS declara que este RUT300 cumple con...
-
Page 4: Operating Conditions
This sign on the package means that all used electronic and electric equipment should not be mixed with general household waste. Hereby, TELTONIKA NETWORKS declares that this RUT300 is in compliance with the essential requirements and other relevant provisions of Directive 2014/53/EU. The full text of the EU declaration of conformity is available at the following internet address: https://wiki.teltonika-networks.com/view/RUT300_CE/RED. -
Page 5: Electrical Safety
Only qualified personnel must service or repair the device or its accessories. If your device or its accessories have been submerged in water punctured or subjected to a severe fall, do not use until they have been checked at an authorized service center. Electrical safety Only use approved accessories. -
Page 6: Front View
POWER SOCKET PINOUT Video Quick Start Guide Need some help setting up your new Teltonika Networks RUT300 industrial cellular router? Watch our quick start guide video and follow the step by step instructions to easily set up your new router for operation. -
Page 7: Login To Device
1. Ensure the Network connection is Enabled. Go to Start — Control Panel — Network and Internet — Network and Sharing Center. Click on the Change adapter settings in the left panel, then right-click on Network Adapter, and select Enable. 2. - Page 8 1. To enter the router's Web interface (WebUI), type http://192.168.1.1 into the URL field of your Internet browser. 2. When prompted for authentication enter the username admin and enter the password located on the device information label/engraving. 3. After logging in, you must set a new password for security reasons.
Need help?
Do you have a question about the RUT300 and is the answer not in the manual?
Questions and answers