Advertisement
Quick Links
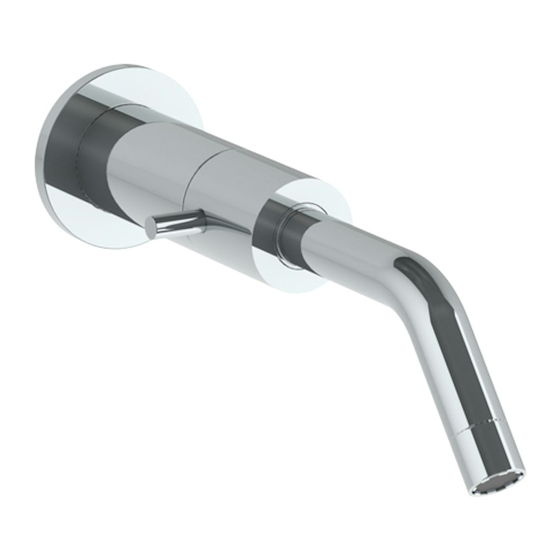
Installation Guide for Model 22-1.2-Wall Mounted
1. Remove the protection cap from the valve body.
Note:
The protection cap will not plug the valve. It only prevents debris from entering the valve.
Valve cannot be pressure tested without a trim.
2. Assemble the valve body assuring hot and cold water supply connection.
Note:
For correct assembling operation, connect the hot water inlet at the left side of the body and cold
water inlet at the right side. This will assure the proper left and right working of the progressive
cycling lever.
Note: For valve setting, use a minimum of 1 1/4'' to a maximum of 2'' from center line (
)
to finished wall.
DESIGNS
350 Dewitt Avenue, Brooklyn, NY 11207 USA T 718.257.2800 F 718.257.2144
www.watermark-designs.com
Advertisement

Related Manuals for Watermark 22-1.2


Summary of Contents for Watermark 22-1.2
- Page 1 Installation Guide for Model 22-1.2-Wall Mounted 1. Remove the protection cap from the valve body. Note: The protection cap will not plug the valve. It only prevents debris from entering the valve. Valve cannot be pressure tested without a trim.
- Page 2 3. Connect the mixer to the valve body 4. Tighten the mixer to the valve body with the allen set screw DESIGNS 350 Dewitt Avenue, Brooklyn, NY 11207 USA T 718.257.2800 F 718.257.2144 www.watermark-designs.com...
Need help?
Do you have a question about the 22-1.2 and is the answer not in the manual?
Questions and answers