Table of Contents
Advertisement
Quick Links
Questo manuale d'istruzione è fornito da trovaprezzi.it. Scopri tutte le offerte per
2304 0 TB
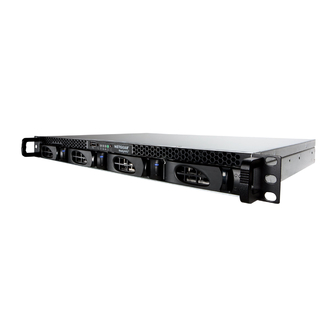
Hardware Manual
ReadyNAS OS 6 Rack-Mount
Model
ReadyNAS 2120
ReadyNAS 2120 v2
ReadyNAS 2304
ReadyNAS 3130
ReadyNAS 3138
ReadyNAS 3220
ReadyNAS 3312 and 3312 v2
ReadyNAS 4220
ReadyNAS 4312 and 4312 v2
ReadyNAS 4360
May 2019
202-11272-10
o cerca il tuo prodotto tra le
migliori offerte di Storage
Netgear ReadyNAS
NETGEAR, Inc.
350 E. Plumeria Drive
San Jose, CA 95134, USA
Advertisement
Table of Contents


Need help?
Do you have a question about the ReadyNAS 3220 and is the answer not in the manual?
Questions and answers