
Related Manuals for Hamwells Blue Series


Summary of Contents for Hamwells Blue Series
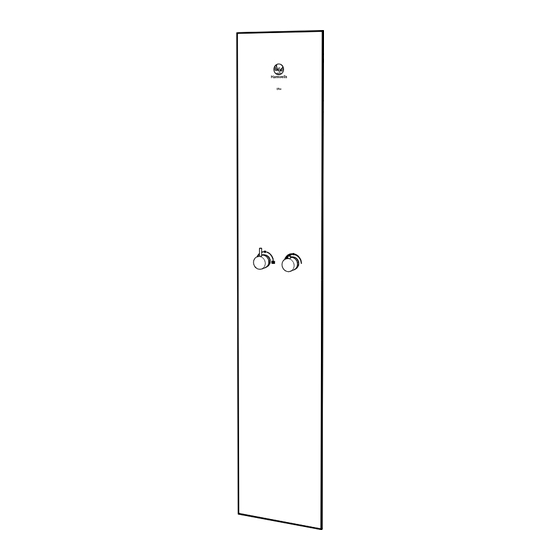
- Page 1 Blue Installation manual Glass panel with thermostatic mixing valve Blue 12, 16, 21 & HE 2024 V5.3...
-
Page 2: Table Of Contents
Safety of this document is strictly prohibited except with the written permission Symbols of Hamwells Nederland B.V. The contents of this document are subject to Warranty change without notice. The illustrations in this manual may differ from the products supplied. Information in this manual is subject to technical changes, Installation glass panel with thermostat text or printing errors. -
Page 3: Safety
This installation manual refers to the glass panel with thermostatic mixing valve used The glass panel with thermostatic mixing valve has a standard 5 year in combination with the Hamwells Blue 12, 16, 21 and HE. We strongly recommend warranty on all components* and is extendable up to 8 years. This warranty that you read this manual carefully before installation. -
Page 4: Installation Glass Panel With Thermostat
Parts glass panel and Installation glass panel thermostatic mixing valve with thermostat Installation instructions This chapter explains how to install the glass panel with thermostatic mixing valve. Tools such as drills, screwdrivers, mounting kit and wrenches are not included. Parts checklist The components of the glass panel with thermostat are supplied complete. -
Page 5: Mount The Frame Of The Secondary Wall
Metal hoses Dimensions glass panel Mount the frame of the (incl. frame) secondary wall There are various options such as metal stud or wooden 1x 1000 mm framework. This varies by location. Frame and front wall are not (WWHR to thermostatic 32,6 cm included. -
Page 6: Main Shower Head
Mount wall plates and connect the water Mark holes in the watertight wall in front of hoses from the hand and main shower head the frame and cut them out The waterproof wall is not included. With the shower set option, you must also mark The wall plates are not included. -
Page 7: Place The Waterproof Wall
Place the Place the frame on the finished wall and waterproof wall seal the outer edge between the wall and the frame with hybrid sealant The frame has 2 cm mounting space all around. Finish the wall Install the thermostatic mixing valve with the 3 screws The temperature stop must be calibrated... -
Page 8: Connect The Water Lines To The Thermostatic Mixing Valve
Connect the water hoses 10. Install the glass panel main WWHR Make sure that the water line has a gasket. output shower The glass panel is secured with magnets. Use glass suction cups to place the glass panel. hand shower hot water supply 11.
Need help?
Do you have a question about the Blue Series and is the answer not in the manual?
Questions and answers