Advertisement
Quick Links
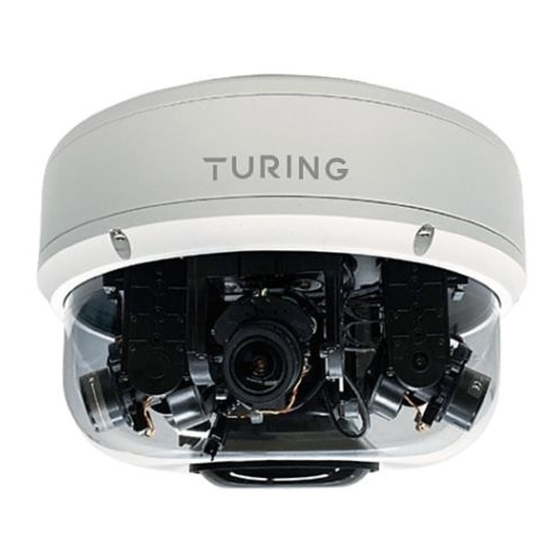
TF-AMS5AV2E Multisensor IP Camera Quick Installation Guide
Accessories
Rubber Kit
Quick Installation
Mounting
GUide
Accessory Kit &
Desiccant
1
2
3
Camera Cable
1
Power (24VAC,60VA /24VDC,30W)
2
Alarm
3
Audio (2 cables)
Dimensions
247.5mm
Wall Mount Bracket Assembly
1. Loosen the 6 anti-drop screws on the top
cover and open it.
2. Remove and discard the protective EPE from
the lens modules.
(EPE)
3. Add a desiccant to the recommended
position as below.
DESICCANT
NPT PLUG
4. Plug the spring cable back to the top cover.
Then lock the 6 anti-drop screws on the top
cover.
5. Loosen the anti-drop screw on the lateral side
of the bottom cover.
6. Rotate the cap ( ▽ ) from LOCK to OPEN in
order to remove the cap.
7. Loosen the 3 anti-drop screws on the bottom
plate and open it.
8. Prepare the network cable and wire it through
the grommet on the bottom plate.
9. Place the bottom plate back to the camera and
lock the 3 anti-drop screws to secure it.
10. Align the bottom cap to the bracket handle
and rotate it until it is fixed on the wall mount
bracket.
11. Fasten the safety wire on the hook.
12. Rotate the camera from OPEN to LOCK in
order to fix the camera. The ▽ mark should
be aligned with the LOCK (□) mark.
13. Lock the anti-drop screw on the lateral side
of the bottom cover to fix the camera.
Advertisement

Related Manuals for Turing TF-AMS5AV2E


Summary of Contents for Turing TF-AMS5AV2E
- Page 1 TF-AMS5AV2E Multisensor IP Camera Quick Installation Guide 5. Loosen the anti-drop screw on the lateral side 10. Align the bottom cap to the bracket handle Accessories Wall Mount Bracket Assembly of the bottom cover. and rotate it until it is fixed on the wall mount 1.
- Page 2 TF-AMS5AV2E Multisensor IP Camera Quick Installation Guide 3. Fasten the safety wire on the hook. 2. Loosen the 4 screws on the plate. 6. Please note that the OPEN ■ mark should Pendant Mount Installation be aligned with the screw hole on the plate.
- Page 3 The TF-AMS5AV2E camera is intended to Each of the cameras is added to the NVR separately as a Refer to the NVR's Smart Installation guide and Vision be used with a Turing NVR & bridge to go on different channel. setup guides for details.
- Page 4 TF-AMS5AV2E Multisensor IP Camera Quick Installation Guide Lens Position for 180 /270 /360 / View Designed Chain ring with different lens views for manual adjustment 180 Wide 270 Corner Adjust the main camera position to align it with the yellow dot indicated above on the chain ring...
- Page 5 TF-AMS5AV2E Multisensor IP Camera Quick Installation Guide 270 Wide 180 Tele Adjust the main camera position to align it with Adjust the main camera position to align it with the yellow dot indicated above on the chain ring the yellow dot indicated above on the chain ring (180-degree).
Need help?
Do you have a question about the TF-AMS5AV2E and is the answer not in the manual?
Questions and answers