Advertisement
Quick Links
Advertisement

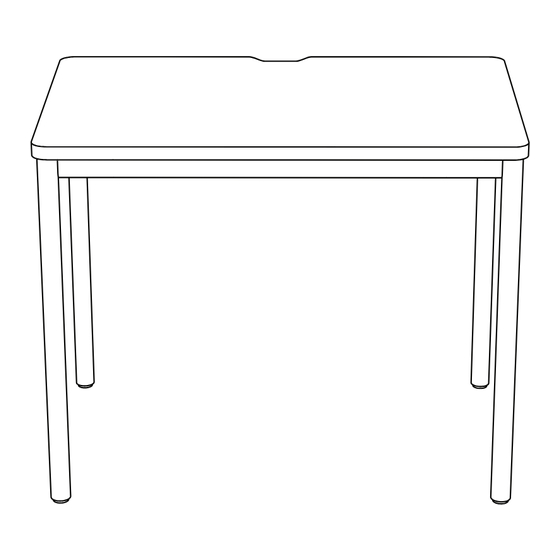
Summary of Contents for Branch Daily Desk
- Page 1 Daily Desk Assembly Guide...
- Page 3 The new way of working you’ve been waiting for. Scan here for a digital copy of your assembly guide.
- Page 4 Caution Make sure to read the guide completely before assembling. Check that all components are present before you start the assembly process. Use extra caution when assembling this product and have someone assist you. Do not change the specifications, modify this product, or use for any other purpose beyond its intended use as a desk.
- Page 5 Components Glide Legs (x4) Desktop (x1) Rail Connector(x4) 811-3$<-0 Allen Key pre-installed Screws (x8) 4mm (x1) (x1) Frame Rails (x2) pre-installed 811-3$<-0 Allen Key Base 6mm (x1) (x1) Screws (x18) pre-installed 811-3$<-0 Mini Wrench (x1) (x1) *optional with caster legs...
- Page 6 Lay the Desktop and frame upside down on a clean flat surface. Align the attachment points on the Glide Leg (x1) to the corner of the Desktop, insert the Leg Screws (x2), and screw tight using the 6mm Allen Key. Repeat for the other Glide Legs (x3)
- Page 7 If you are not installing any accessories carefully flip your assembled Daily Desk right-side up with a friend. For the optional Desk Drawer and Cable Organizer installation, refer to the following pages prior to flipping the desk over.
-
Page 8: Optional Accessories
Optional Accessories Large Desk Drawer Cable Organizer Cable Organizer Power Caster Legs The Daily Desk can be configured with several optional accessories. If you purchased any of the above items, please refer to the following pages for assembly. -
Page 9: Accessories Overview
Front Frame Rail Remove for Desk Drawer The Daily Desk uses modular Frame Rails (x2) with hidden Rail Connectors (x4) which can be removed to install either the optional Desk Drawer and/or Cable Organizer. Remove the Front Frame Rail to install the Desk Drawer. Remove the Rear Frame Rail to install the... -
Page 10: Accessories Assembly
1 Accessories Assembly Inside Base Screw Base Screw Outside Base Screw Frame Rail Removal: Removing the Front and/or Rear Frame Rail utilizes the same process. Using the 4mm Allen Key, unscrew the Base Screw (x1) from the center of the Frame Rail. Next, unscrew and remove the outside Base Screw (x2) from the Rail Connector. - Page 11 Desktop. Keep the rails stored after removal as to not lose any components. Branch Tip: If needed, apply light downward pressure on the end of the Frame Rail, directly above the Frame Rail Slot when sliding the Rail Connector.
- Page 12 Desk Drawer Back Front To install the optional Desk Drawer, First remove the Front Frame Rail (refer to Accessory Assembly steps 1 and 2). Position the Desk Drawer to the Desktop so that the drawer opens towards the front of the desk.
-
Page 13: Cable Organizer
Cable Organizer Front Back To install the optional Cable Organizer, First remove the Rear Frame Rail (refer to Accessory Assembly steps 1 and 2). Position the Cable Organizer to the Desktop so that the open end faces the front of the Desktop as shown. - Page 14 Cable Organizer Power Thumb Screw Power Cord Install the Cable Organizer Power on the left or right side of the Cable Organizer. Depending on your setup, the Cable Organizer Power can be rotated so that the USB outlets are on the right or left side. Attach the Cable Organizer Power to the Cable Organizer using the included Thumb Screw (x1).
- Page 15 1 Glide Legs Glide Legs Caster Legs The Daily Desk can be ordered with fixed Glide Legs or Optional Caster Legs. To convert your Daily Desk to Caster Legs, follow the steps on the next page.
- Page 16 2 Glide Legs Using the 6mm Allen Key, unscrew the Leg Screws (x2) from the Glide Leg (x1) and then carefully lift the leg away from the Frame. Repeat for the other Glide Legs (x3). Next, align the attachment points on the Caster Leg (x1) to the corner of the Desktop and insert the Leg Screws (x2) and screw tight using the 6mm Allen Key.
- Page 17 User Guide Glide Leg Adjustment: Bottom of Leg To adjust position: Turn Clockwise to reduce height. Turn Counter-Clockwise to increase height Caster Leg Lock: Bottom of Leg To lock wheels: Lock To lock the caster and prevent rolling, push the caster lock down.
- Page 18 Contact Have a question, comment, or suggestion? hello@branchfurniture.com branchfurniture.com...


Need help?
Do you have a question about the Daily Desk and is the answer not in the manual?
Questions and answers