Advertisement
Quick Links
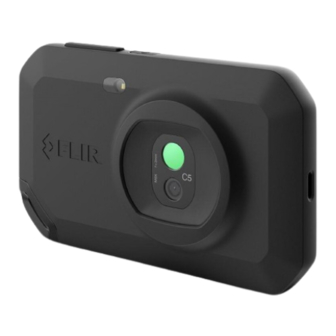
Zero Carbon Haddenham - Teledyne FLIR C5 Thermal Imager
Quickstart
The scanner/camera will be supplied to you fully charged – you should not need to charge the
battery in normal use. DO NOT remove the screen protector film – it is there to make sure we keep
the screen and clean as possible. Always use the lanyard to avoid the possibility that you might
drop the camera!
Camera overview
5. USB-C connector.
6. Camera screen.
7. On/off button.
8. Save button.
9. Tripod mount.
Getting started
1. Push the On/off button for about half a second then release it to turn on the camera. If there is no
response, press and hold the On/Off button until the FLIR logo appears on the screen and wait until
the black and white progress bar on the screen appears and completes and an image is seen on the
screen..
2. If prompted, follow the instructions on the camera screen to select the language, units, date and
time formats, etc.
3. If you wish you can set up the camera to upload images for storage online in the FLIR Ignite
cloud storage system.
To do this you need to create and connect your camera to a FLIR Ignite account. Use a computer or
other device with internet access and follow the instructions on the camera screen. You do not need
to do this to save images to your computer.
1. Camera lamp.
2. Infrared lens.
3. Visual camera lens.
4. Lanyard attachment point.
Advertisement

Related Manuals for FLIR C5


Summary of Contents for FLIR C5
- Page 1 2. If prompted, follow the instructions on the camera screen to select the language, units, date and time formats, etc. 3. If you wish you can set up the camera to upload images for storage online in the FLIR Ignite cloud storage system.
- Page 2 To move files to a computer via USB cable, do the following: 1. Make sure the camera is turned on 2. Connect the camera to the computer using the USB cable. A device called FLIR Camera will appear. 3. Your images will be in a folder called 100_FLIR inside the DCIM folder inside Images 3.
Need help?
Do you have a question about the C5 and is the answer not in the manual?
Questions and answers