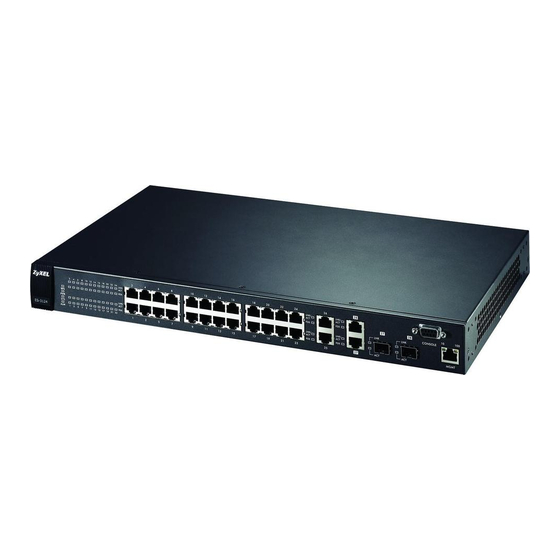
ZyXEL Communications Dimension ES-3124 Quick Start Manual
Ethernet switch manager
Hide thumbs
Also See for Dimension ES-3124:
- User manual (343 pages) ,
- Support notes (124 pages) ,
- Specifications (4 pages)
Table of Contents
Advertisement
Quick Links
Download this manual
See also:
User Manual
Advertisement
Table of Contents

Subscribe to Our Youtube Channel
Summary of Contents for ZyXEL Communications Dimension ES-3124
-
Page 1: Quick Start Guide
NetAtlas Enterprise Ethernet Switch Manager Quick Start Guide Version 1.02 1/2006... -
Page 2: System Requirements
This guide shows you how to install the EMS. Refer to the user’s guide for background and configuration information. The NetAtlas Enterprise Ethernet Switch Manager will be referred to as the EMS in this guide. 2 System Requirements These are the system requirements for the Windows version of the EMS. -
Page 3: Installing The Ems
NetAtlas Enterprise Quick Start Guide 3 Add custom MIB files in SNMPc. 4 Locate device(s) that you want the EMS to manage. 5 If required, configure the ODBC driver to connect to the database. 3 Installing the EMS Follow the steps below to install the EMS server on a computer. 1 Install SNMPc if it is not already installed. - Page 4 NetAtlas Enterprise Quick Start Guide 6 You must select the same directory where you installed SNMPc. Click Browse if it’s different from the destination folder shown. Click Next to continue. 7 In the next screen, click an icon to install the EMS server or remote client.
-
Page 5: Adding Mibs
5 Adding MIBs The Management Information Base (MIB) is designed for holding management information on systems (such as the switch that the standard MIB does not include). 1 From the SNMPc Network Manager main screen, click Config, MIB Database. -
Page 6: Finding Your Switch
NetAtlas Enterprise Quick Start Guide • zyxel-es2024a.mib • zyxel-gs2024.mib • zyxel-gs4024.mib • zyxel-gs4012f.mib • zyxel-es2108.mib • zyxel-es2108g.mib Note: You MUST add the MIBs in the order listed above. 4 Click OK. 5 Click Compile in the Compile Mibs screen. 6 Click Yes when asked to confirm, then click OK. -
Page 7: Add Device(S) Manually
NetAtlas Enterprise Quick Start Guide 6.2 Add Device(s) Manually If you have disabled auto-discovery, follow the steps below to add your device(s) manually. 1 Click Insert, MAP Object, Device. 2 In the MAP Object Properties screen, enter a descriptive device name and IP address for the device and then click OK. -
Page 8: Troubleshooting
8 Accessing the EMS Follow the steps below to access the EMS. 1 In the SNMPc main screen, double-click the device icon to view the Switch Manager. 2 A screen displays. Click the Switch Manager icon to access the main EMS configuration screen. - Page 9 • Check that the map object properties are correct for initial instal- lation; see Section 6.2 on page entered is the IP address of the switch you want to manage via the EMS. • Check that the ODBC driver is correctly configured; see 9.1 on page...
- Page 10 NetAtlas Enterprise Quick Start Guide 2 Double-click Data Source (ODBC). 3 A screen displays as shown. In the User DNS screen, select PostgreSQL and click Configure. 4 The PostgreSQL ODBC Driver Setup screen displays. Configure the Database, Server and Port fields exactly as shown in the figure.


Need help?
Do you have a question about the Dimension ES-3124 and is the answer not in the manual?
Questions and answers