Table of Contents
Advertisement
Quick Links
Advertisement
Table of Contents

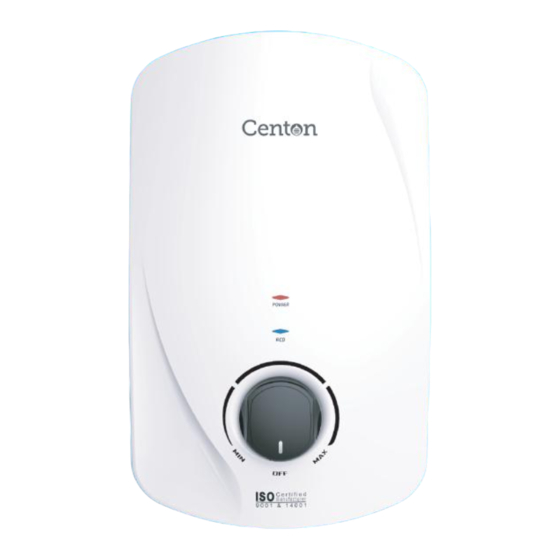
Summary of Contents for Centon Gusto GT311 Series
- Page 1 Singlepoint Series (OV) Single Element Right Inlet Plastic Tank...
-
Page 2: Table Of Contents
CONTENTS Pages 1. Important Safety Information ............. 2 2. Pack Contents Checklist ..............3 - 4 3. Part Description .................. 5 4. Electrical Requirement ............... 6 5. Water Requirement ................7 6. Installation Procedures ............... 8 - 11 7. Operating The Shower ............... 12 8. -
Page 3: Important Safety Information
IMPORTANT SAFETY INFORMATION WARNING 4) The outlet point of this heater, hose and Check the RCD in this heater & the RCD at handshower act as a vent. They must not the main switch board of the premise at be blocked, obstructed or modified in any least once a month. -
Page 4: Pack Contents Checklist
PACK CONTENTS CHECKLIST Optional: Heater & Fixed Shower Accessories (A) / (B) 1 x Shower Holder (A) Optional Item 1 x Shower Holder (B) Optional Item 1 x Heater Unit 2 x Screw & Wall Plug Set 3 x Wall Plug & Screw Set 1 x Handshower (A) 1 x Handshower (B) 1 x Installation &... - Page 5 PACK CONTENTS CHECKLIST Optional: Heater & Full Shower Accessories 2 x Rail Support 1 x Shower Holder 1 x Sliding Rail 1 x Heater Unit 3 x Wall Plug & Screw Set 2 x Screw & Wall Plug Set 1 x Handshower 1 x Installation &...
-
Page 6: Part Description
ART DESCRIPTION MODEL: GUSTO GT331 / GUSTO GT331E Heater Cover Electronic Control Unit Power Indicator 10. Mounting Holes (4 Nos) RCD Indicator * 11. Heater Outlet Temperature Control Knob 12. Terminal Block Heating Element 13. Cable Clamp Double Function Manual Reset 14. -
Page 7: Electrical Requirement
ELECTRICAL REQUIREMENT WARNING THIS APPLIANCE MUST BE EARTHED Note: An approved type of Residual Current Device (RCD) of 10mA sensitivity should be installed in conjunction with the heater. Installation must be carried out by a qualified electrician. The shower heater unit must be connected to its own independent electrical circuit. Lead the power cable from the indoor fuse distributor board or Miniature Circuit Breaker (MCB) to an ‘ON/OFF’... -
Page 8: Water Requirement
WATER REQUIREMENTS PLUMBING SCHEMATIC DIAGRAM Diagram on right shows a typical system layout. Cold water system Do not use joining compounds on any pipe fittings for the installation. Stop Valve The unit works at minimum water flow rate of 2 litre/min. An incoming water flow rate of 5 litre/min and above would excel its performance. -
Page 9: Installation Procedures
INSTALLATION PROCEDURES FIXING THE SHOWER TO THE WALL CAUTION: It is important to mount the shower unit to a flat surface otherwise difficulty may be encounter when fitting the cover and subsequent. Unscrew the screw at bottom of heater and remove the cover by lifting the bottom of cover upward. - Page 10 INSTALLATION PROCEDURES PLUMBING CONNECTIONS CAUTION: Complete Plumbing Connections before Electrical Connection Connect the water supply to the inlet of stop valve via 15mm copper, stainless steel or plastic pipe using a 15mm X 15mm elbow compression fitting. Note: DO NOT apply excessive force when making these connections.
- Page 11 INSTALLATION PROCEDURES Optional: Fixed Shower Accessories (A) / (B) Determine the suitable height for shower accessories & mark for the mounting holes. 2. Mark the mounting holes for Fixed Shower Holder. 3. Drill the mounting holes & insert Wall Plugs provided. 4.
- Page 12 INSTALLATION PROCEDURES Optional: Full Shower Accessories Fix the Shower Holder onto the Sliding Rail as illustrated. Determine the suitable height for shower accessories and mark for the mounting holes. Mounting holes are available after Rail Support Caps are removed. Mark & drill the mounting holes and insert wall plugs provided. Secure the accessories set with screws provided and cover the Rail Support Caps.
-
Page 13: Operating The Shower
OPERATING THE SHOWER 1. Switch on the heater switch outside the bathroom. Warning Improper earthing may results in malfunctioning of the RCD & harmful to user. Never use the heater if there is doubt on the earthing installation. Press 3. Turn on Temperature Control Knob by turning it clockwise. Power Indicator Light will turn ON. -
Page 14: User Maintenance
USER MAINTENANCE DO NOT USE THINNER, ALCOHOL OR PETROL You may clean the heater with a damp cloth and mild detergent but do not use thinner, alcohol, petrol or any THINNER other corrosive solutions. CLEAN FILTER REGULARLY Spray head shall be descaled regularly. It is recommended that the filter is periodically cleaned in order to maintain the performance of the shower. -
Page 15: Quality Assured
QUALITY ASSURED All Centon heaters are tested before leaving the factory. With proper care and usage, the heaters are durable, safe, and reliable. Use only accessories recommended by the manufacturer. WARNING 1. The appliance must be earthed. 2. Do not use plumbing cement on connection. If necessary, use only thread or sealant tape. -
Page 16: Specification
SPECIFICATION Model Electrical Rating – Available in 3kW - 6kW, 220-240Vac, 50/60Hz Minimum Water Flow Rate – 2.5 liters/min Minimum Water Inlet Pressure – 20kPa (0.2bar / 2.9psi) Maximum Water Inlet Pressure – 0.38MPa (3.8bar / 55psi) Shower Temperature Control –...


Need help?
Do you have a question about the Gusto GT311 Series and is the answer not in the manual?
Questions and answers