Table of Contents
Advertisement
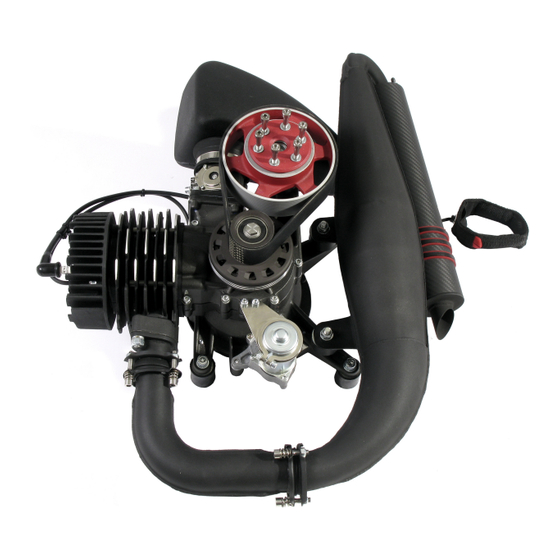
PARAMOTORS &
ENGINES
This manual is intended to be for informational purposes only. The manual's content
is based on the best knowledge available at the time of publication. We put every
effort to correct the mistakes we encountered but we cannot guarantee that all
errors have been found. This is why errors found in this manual cannot be treated as
the basis for any legal claims. Information included in the present publication are the
property of the Air Conception company.
Copying, distributing, and content sharing of the whole text or its parts with third
party is not permitted without Air Conception company's written consent. We retain
the right to make changes without notifying the users. Due to the fact that we make
constant changes in order to improve our products some parts of the manual may not
correspond to the version or the equipment of the purchased product. If this is the
case, please contact us.
USER'S MANUAL
NITRO 200
REVOLUTION 200
R200 XTREM
TORNADO 280
R280 XTREM
Advertisement
Table of Contents


Need help?
Do you have a question about the REVOLUTION 200 and is the answer not in the manual?
Questions and answers