SV3C Cloud Series Quick Installation Manual
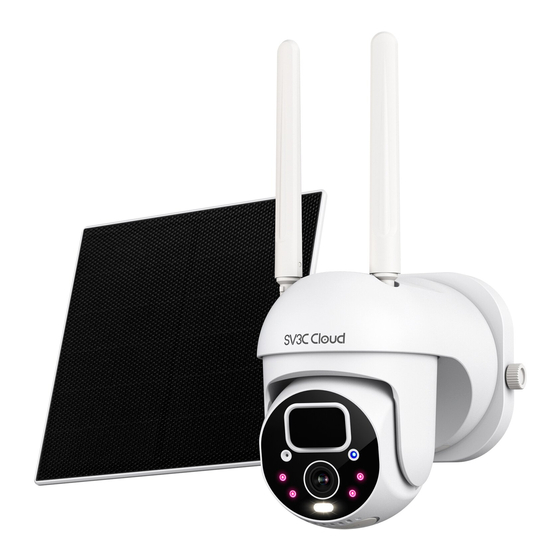
Solar wireless security camera
Hide thumbs
Also See for Cloud Series:
- Quick installation manual (28 pages) ,
- Quick installation manual (28 pages)

Subscribe to Our Youtube Channel
Related Manuals for SV3C Cloud Series


Summary of Contents for SV3C Cloud Series
- Page 1 SV3C Solar Wireless Security Camera Cloud-Series Quick Installation Guide Thank you for choosing our security camera. Please read the quick installation guide carefully before using and keep it in good conditions.
- Page 2 for Camera Solar Charger Include:...
- Page 3 Floodlight LEDS...
- Page 4 SV3C Cloud SV3C Cloud Android...
- Page 6 SV3C Cloud...
-
Page 9: Charge The Camera
Charge the Camera lt's recommend to fully charge the battery before mounting the camera outdoors. Charge the battery with a power adapter. Charge the battery with the Solar Panel (not included) Charging Indicator: RED LED: Charging Blue LED: Fully charged For better rain protection, when charging with a solar panel, please only open the small rubber labeled "POWER“... - Page 10 Follow the below chart. Drill the holes according to the positioning sticker provided. Screw the expansion nut into the holes, then connect the bracket to the expansion nut with the screw to complete the installation.
- Page 12 Please choose a location for your solar panel that gets the most sunlight throughout the year. The solar panel needs only a few hours of direct sunlight to sufficiently power up your camera daily. The amount of energy that the solar panel can produce is affected by weather conditions, seasonal changes, geographic locations, etc.
- Page 13 Fix the base to your mounting location using the included screws. to drill a hole in the wall,then insert the anchor nail into the hole , and fix the base with screws. W a ll A n c h o rs B a s e S c re w s W a l l...
- Page 14 Screw the locking screw cap into the base.Make sure that the universal joint is angled upward. B a s e Locking Screw Cap When adjusting the solar panel left or right, loosen the locking screw cap, turn the sleeve rod, and tighten the locking screw cap when the Panel in position.
-
Page 15: Basic Parameters
HOW TO POSITION YOUR SOLAR PANEL Find the area that gets the most direct sunlight throughout the day Angle the solar panel at local latitude+ 5 degree upward Point it south if in the northern hemisphere and point it northern if in the southern hemisphere. - Page 17 Micro-SD...
- Page 21 Safety Instructions of Battery Usage...
- Page 26 2.4G...
- Page 27 Notification of Compliance FCC Compliance Statement This device complies with Part 15 of the FCC Rules. Operation is subject to the following two conditions: (1) this device may not cause harmful interference, and (2) this device must accept any interference received, including interference that may cause undesired operation.
- Page 28 Company name:HAIWAI CONSULTING LTD Address: 113,Gloucester Place,Fly,London, England, W1U 6JR Customer Service: Email address: info@sv3ccloud.com...
Need help?
Do you have a question about the Cloud Series and is the answer not in the manual?
Questions and answers