Table of Contents
Advertisement
Quick Links
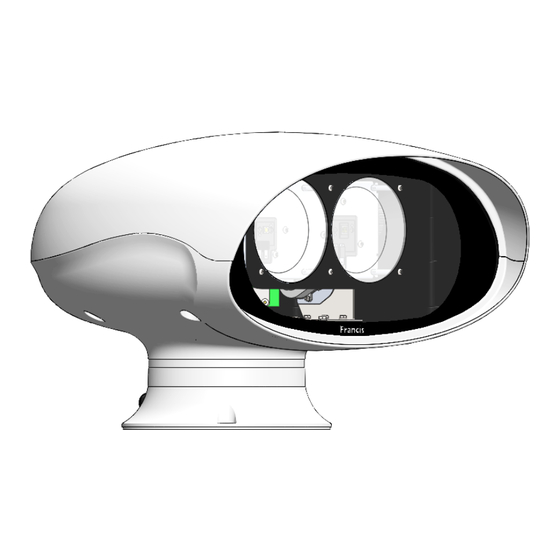
VL500RC 110/130W LED
Remote Control Searchlight
User / Installation Manual
Product Part Number:
A7300 – VL500RC 110/240V 110/130w LED Spot/Flood Variable Speed Remote Control Searchlight
A7302 – VL500RC 24V 110/130w LED Spot/Flood Variable Speed Remote Control Searchlight
PLEASE NOTE!
www.francis.co.uk
Please read this manual before installation.
C30015
Issue 1
25.7.23
Advertisement
Table of Contents

Related Manuals for Francis Searchlights VL500RC


Summary of Contents for Francis Searchlights VL500RC
- Page 1 VL500RC 110/130W LED Remote Control Searchlight User / Installation Manual Product Part Number: A7300 – VL500RC 110/240V 110/130w LED Spot/Flood Variable Speed Remote Control Searchlight A7302 – VL500RC 24V 110/130w LED Spot/Flood Variable Speed Remote Control Searchlight PLEASE NOTE! www.francis.co.uk Please read this manual before installation.
-
Page 2: Table Of Contents
Fault Finding 7.1. Problems After Installation 7.2. Obtaining Fault Status Maintenance and Servicing Wiring Diagram & General Assembly Spare Parts List General Information: Francis Searchlights Ltd Union Road, Bolton, BL2 2HJ United Kingdom T: 00 44 (0)1204 558 960 Sales@francis.co.uk www.francis.co.uk... -
Page 3: Introduction
For your future reference please keep this manual in a safe place. Thank you for specifying a product from the Francis Searchlights range. All Francis products are designed to give complete customer satisfaction and are manufactured to the highest engineering standards to ensure optimum performance and service life. -
Page 4: Safety Precautions
2 – Safety Precautions The following instructions must be adhered to, to ensure a safe working environment and the safety of the user. Note: When unpacking or manoeuvring the searchlight into its fixing position, suitable lifting points must be used to prevent damage to the equipment or personal injury. •... -
Page 5: Technical Information
3 – Technical Information Electrical Input voltage: 110/240VAC 110/240VAC 24VDC 24VDC Input current: 1A 110v – 0.5A 240v 1.2A 110v – 0.6A 240v 7.2A 7.2A Driver output voltage: 22.9v DC 43v DC 22.9v DC 43v DC Driver current: 4.6A 2.9A 4.5A 2.9A Wattage:... -
Page 6: Unpacking And Installation Instructions
4 – Unpacking and Installation Instructions The following instructions should be read and fully understood prior to installing the equipment to ensure that the correct procedures are followed, and all safety precautions are observed. Note: If the equipment has been in storage for a considerable amount of time, it is advisable to conduct a routine maintenance check on all parts before installation. -
Page 7: Electrical Installation
5 – Electrical Installation For safety purposes, only competent personnel should perform the electrical installation. All equipment should be installed to current Electrical Regulations and Standards. Referring to wiring diagram C30005 HV or C30006 LV (at the back of the manual), a supply is fed to the driver box, which then provides a common feed to the searchlight and joystick control panel. - Page 8 To obtain the maximum light output from the searchlight, it is essential that the full operating voltage of the LED fitted be applied to the LED contacts. Method of Electrical Connection • Disconnect the supply before working on the electrical system. •...
-
Page 9: Start-Up And Operating
6 – Start-up and Operating Start-Up When the main power is first applied to the searchlight, the searchlight will carry out a self-test, it will Pan to the left limit and the reflector will Tilt down to the limit, once this is complete, the searchlight will then move to the centre position, during this please do not try and operate the searchlight while this test is being carried out. - Page 10 Adjusting Panel Illumination The panel illumination and indicators intensity can be adjusted to suit ambient light levels. To adjust the intensity, switch the panel on then switch it off with the 1/0 button and keep the 1/0 button pressed. To increase intensity, move the joystick to the right. To decrease move to the left. Note that the 1/0 button must be kept depressed whilst the joystick is moved.
-
Page 11: Fbus Data & Panel Addresses
6.1 - FBUS Data & Panel Addresses The Francis bus (FBUS) is a custom communication protocol based on RS485 two wire bi- directional communication hardware. The system provides a simple bi-directional link between searchlights and joystick panels. The system allows given panels to communicate with different searchlights and allows several panels to communicate with the same searchlight. - Page 12 Switch 3 = Off Switch 4 = On (Value 1 added to address) 4 + 1 = 5 Speed control card - lamp address set to 11 Switch 6 = Off Switch 7 = On (Value 8 added to address) Switch 8 = Off Switch 9 = On (Value 2 added to address) Switch 10 = On (Value 1 added to address)
- Page 13 Multiple Searchlights, Joystick Panels and Master Joystick Panel.
-
Page 14: Fault Finding
7 – Fault Finding 7.1 Problems at Installation • If the searchlight completes the Self-Test, e.g., Pan left, Tilts down then returns to centre and the LEDs on the joystick panel are not illuminate, then please check the 4 data cables connections on the FBUS connector located on the back of the control panel assembly, as these data cables could be swapped around, you can check the voltages on the 4 connections, you should get as shown below:... -
Page 15: Problems After Installation
7.3 Obtaining Fault Status below, to confirm the fault. Once you have confirmed the fault via the joystick panel, please contact Francis Searchlights for ordering the required parts, sales@francis.co.uk If the joystick panel is not communicating with the searchlight and none of the LED’s on the... -
Page 16: Obtaining Fault Status
7.3 - Obtaining Fault Status Fault codes can be accessed, with the joystick panel switched off, press the 1/0 button and keeping the 1/0 button pressed for 10 seconds. Fault codes are indicated by the 1/0 button flashing several times related to the fault. Fault codes are detailed below. If more than one fault is present the PANEL button will indicate them in sequence. -
Page 17: Maintenance And Servicing
8 - Maintenance and Servicing To prolong the service life and performance of your searchlight, the following maintenance guidelines are recommended: • Maintenance checks should be conducted before every voyage or at least every three months. • Before checking, disconnect the equipment from the supply. •... -
Page 18: Wiring Diagram & General Assembly
9 - Wiring Diagram & General Assembly Drawing No: Description A7300 VL500RC 110/130W General Assembly C30005 Wiring Diagram 115/240v C30006 Wiring Diagram 24v C29971 Joystick Panel Assembly C30013 Driver Box Assembly 115/240v C30017 Driver Box Assembly 24v... - Page 25 Searchlight Spares Item Part Quantity Number Number Description C29429-00 110w LED C29462-00 130w LED C26139-00 Front Glass C26184-00 Front Glass Gasket C26183-00 Sealing Strip Gasket C26475-00 Base Gasket Base ‘O’ Ring C23808-00 C26843-00 Pulley Belt...
- Page 26 Searchlight Spares Item Part Quantity Number Number Description C27820-00 C29994-01 110w Cooler C29995-01 130w Cooler C28083-00 Cooler Wiring Harness C29428-00 Fresnel Lens C29521-01 Pan Motor Assembly C28654-01 Tilt Motor Assembly C27288-00 Heater C29986-01 Speed Controller PCB C28128-00 Dual Control PCB C27650-00 Tilt Microswitch C25022-00...
-
Page 27: Spare Parts List
Searchlights spare parts. This will ensure that any warranties on your equipment will not be invalidated. When ordering spare parts please contact the Sales Department at Francis Searchlights Limited sales@francis.co.uk . Please always quote searchlight model and serial number, which you can...
Need help?
Do you have a question about the VL500RC and is the answer not in the manual?
Questions and answers