Airlink101 802.11g Wireless Router AR315W Quick Installation Manual
802.11g wireless router
Hide thumbs
Also See for 802.11g Wireless Router AR315W:
- User manual (88 pages) ,
- User manual (88 pages)
Table of Contents
Advertisement
Quick Links
Advertisement
Table of Contents

Related Manuals for Airlink101 802.11g Wireless Router AR315W


Summary of Contents for Airlink101 802.11g Wireless Router AR315W
-
Page 1: Quick Installation Guide
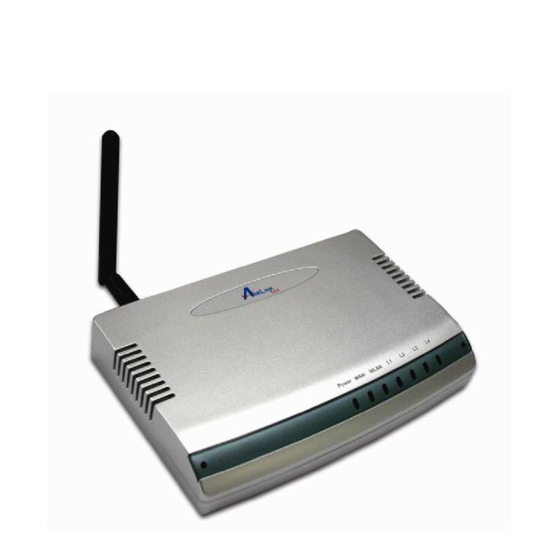
802.11g Wireless Router Model # AR315W Quick Installation Guide Ver. 2A... -
Page 2: Connecting The Router
Section 1 This Quick Installation Guide only provides the basic instructions. For more detailed information, please refer to the user’s manual on the supplied CD. Note: Prior to connecting the router, be sure to power off your computer, DSL/Cable modem, and the router. -
Page 3: Verify Connection To Router
Section 2 Verify Connection to Router Step 1 Go to Start, Run, type command (for Windows 95/98/ME) or cmd (for Windows 2000/XP) and click OK. You will see the command prompt as below. Step 2 Type ping 192.168.1.1 and press Enter. You should get four reply responses back. Step 3 If you get Request timed out, or Destination host unreachable, double-check the network cable connection between the computer and the router and try Step 2 again. - Page 4 Step 5 After the IP address is released, type ipconfig/renew and press Enter. You should get an IP address of 192.168.1.x (where x is a number between 2 - 254). Proceed to Section 3, Configuring the Router. If you don’t get an IP address, reset the router by holding in the reset button at the back of the router for 10 seconds while it is ON and try ipconfig/renew again.
-
Page 5: Configuring The Router
Step 6 After the IP address is released, click Renew. You should get an IP address of 192.168.1.x (where x is a number between 2 - 254). If you don’t get an IP address, reset the router by holding in the reset button at the back of the router for 10 seconds while it is ON and try Renew again. - Page 6 Step 3 Click Setup Wizard at the router’s main screen. Step 4 Click Next at the Setup Wizard. Step 5 Select your type of Internet Access. If you are not sure what type of connection you have, please contact your Internet Service Provider (ISP) for assistance.
- Page 7 For Cable Modem Users: Step 6a Click on Clone MAC Address, click OK, then click Next. Proceed to For DSL Users: Step 6b For most DSL users, select PPPoE and click Next. Otherwise, choose your Login procedure for connecting to the Internet. Step 6c For PPPoE users, enter your Username and Password required to get online and click Next.
- Page 8 Step 7 Choose your IP Address assignment and click Next. For most users, you can use the default settings (Dynamic IP Address). If you are using a Static IP assigned by your ISP, select Specified IP Address and enter the applicable values. Step 8 Make sure the Test Internet Connection box is checked and click Finish then OK to begin the Internet Connection Test.
-
Page 9: Connecting To The Router Wirelessly
Section 4 Connecting to the Router Wirelessly Below are the default wireless settings of the router. You must configure your wireless network card to the same settings in order to establish a wireless connection with the router. Please refer to your wireless network card’s manual for configuring these settings. -
Page 10: Technical Support
Note to dial-up and DSL Users: you may need to uninstall the program as well. Section 6 If you were using a dial-up program to log on to the Internet, Technical Support E-mail: support@airlink101.com Toll Free: 1-888-746-3238 Web Site: www.airlink101.com... - Page 11 Copyright © 2004 AirLink101. All rights reserved. AirLink101, the stylized AirLink101 logo, specific product designations, and all other words and logos that are identified as trademarks and/or service marks are, unless noted otherwise, the trademarks and service marks of AirLink101. All other product or service names are the property of their respective holders.
Need help?
Do you have a question about the 802.11g Wireless Router AR315W and is the answer not in the manual?
Questions and answers