Pioneer CA-100 Operating Instructions Manual
Tape-creating amplifier
Hide thumbs
Also See for CA-100:
- Operating instructions manual (96 pages) ,
- Operating instructions manual (24 pages)
Table of Contents
Advertisement
Available languages
Available languages
Quick Links
Operating Instructions
Bedienungsanleitung
Mode d'emploi
Istruzioni per luso
English;
Page 1
Deutsch;
Seite 25
Page 49
Pag. 73
Francais;
Italiano;
Thank you for buying this Pioneer product.
Please read through these operating instructions and then
you will know how to operate your model properly. After you
have finished reading the instructions, put them away in a
safe place for future reference.
These operating instructions are based on the model HE, and
they can be used for the HB, KU, KC, R, R/G models. The
differences between the models are given below.
HE model:
For Europe ('HE' stamped on packing case): power line
voltage is a.c. 220 volts ~v.
HB model:
For U.K. ('HB' stamped on packing case): power line
voltage is a.c. 240 volts ~.
KU and KC models:
For U.S.A, and Canada ('KU' or 'KC' stamped on packing
case): power line voltage is AC 120 volts.
R and R/G models:
For destinations excluding above (R or R/G stamped on
packing case); A 2-point (a.c. 110
V - 120 V/220 V -
240 V) voltage selector switch is provided.
IMPORTANT
NOTICE
[For KU and KC models]
The serial number for this equipment is located on the rear
panel, Please write this serial number on your enclosed war-
ranty card and keep in a secure area. This is for your security.
KU (for U.S.A.) and KC (for Canada) models are not provid-
ed with LINE VOLTAGE SELECTOR switch.
CONTENTS
Rear Panel Facilities and Connections ...... 3
System Connections Figure ...........:0.+++ 15
Front Panel Facilities .............c.cseeeeeeeeees 6
Operating the Graphic Equalizer ............. 9
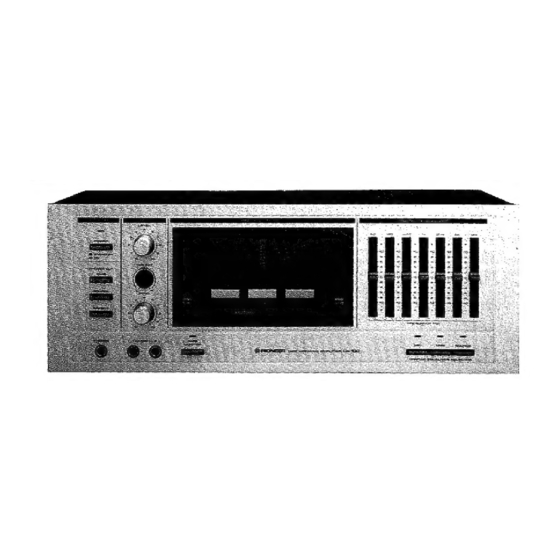
TAPE-CREATING AMPLIFIER
TONBAND-REDIGIERVERSTARKER
AMPLIFICATEUR CREATEUR
DE BANDE
AMPLIFICATORE PER LA CREAZIONE DEI NASTRI
LINE VOLTAGE SELECTOR SWITCH
Only R and R/G models are provided with this switch but
KU, KC and other models (HE, HB) are not provided with this
switch.
You will find the line voltage selector switch on rear panel.
This switch has positions for 110 V - 120 V and 220 V - 240
V power sources. Before your model is shipped from the fac-
tory , the switch is set to the power requirements of the
destination; nevertheless, you should check that it is set pro-
perly before plugging the power cord into the AC outlet. If
the voltage is not properly set or if you move to an area
where the voltage requirements differ, adjust the selector
switch as follows. Before adjusting disconnect the power
cord.
1. Prepare a medium size screwdriver.
2. Insert the screwdriver into the allow on the voltage selec-
tor and adjust so that the tip of the arrow points to the
voltage value of your area.
a
VOLTAGE SELECTOR
|
Screwdriver
©
@
=.
7
110 V-120 VV.
220 V-240 V
WARNING:
TO PREVENT FIRE
OR SHOCK HAZARD, DO NOT
EXPOSE THIS APPLIANCE TO
RAIN OR MOISTURE.
Mic Mixing and Echo Effects ..............45 11
Using the Fader Controls ............cceseeees 12
Using the Cord Holder .............:cceeeeeeee 23
dW) PIONEER
2
<
oO
4
<x
cc
bbe
Advertisement
Chapters
Table of Contents


Need help?
Do you have a question about the CA-100 and is the answer not in the manual?
Questions and answers