
Related Manuals for Rhin-O-Tuff Onyx HD7700H


Summary of Contents for Rhin-O-Tuff Onyx HD7700H
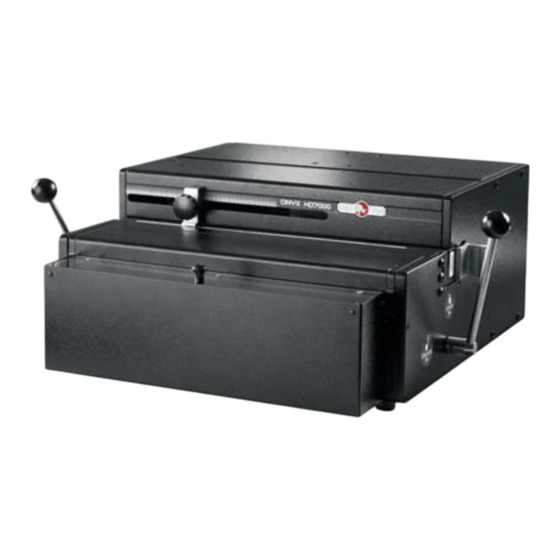
- Page 1 Rhin-O-Tuff Onyx HD7700H 14" Open-Ended Horizontal Electric Punch Instruction Manual...
- Page 2 Instruction Book for HD Punch Machines...
- Page 3 HD7700, HD7000 & HD7500H Setup & Operator Manual Issue 5 February 2012 Performance Design LLC. These electric punches have been designed to punch most any job that may pass through your bindery or office. No matter what type of binding you need to carry out, these punches can handle the job.
- Page 4 HD6500 Contents S/N:__________ __Punch (1) __Chip Drawer (1) __Power Cord (1) __Foot Pedal (1) __Oil (1) __Brush (1) __Instruction Book (1) __Reversing Tool (1) __Die Bolt Kit (1) a) 5/16 allen wrench (1) b) 3/8 - 16 X 1 Socket Head Screw (2) Inspected by:_________________ HD7000/HD7100 Contents S/N:__________ __Punch (1)
-
Page 6: Table Of Contents
Table of Contents Topic: Page Number: Safety Alert Symbols Safe operating guidelines Proper machine placement Providing electric power Die installation / Maintenance Setting the paper stop Punching paper Removing paper waste Paper jam 10-12 Troubleshooting... -
Page 7: Safety Alert Symbols
Safety Alert Symbols Make sure you read this section very carefully! Learn to recognize these Safety Alert Symbols. HD7700/H, HD7650, HD7000, HD6500, have been designed to HD7100, HD7000 Plus, HD6700 & HD7500/H provide a high level of protection to an operator. Follow the guidelines below while installing, operating and maintaining your machine. -
Page 8: Proper Machine Placement
Turn power switch off before maintaining or WARNING changing die assembly. Crush hazard. Keep hands away from moving parts. Lockout and disconnect power before servicing. CAUTION Use of appropriate hand protection should be Cutting Hazard utilized to avoid injury from handling of materials. Injury to fingers and hands. -
Page 9: Providing Electric Power
Providing power to the machine: Power cord shall be certified for the country DANGER where the machine will be installed. Plug one Hazardous voltage. end of the power cord into the power cord Use only approved power cord receptacle on the back of the machine. The assemblies. - Page 10 HD6500 and HD6700: Diagram 2. Make sure WARNING the machine is turned off before installing the Crush hazard. die. Keep hands away from moving parts. Make sure there is no paper dust or paper chips Lockout and disconnect power before servicing. in the machine die slot before installing the die.
- Page 11 Removing Punch Pins Turn machine power off and remove die assembly from the machine. On the opposite side of the die assembly from the handle, push down on the pin retainer . Pull the pin capture away from the pin retainer to expose the punch pins.
-
Page 12: Setting The Paper Stop
Setting the paper stop: HD7500, HD7650, HD7100, HD7000, HD7000 Plus, HD6500 and HD6700 Locate the paper stop on the front cover of the machine. Loosen the knob counterclockwise, so that the guide can be adjusted to the left or the right. Move the paper stop until the desired position is reached and tighten the knob clockwise until tight to lock the paper... -
Page 13: Punching Paper
Punching Paper: Select an appropriate number of sheets to be punched and slide the sheets down vertically (Horizontally for the HD7700H and HD7500H) into the opening of the die assembly. When the paper is fully inserted, slide it to the left so it comes in contact with the paper stop. - Page 14 WARNING HD7000, HD7100 and HD6500 Manual Reverse Crush hazard. utilizes a reversing tool supplied with the punch. Keep hands away Turn the machine power switch off and from moving parts. Lockout and disconnect power before servicing. unplug the power cord from the wall outlet. Remove the paper waste drawer and locate the silver plug in the front panel of the machine.
- Page 15 WARNING HD7500/H Manual Reverse utilizes two Crush hazard. Turn reversing tools supplied with the punch. Keep hands away from moving parts. the machine power switch off and Lockout and disconnect power before servicing. unplug the power cord from the wall outlet.
-
Page 16: Troubleshooting
DANGER Only qualified personnel should attempt to Hazardous voltage work on this equipment. There are no user inside. Disconnect power serviceable parts inside of the machine. before servicing. Your machine has been designed for years of trouble free operation. The following is a troubleshooting guide to help you through some of the problems that may be encountered. - Page 17 IMPORTANT Be sure to fill out and return your Product Warranty Registration Card or Register online www.Rhin-O-Tuff.com/warranty_registration.asp Part Number 001169 Rev. 5. Feb 2012...
Need help?
Do you have a question about the Onyx HD7700H and is the answer not in the manual?
Questions and answers