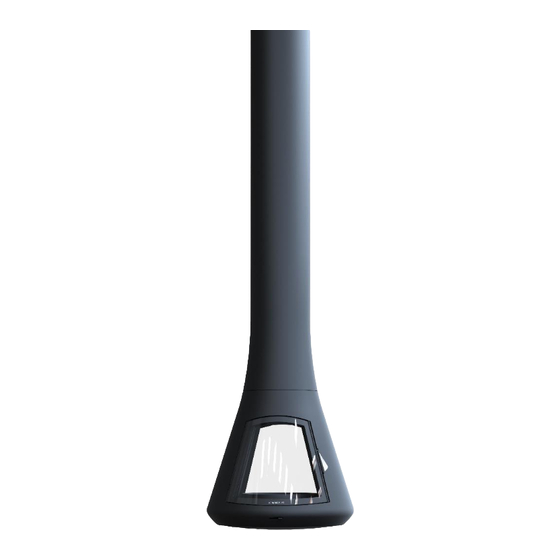
Summary of Contents for JC BORDELET CALISTA 917
-
Page 2: Technical Information
For reasons of space, all our appliances are delivered in separate components. The assembly must be carried out in accordance with this installation manual and according to the drawing provided by JC BORDELET after study of the installation. During installation, it is advisable to leave the protection devices present on the appliance and to remove them only after all the assembly operations are completed. - Page 3 TECHNICAL INFORMATION FREE-STANDING WALL-MOUNTED CALISTA CALISTA Type MT180917FF Indirect heating Rated thermal power 9,3 kW Useful thermal power emitted in the room 9,3 kW Rendement énergétique (hnom) 75 % CO (13% O2) (COnom) 0,09 % CO (13% O2) (COnom) 1063 mg/Nm3 PM (13% O2) (PMnom) 35 mg/Nm3 COG (13% O2) (COVnom)
- Page 4 1-FASTENING HARDWARE INSTALLATION / FLAT CEILING...
- Page 5 1-FASTENING HARDWARE INSTALLATION / SLOPING ROOF...
- Page 6 2-CONNECTION TO COMBUSTION AIR (WALL-MOUNTED) Pipe fitting Drill the wall in the flue axis Fix the pipe fitting to the wall using 4 screws Insert the sheath Ø80 in the hole in the wall suitable to the wall type (countersunk screws) Fix the pipe fitting to the sheath using a clamp Sealing flange Gasket...
- Page 7 3-INSTALLATION OF THE CEILING COVER PLATE 4-INSTALLATION OF FLUE DUCTS Fixing the lower element on the upper element: - 3 steel or stainless steel rivets - Mounting clamp...
- Page 8 5-INSTALLATION OF EXTENSIONS Fixing the extension on the fastening hardware - 3 countersunk head screws M8x20 Perform this same step for installing extensions - 3 countersunk head screws M8x20 6-INSTALLATION OF THE ANTI-SWAY SYSTEM (FREE-STANDING) Anti-sway system...
- Page 9 7-CALISTA INSTALLATION ON EXTENSIONS AND DUCTS Assembly of the connection element in the appliance excluding the ducts and extensions installed in the previous steps 180kg...
- Page 10 Fixing the lower element on the upper element: - 3 steel or stainless steel rivets - Mounting clamp Duct connection 180kg Fixing the Calista on the extension - 3 countersunk head screws M8x20...
- Page 11 8-ADJUSTMENT OF WALL SUPPORTS (WALL-MOUNTED) 9-ANTI-SWAY SYSTEM (WALL-MOUNTED) Fixing the bottom of the appliance to the wall using adjustable supports - Screws to be chosen according to wall type...
- Page 12 10-ADJUSTMENT OF THE TOP GLASS SCREEN CLEANING The top glass screen cleaning register(s) is accessible from inside the fireplace. Loosen the screw to make the adjustment, then tighten the screw again The glass screen cleaning is reduced when the register moves closer to the nozzle The glass screen cleaning is increased when the register moves closer to the door.
- Page 13 12-INSTALLATION OF DEFLECTORS 12.1 12.2...
- Page 14 TROUBLESHOOTING AND REMEDIES ORDERS POSSIBLE REMEDIES Soiling of the glass - Burn wood with humidity <20% Backflow when opening the door - Increase the combustion air supply * Condensation - Check the air supply settings of the device Corrosion - Clean the device - Check the frequency of chimney sweeping (twice a year, including once during the period of use) - Clear the flue outlet of any disturbing element (eg satellite dish, etc.) *...
- Page 15 ZI de Lhérat 63310 RANDAN Tél: 0470561600 – Fax : 0470561689 www.bordelet.com...


Need help?
Do you have a question about the CALISTA 917 and is the answer not in the manual?
Questions and answers