Advertisement
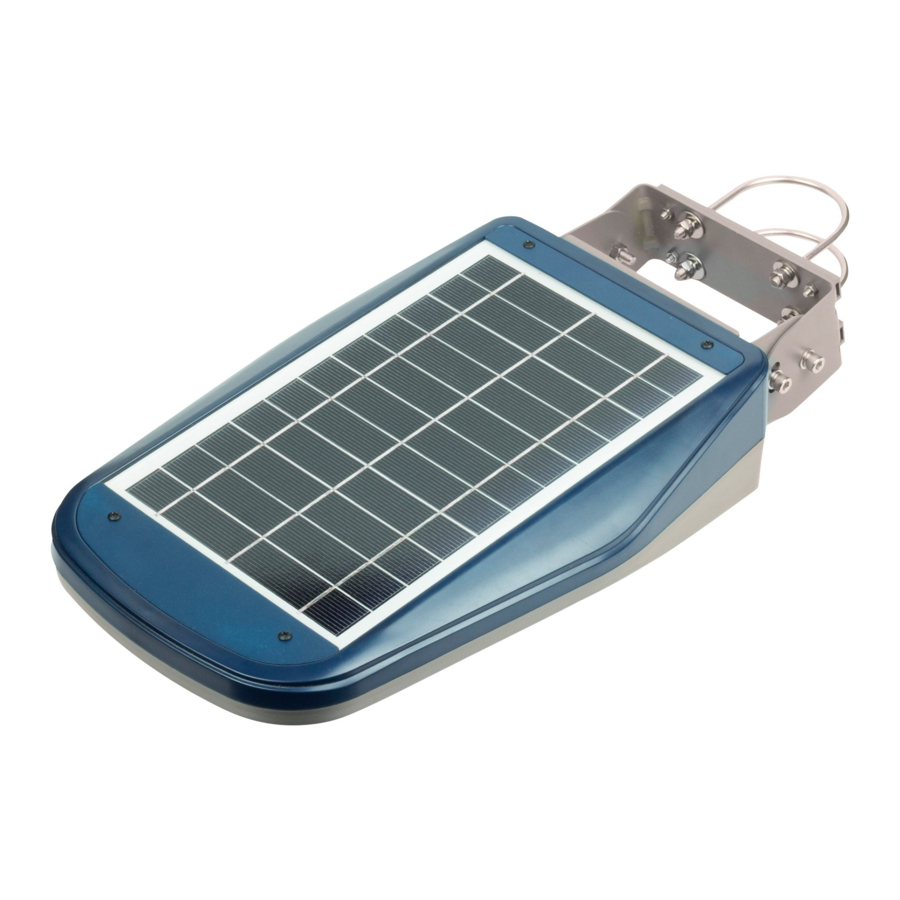
PRODUCT DESCRIPTION

- Solar panel
- Light panel
- PIR detector
- Timer indication LED
- Mounting plate
- Remote control
- U-bolt
- M6 big flat washer
- M6 spring washer
- M6 nut
- Expansion bolt
SPECIFICATIONS
| Solar panel | 6.5W, 10 year life span |
| Battery | 3.6V, 13000 mAh, Li-ion |
| LED count | 30 |
| Brightness (Lumens) | Up to 2000 lm |
| Recharge time | 10 hours bright sunlight |
| Lighting time | More than 3 nights (Dim lighting mode) |
| PIR sensor | 16–26 ft (5~8 m), 120° |
| Waterproof | IP65 |
| Install height | 8–11 ft (2.5~3.5 m) |
| Materials | Aluminum, Poly-carbonate |
| Size | 18.0 × 9.7 × 3.4 inches (450 × 246 × 86 mm) |
| Working temperature | −13°F to 149°F (−25°C to 65°C) |
| Warranty | 1 year |
FEATURES
- Flexible installation: pole or wall mounted.
- Wide area lighting
- Adjustable installation angle
- Remote control function can choose lighting time and brightness.
APPLICATIONS
Suitable for outdoor wall or pole installation in plazas, parks, gardens, courtyards, streets, walkways, pathways, campuses, airfields, farms, and perimeter security.
INITIAL ACTIVATION

Activate the light by pressing the button on the underside of the light for 3 seconds. The light will come on for 5 seconds before turning off. To deactivate, press and hold the button for 3 seconds. Otherwise, use the remote control to switch it on or off.
DEVICE INSTALLATION
Pole installation

As the below image shows: Take out the bolts and washers from the accessories bag for pole installation and attach the light to the pole with the U-bolts.
Wall installation

First, remove the U-bolts. Make 4 holes in the wall and take out the expansion bolt and washer. Attach the light onto the wall.
Please install the solar panel in a place without any shade and facing direct sunlight for better charging.
After installation, the light angle can be adjusted.
As shown in the diagram below, there are 3 different available angles.

DEFAULT OPERATION
By default the light is off during the day and comes on automatically at night.
Without programming, it operates in motion detection mode M1 (described later).

REMOTE CONTROL
The remote control uses 2 AAA batteries (not included)

PROGRAMMING THE UNIT WITH THE REMOTE CONTROL
On/Off
ON: Turns on the light. When you first turn on the light, the initial default lighting mode is motion detection mode M1.
OFF: Turns off the light and saves the last lighting mode.
If you turn the light off one night, it will not come on the next night. You need to press the ON button to turn it on for the next night.
There are 3 main modes the light can be operated in:
Motion Detection, Brightness Override and Timer mode.
Motion Detection
- M1 (default mode): Steady on at 10% brightness and then 100% brightness when motion is detected by the PIR sensor. 30 seconds after motion ceases, the light returns to 10% brightness.
- M2: Steady on at 30% brightness and then 100% brightness when motion is detected by the PIR sensor. 30 seconds after motion ceases, the light returns to 30% brightness.

Brightness Override
A constant brightness can be selected by pressing one of the four brightness buttons on the remote. This will override the motion detection modes (M1 or M2).
- 10% - 200 lumens
- 30% - 600 lumens
- 60% - 1200 lumens
- 100% - 2000 lumens
The light will remain at the set brightness until dawn, the end of the timer mode (see next section) or until battery is low. If the battery is too low during the night while in brightness mode, then the light will reset to M1 mode the next night. If the battery is not depleted, then the light will resume at the previous brightness selected from the night before.
Timer Mode
To activate the light in timer mode for 1-8 hours and override the motion detection modes (M1 or M2), select a brightness % button and then one of the timer buttons (T1-T4). There is a switch located in the battery compartment of the remote that toggles the T1-T4 buttons from 1-2-3-4 hours to 5-6-7-8 hours.

| Hours | Button | *Switch position in battery compartment |
| 1 | T1 | OFF |
| 2 | T2 | OFF |
| 3 | T3 | OFF |
| 4 | T4 | OFF |
| 5 | T1* | ON* |
| 6 | T2* | ON* |
| 7 | T3* | ON* |
| 8 | T4* | ON* |
EXAMPLES
- For 100% brightness for 4 hours, press the 100% button and then the T4 button (with the toggle switch set to OFF).
- For 30% brightness for 5 hours, press the 30% button and then the T1 button (with the toggle switch set to ON).
When the timer is over, it will reset to the default M1 motion detection mode and repeat this program (Timer + M1) the following night, until another program is selected.
To cancel the Timer mode, long press one of the T2, T3 or T4 buttons for 2 seconds. The indicator LED's on the light will flash 3 times.

MEMORY
The light will remember the last button/program pressed and revert to that setting the following nights until a new program is set.
Examples:
- If you choose 60% (no timer) the first night and do not change it, it will keep 60% the next night. But if the battery is low, it will default to M1.
- If the light is set to 60% brightness for 4 hours on night 1, it will change to M1 mode at the end of the 4 hours. On night 2, it will run the program for 60% brightness for 4 hours and then M1. This pattern will continue until another button is pressed.
- If the battery drains during timer mode, the light will turn off but will keep the same lighting mode the next night once the battery is recharged.
SPECIAL NOTE
- Please allow solar panel to charge in bright sunlight for over 5 hours before first time use.
- If the sunlight is not strong enough, it may take longer to fully charge the light. This is normal for solar products.
WARNINGS
- Keep the device away from fire and oil in order to avoid any explosion hazards.
- Avoid severe shock or impact.
- No one except professional technicians should attempt to disassemble the light in order to avoid damaging the light.
PACKAGE INCLUDES
Floodlight
Remote control
2 × U-bolts
8 × M6 big flat washers
4 × M6 spring washers
4 × M6 nuts
4 × Expansion Bolts

Documents / Resources
References
Download manual
Here you can download full pdf version of manual, it may contain additional safety instructions, warranty information, FCC rules, etc.
Download WAGAN Tech 8589-9 - Solar + LED Floodlight 2000 Manual
Advertisement


Need help?
Do you have a question about the 8589-9 and is the answer not in the manual?
Questions and answers